10 Weeks
Winter 2025
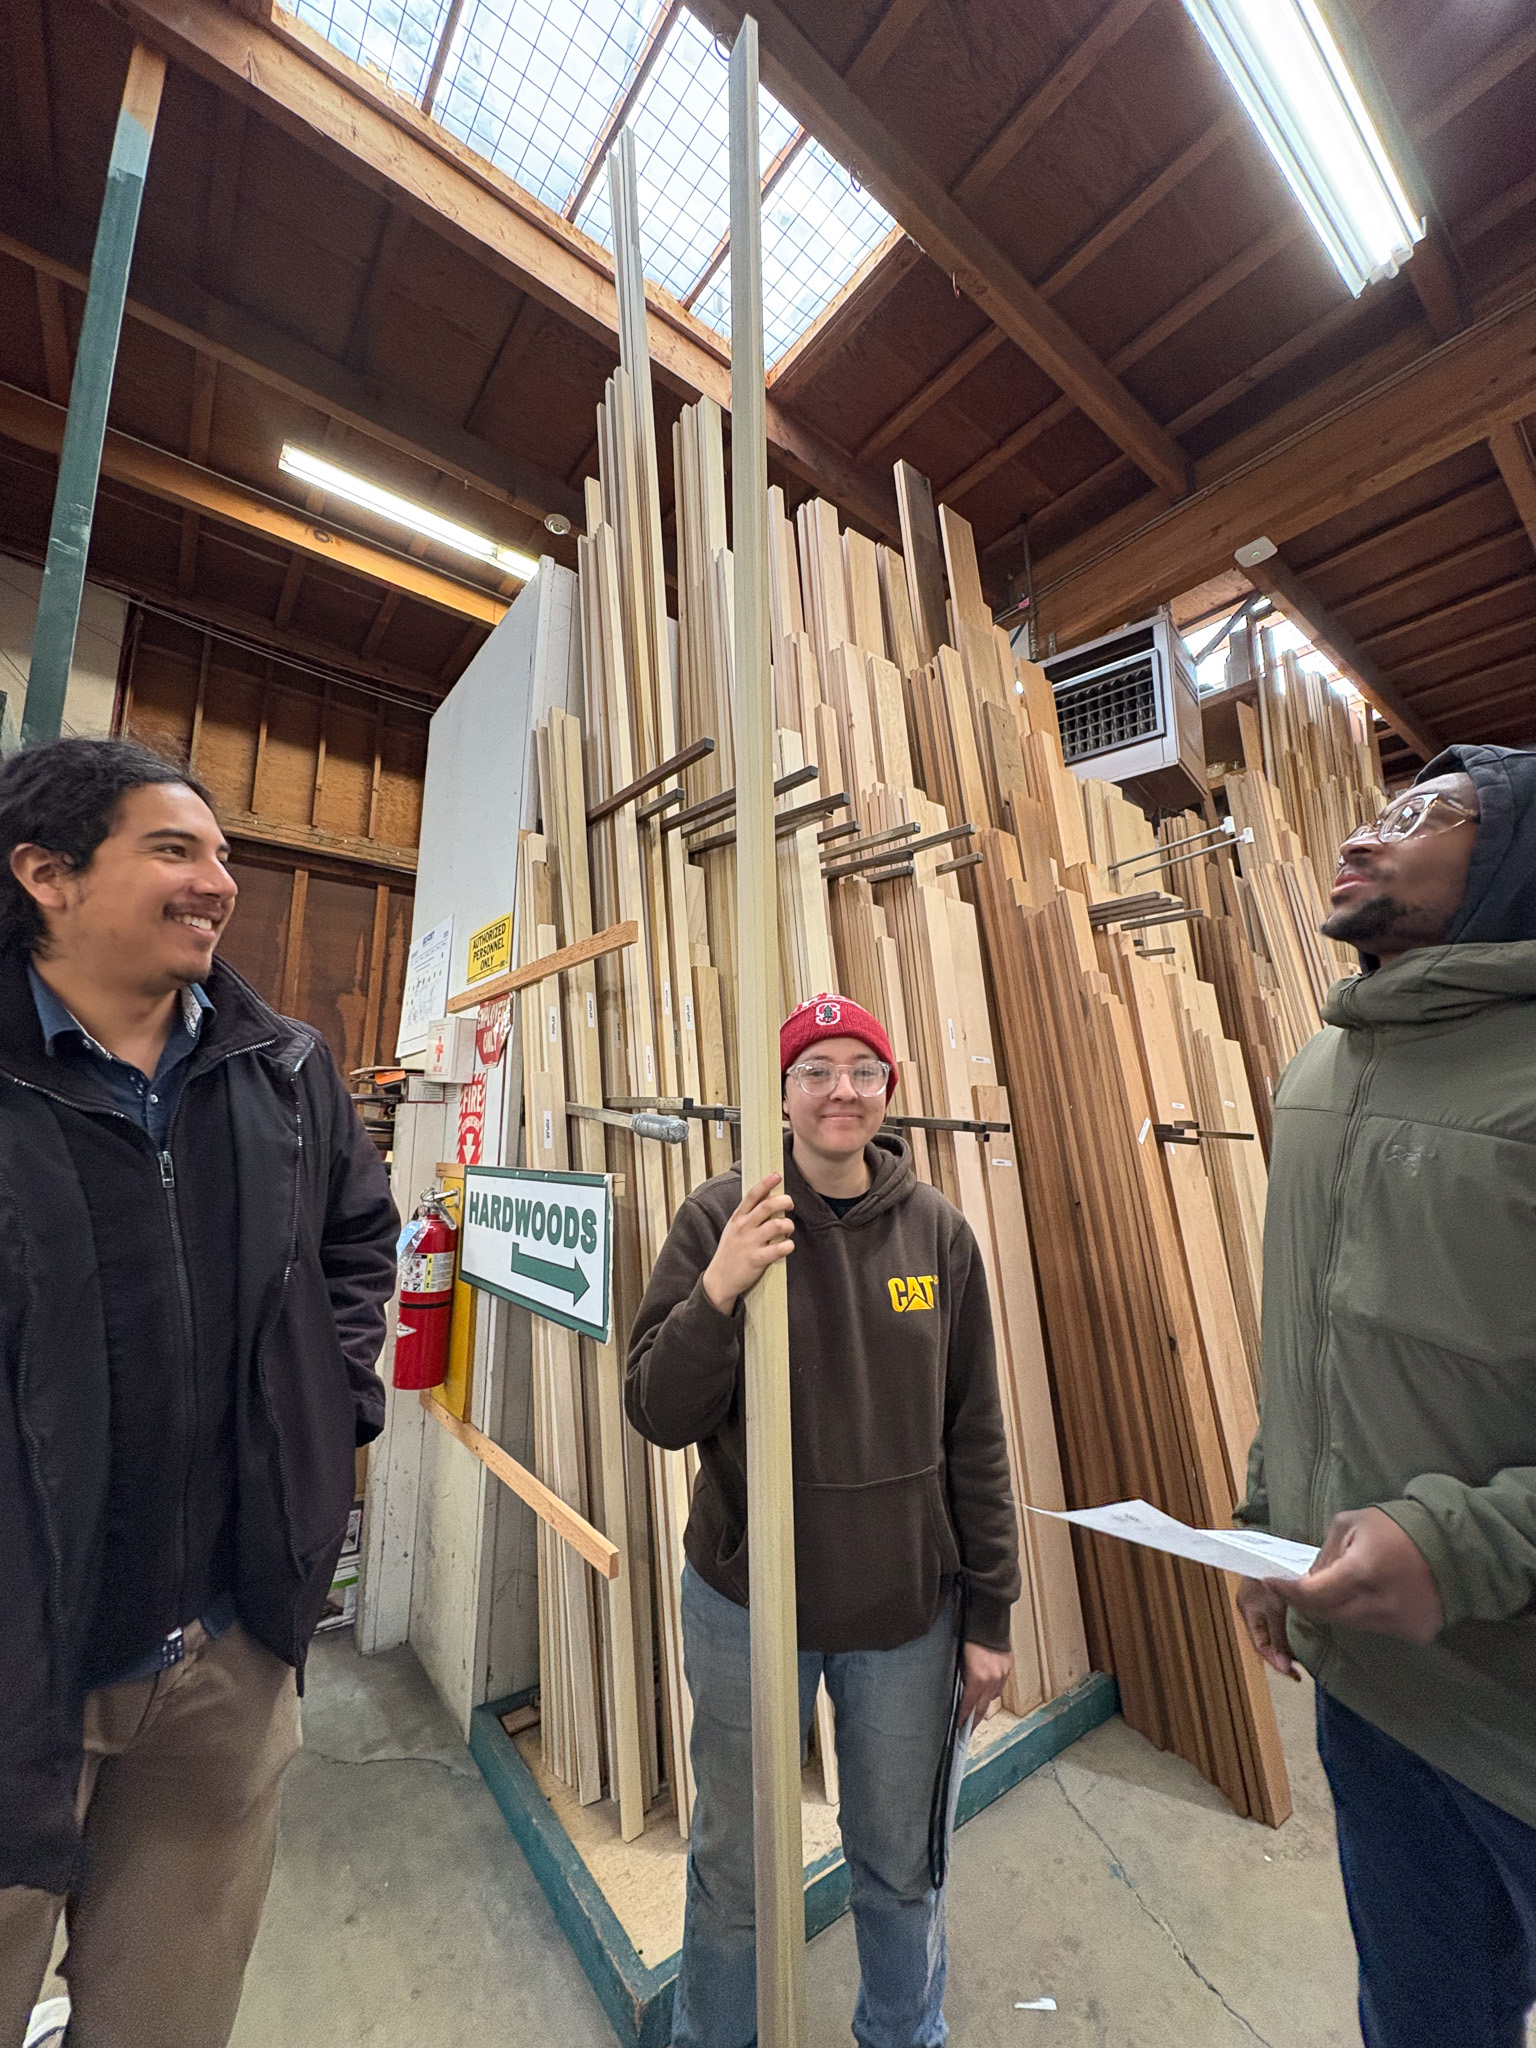
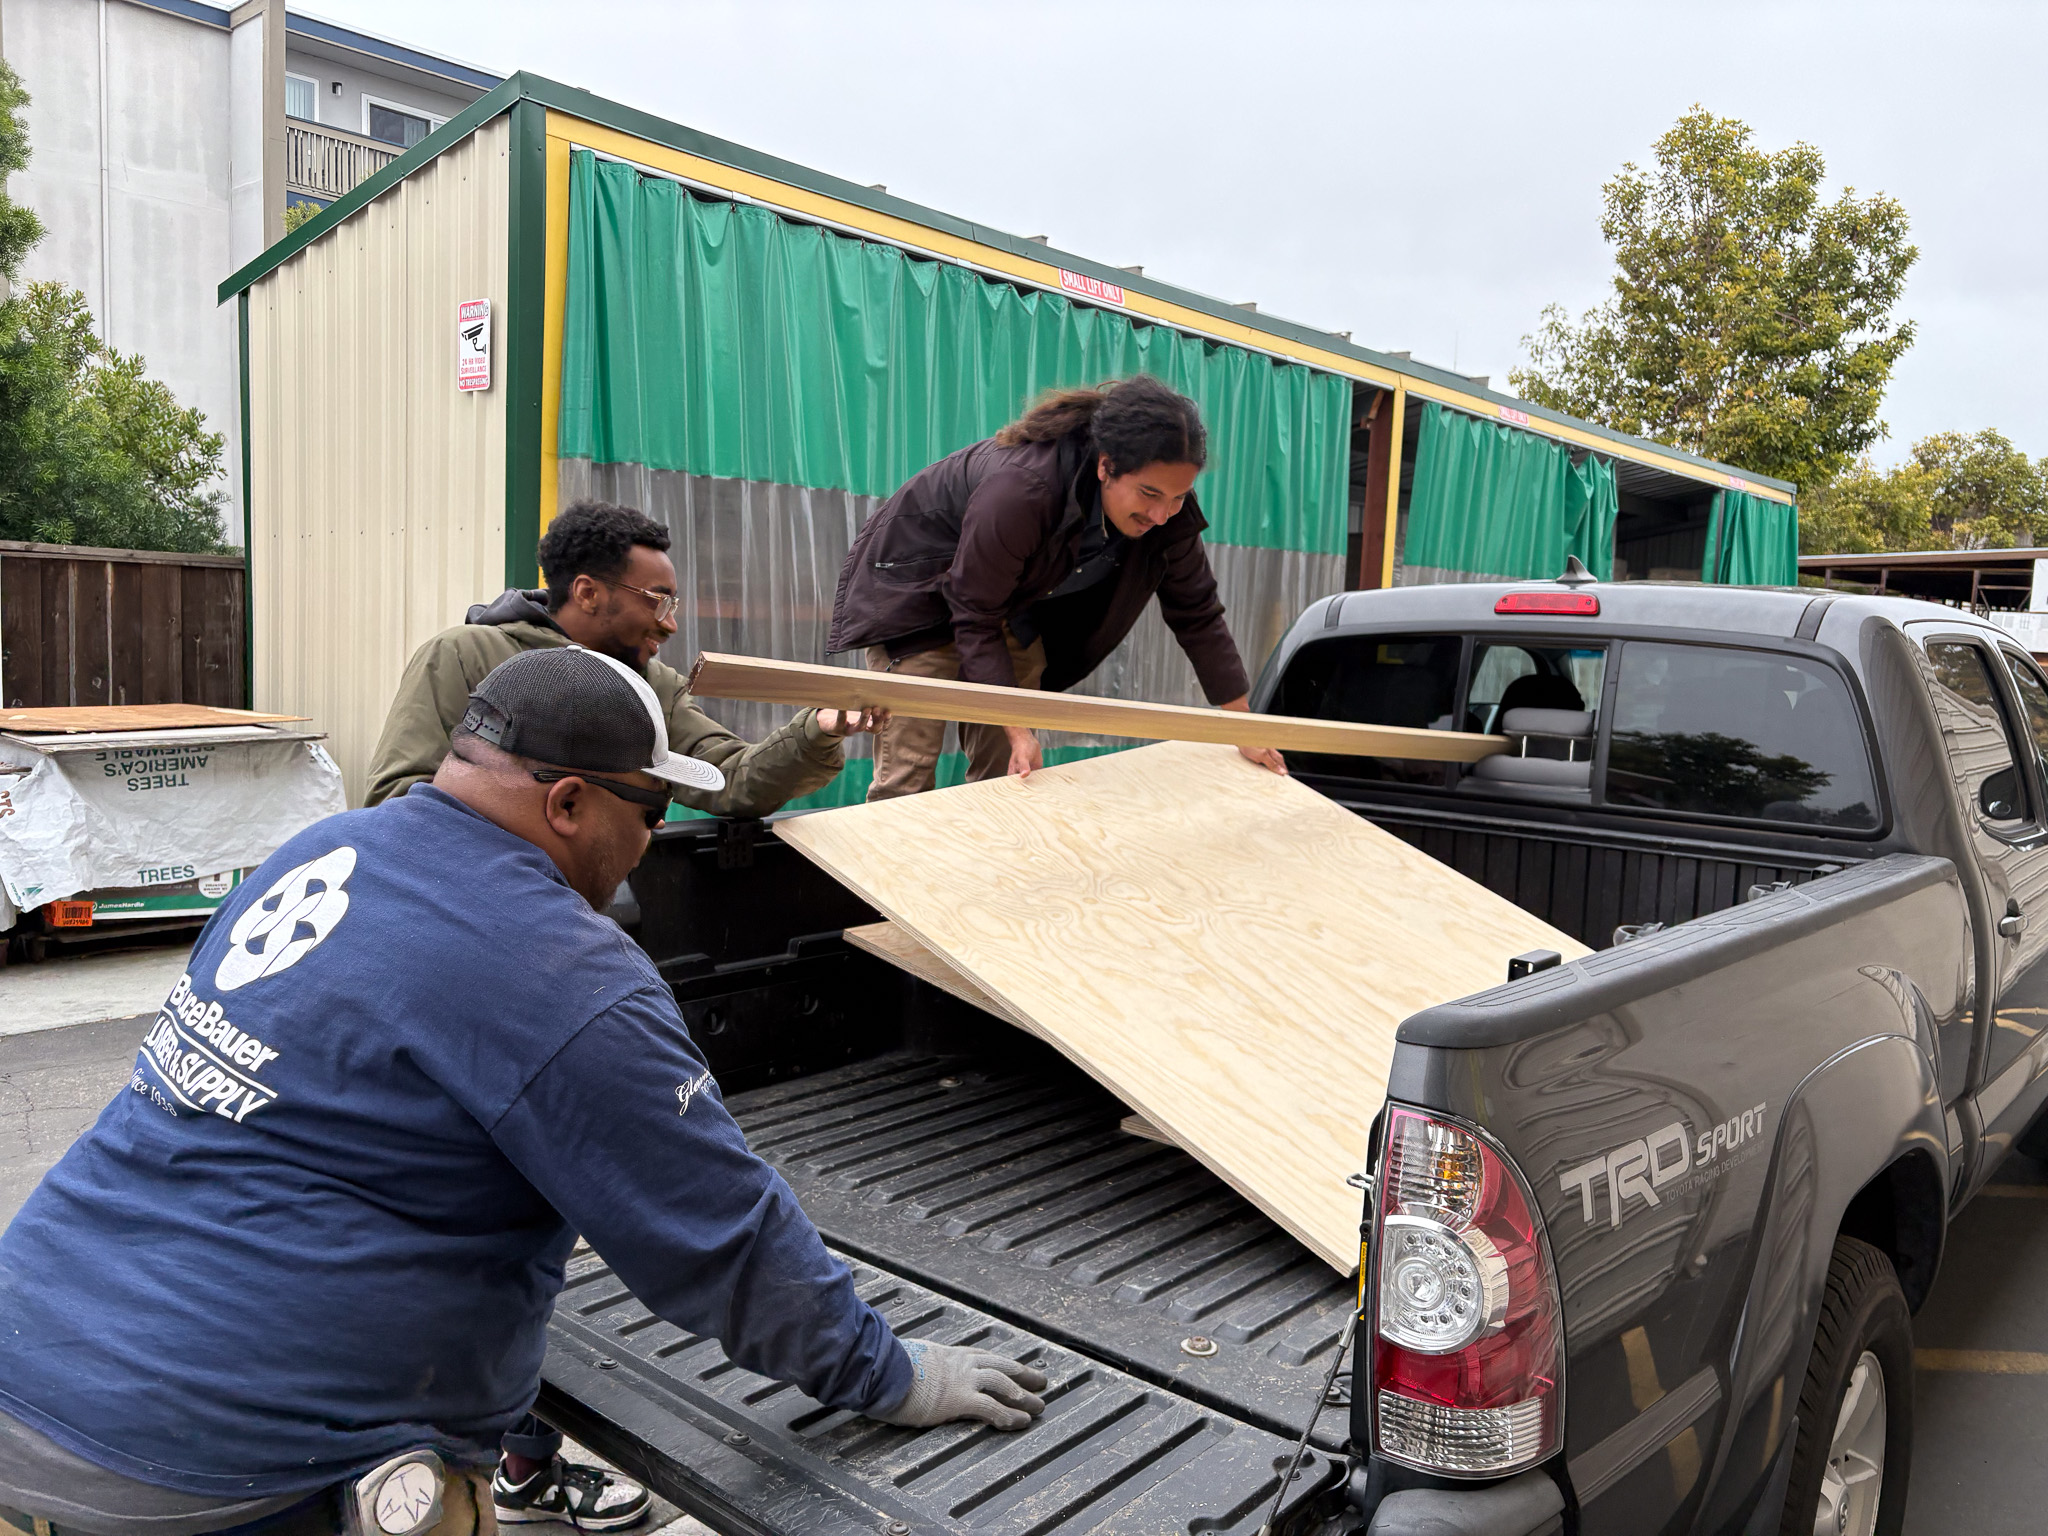
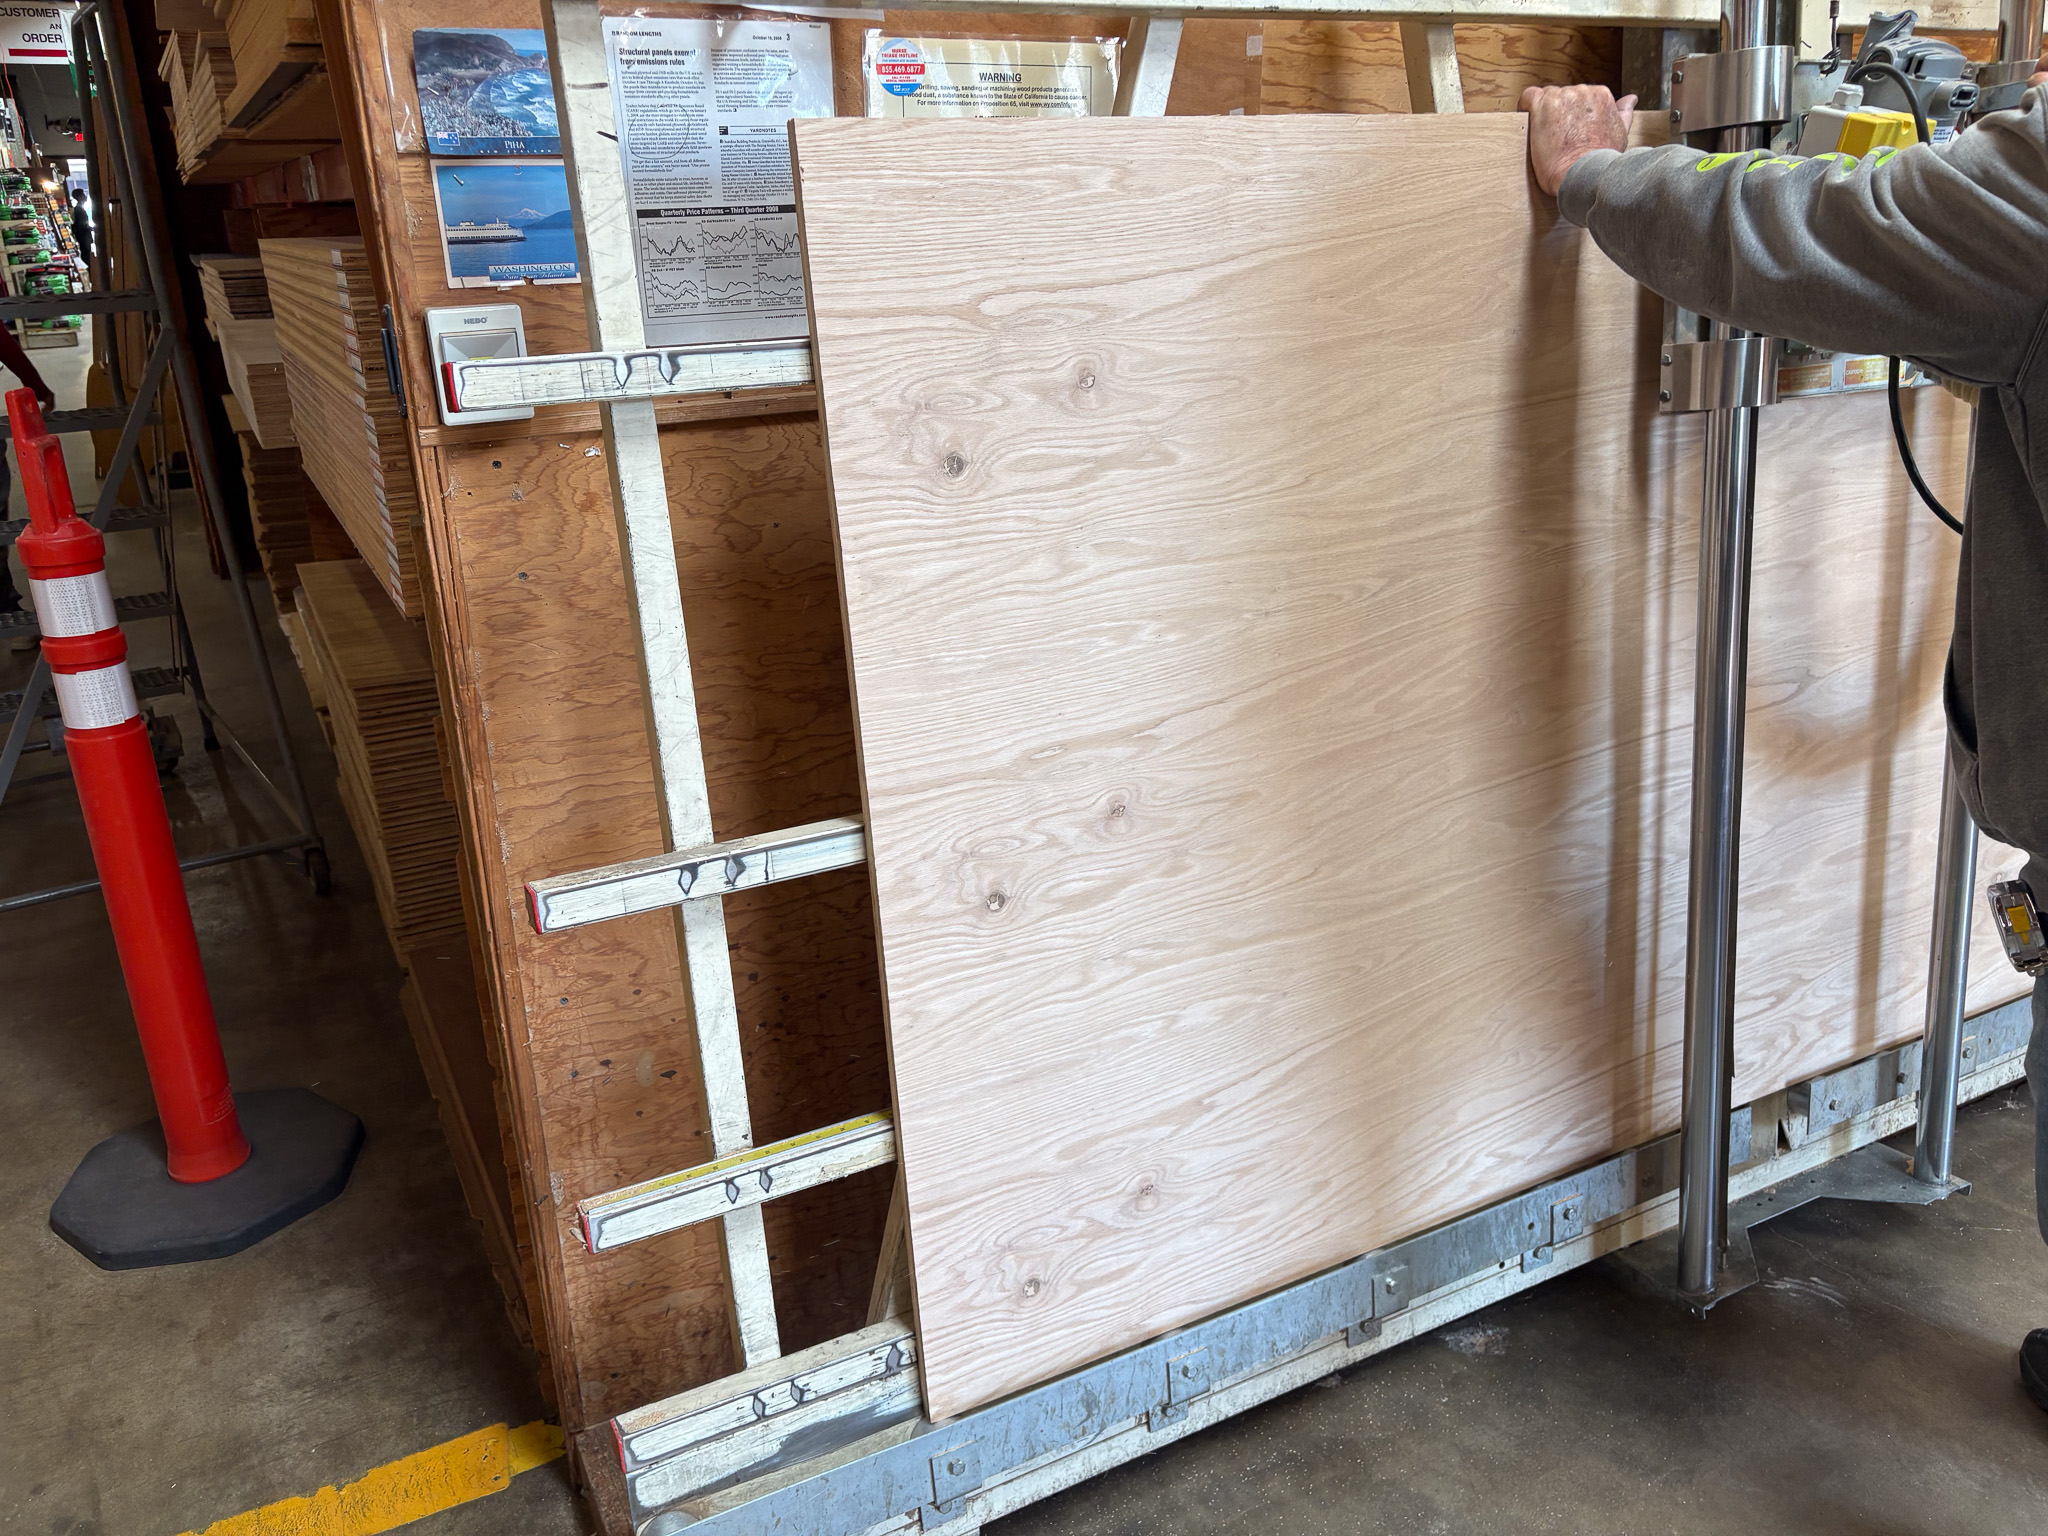
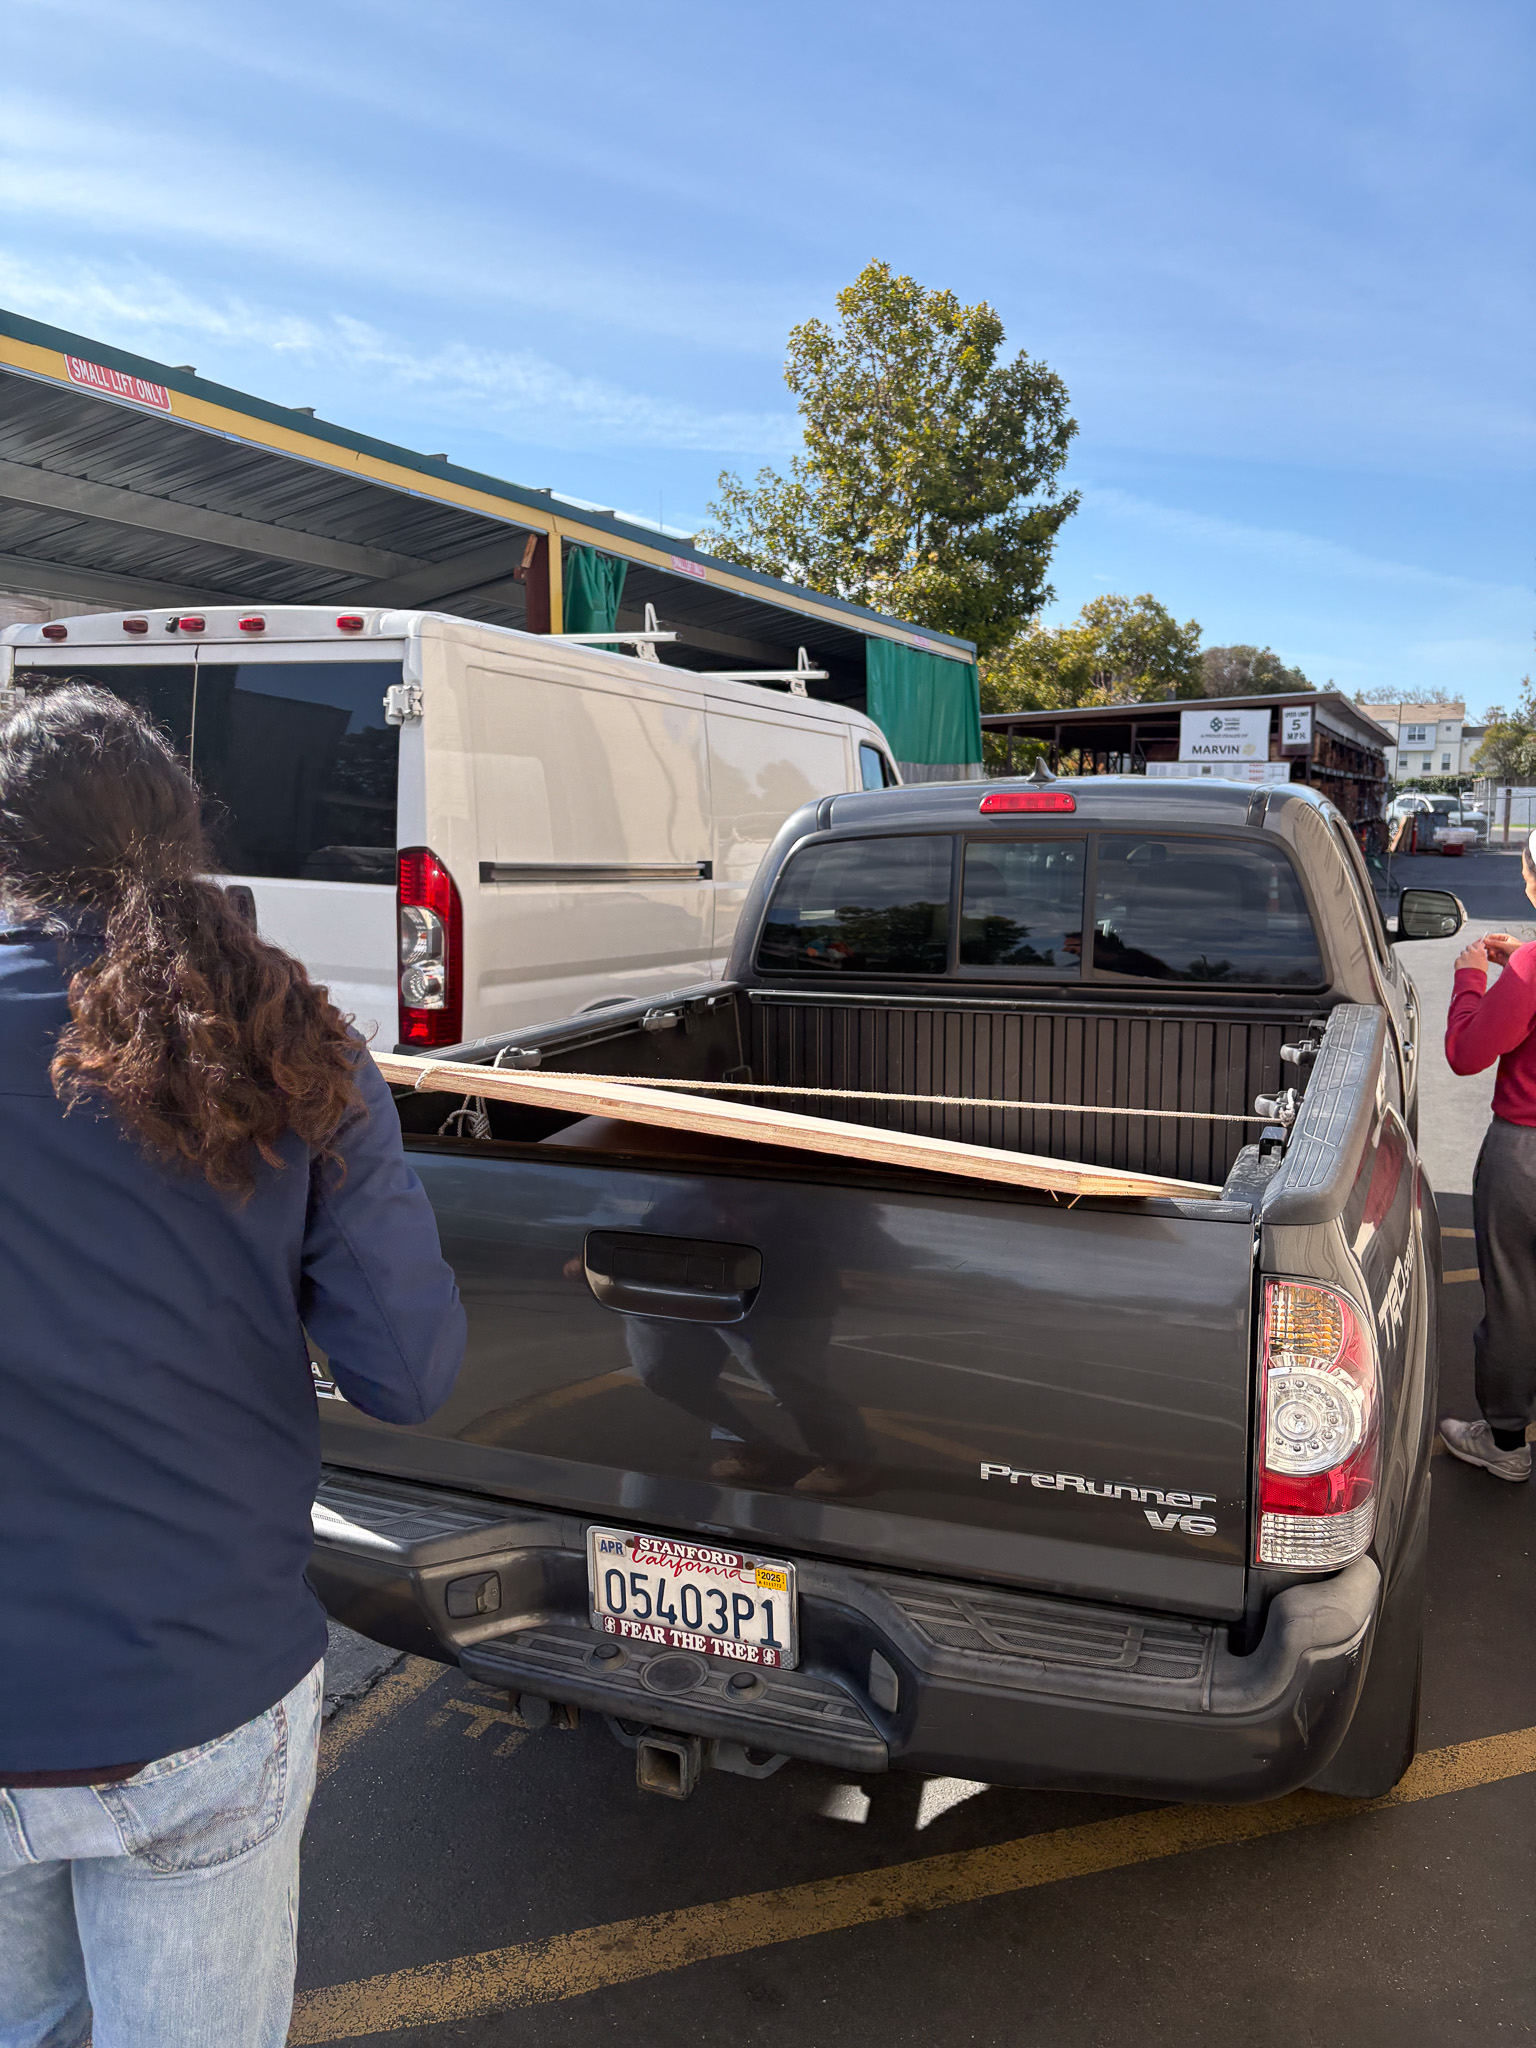
Plywood
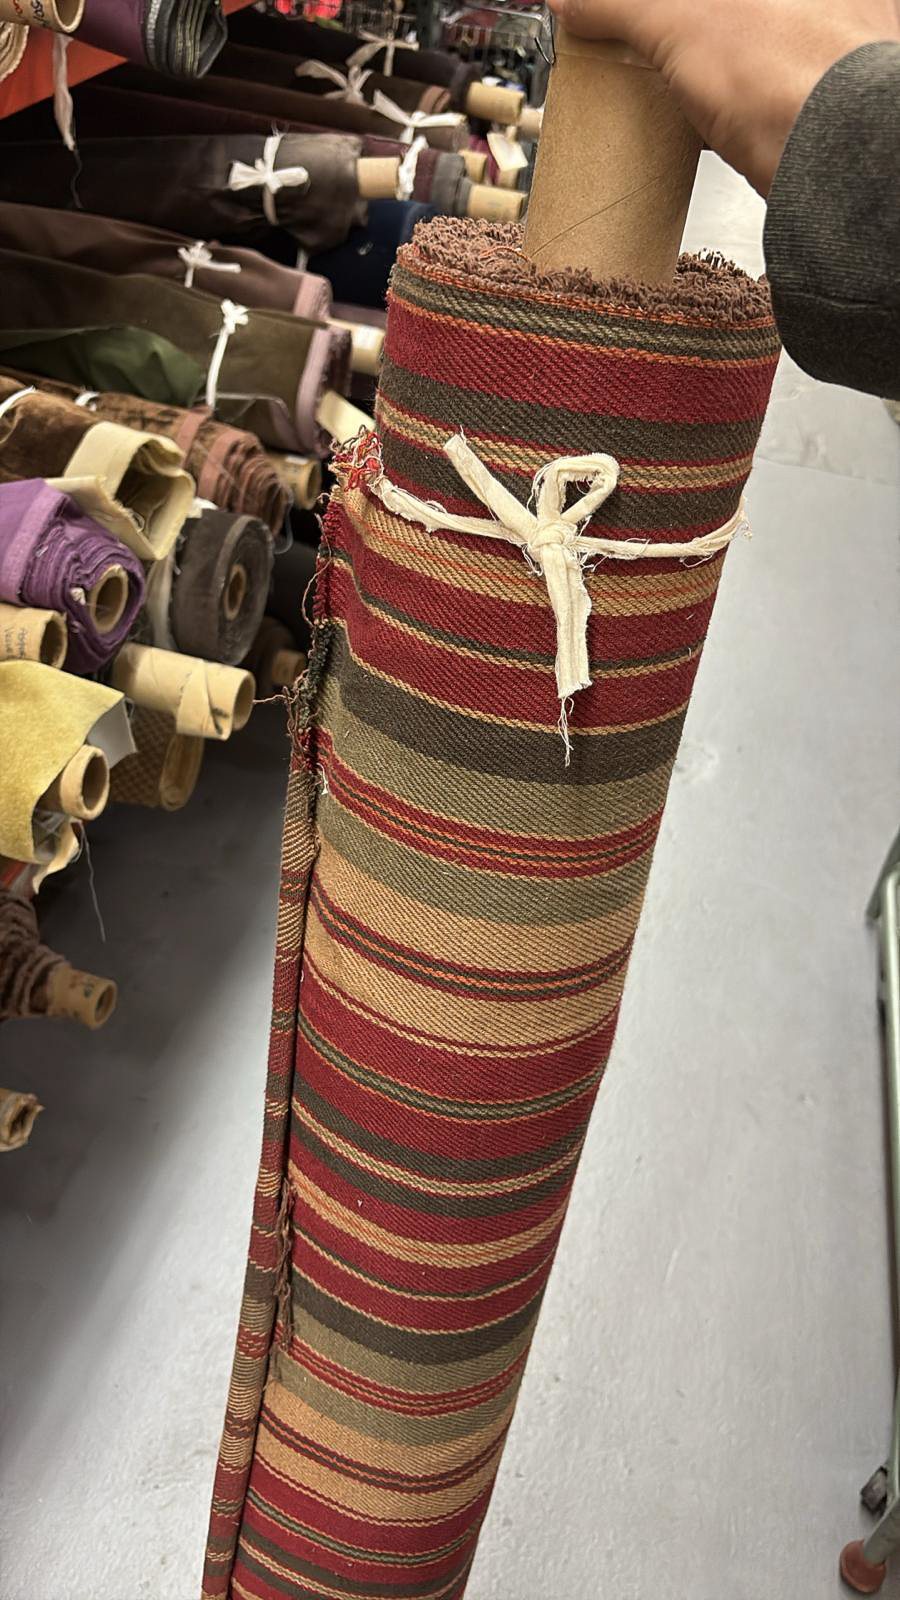
Fabric
Batting and Foam
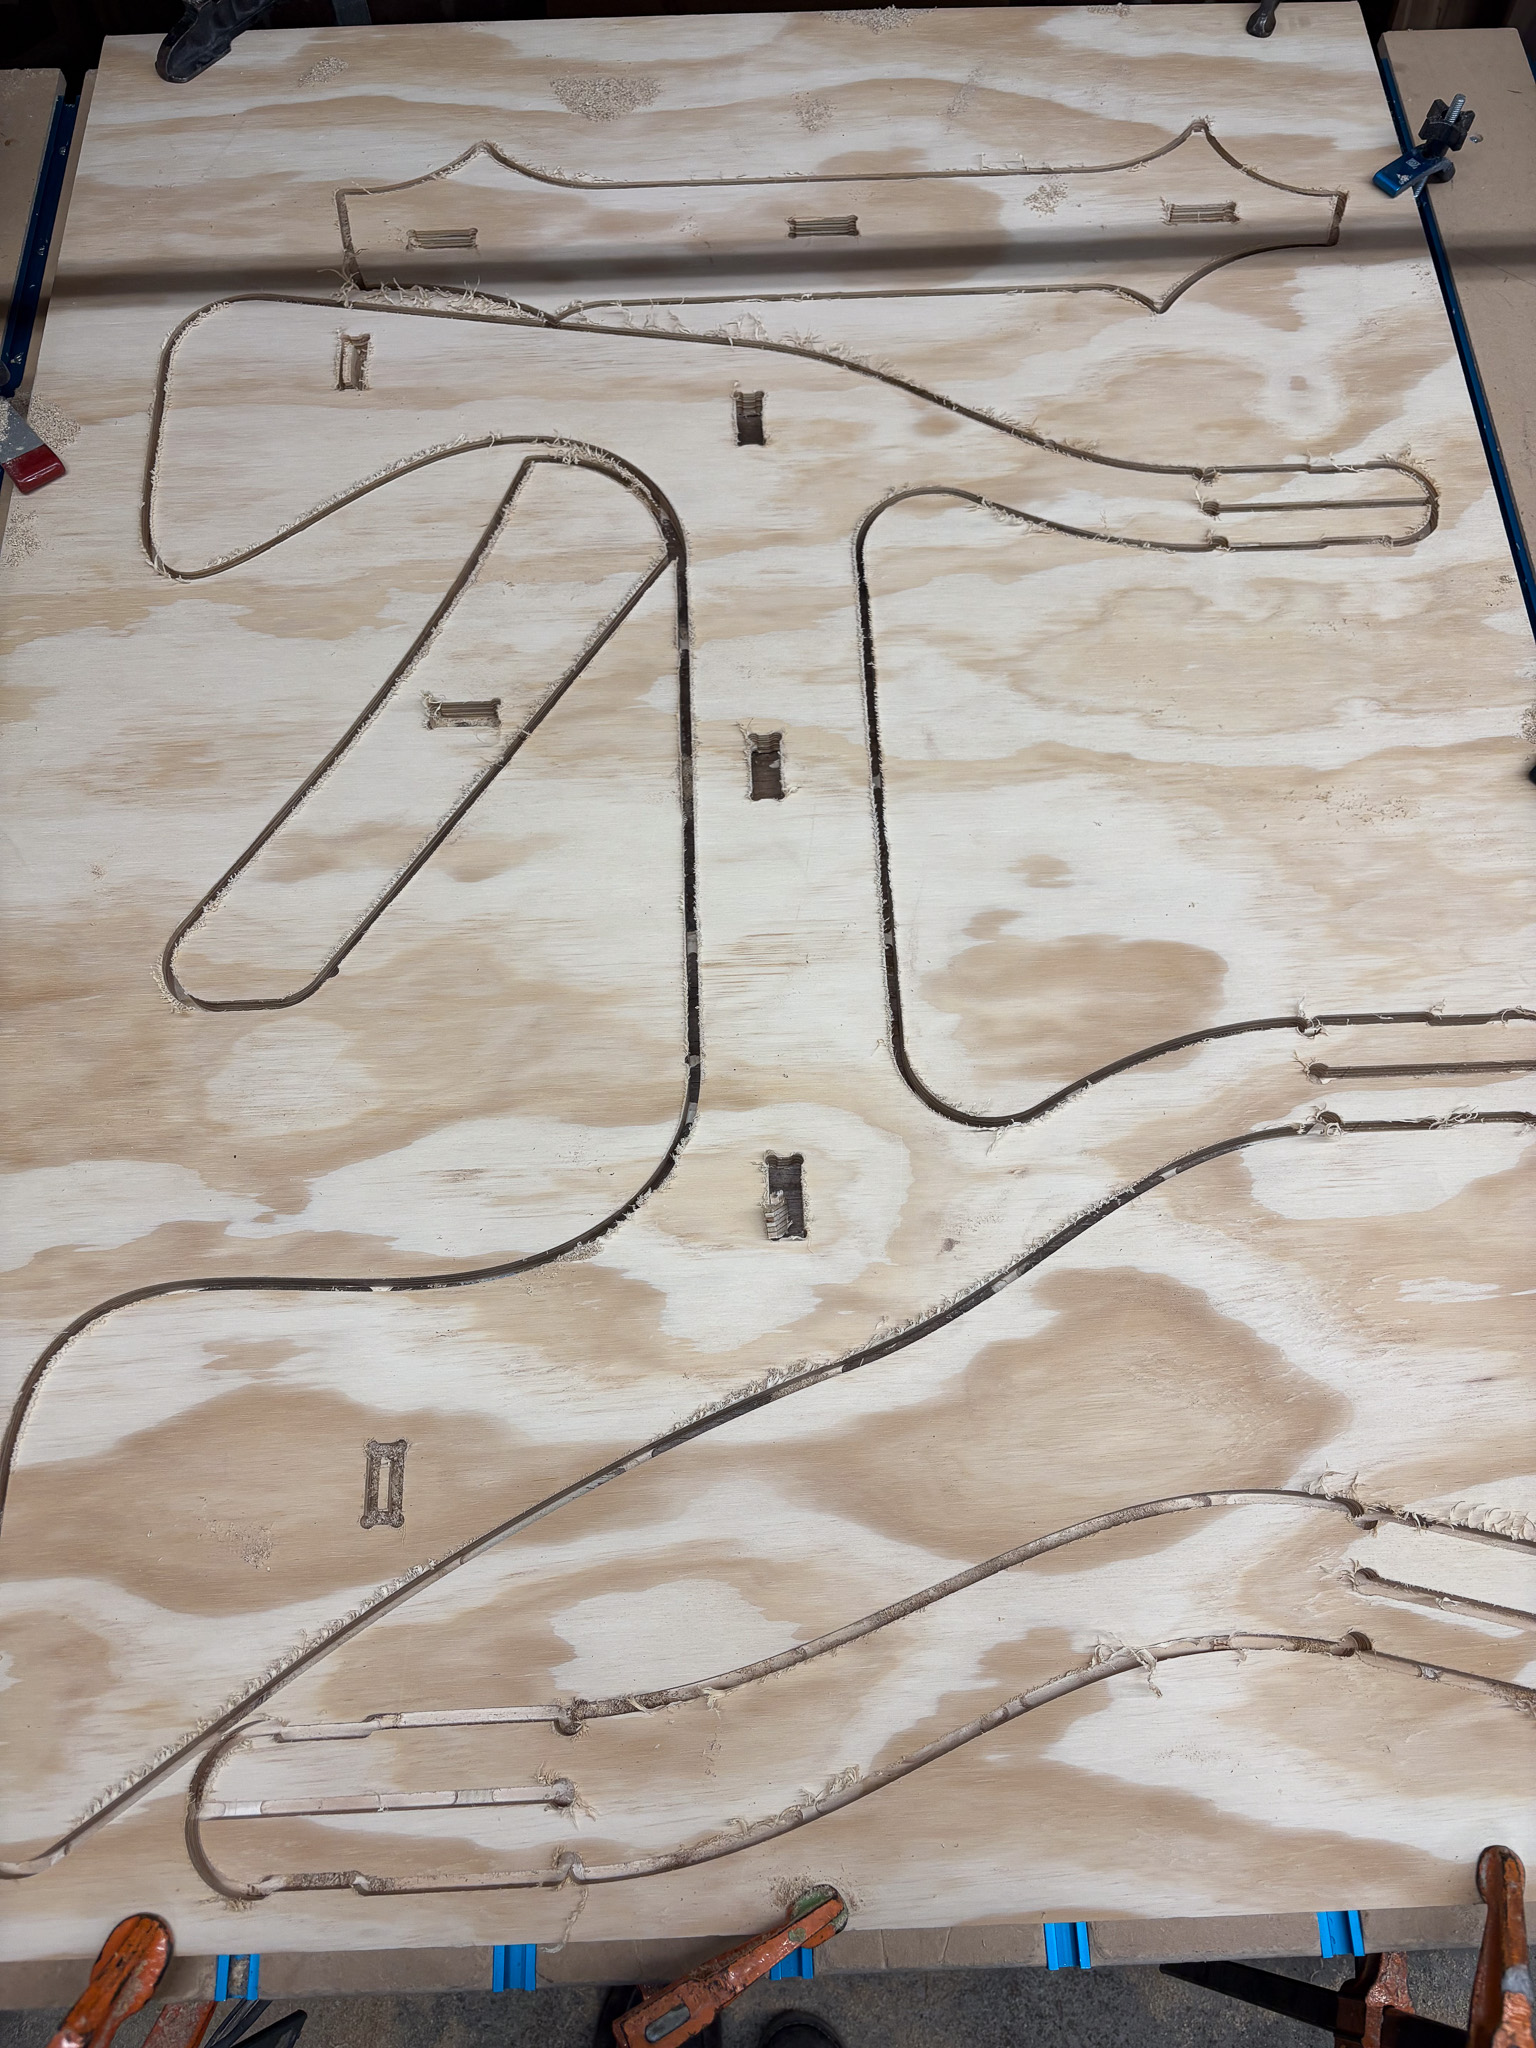
CNC
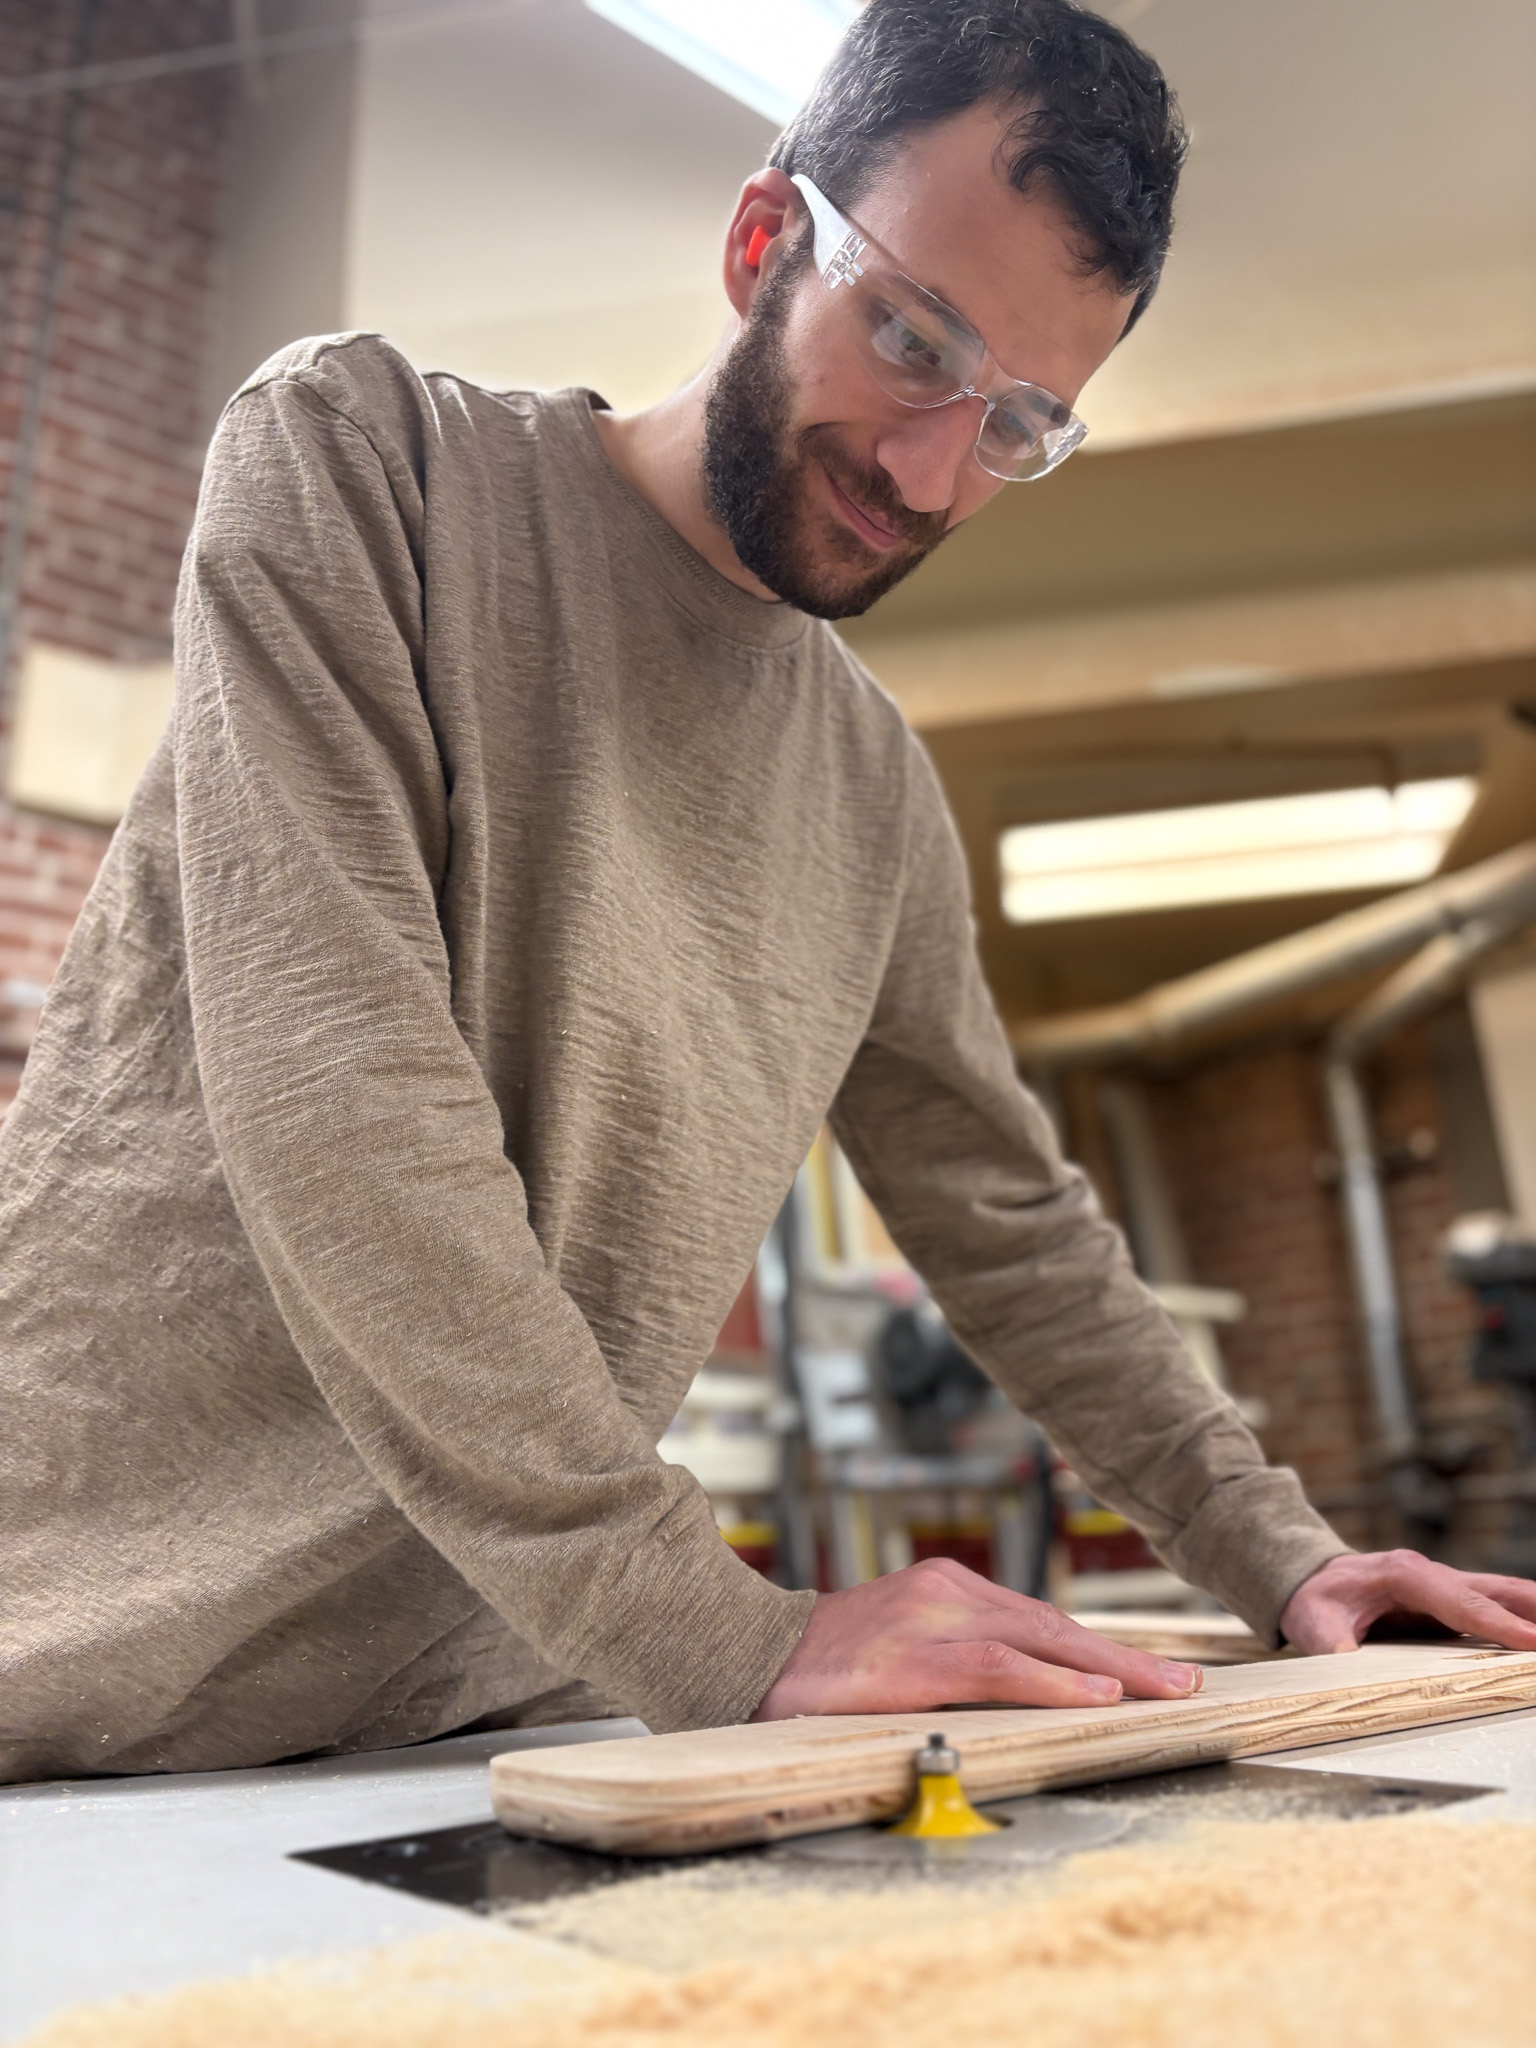
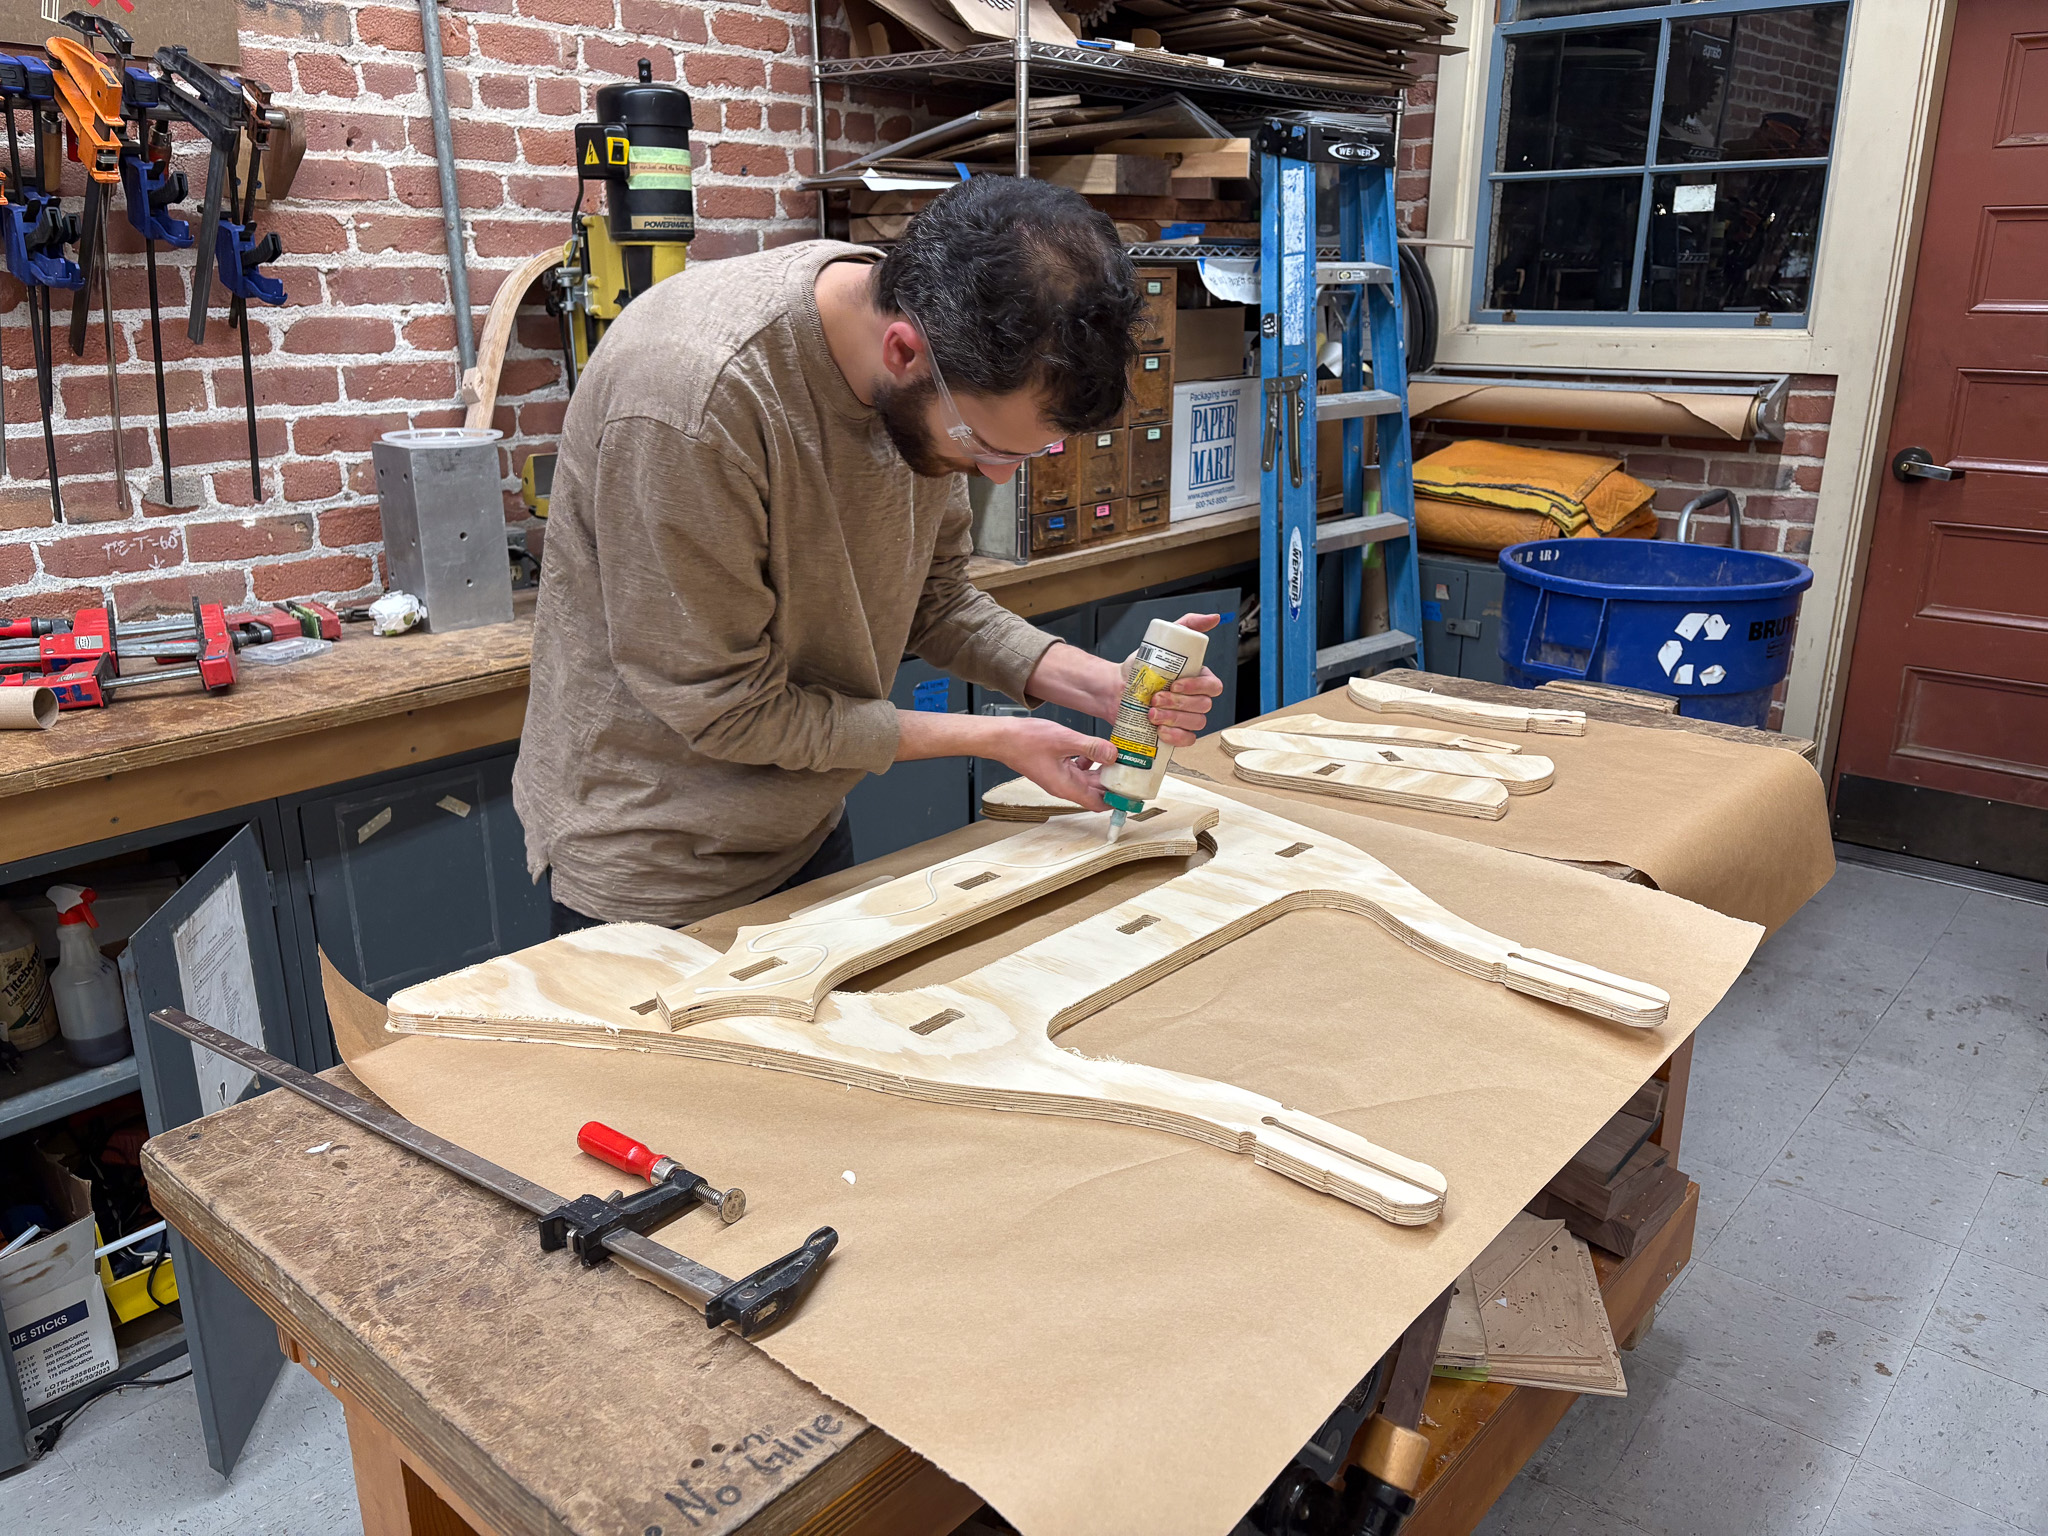
Woodworking
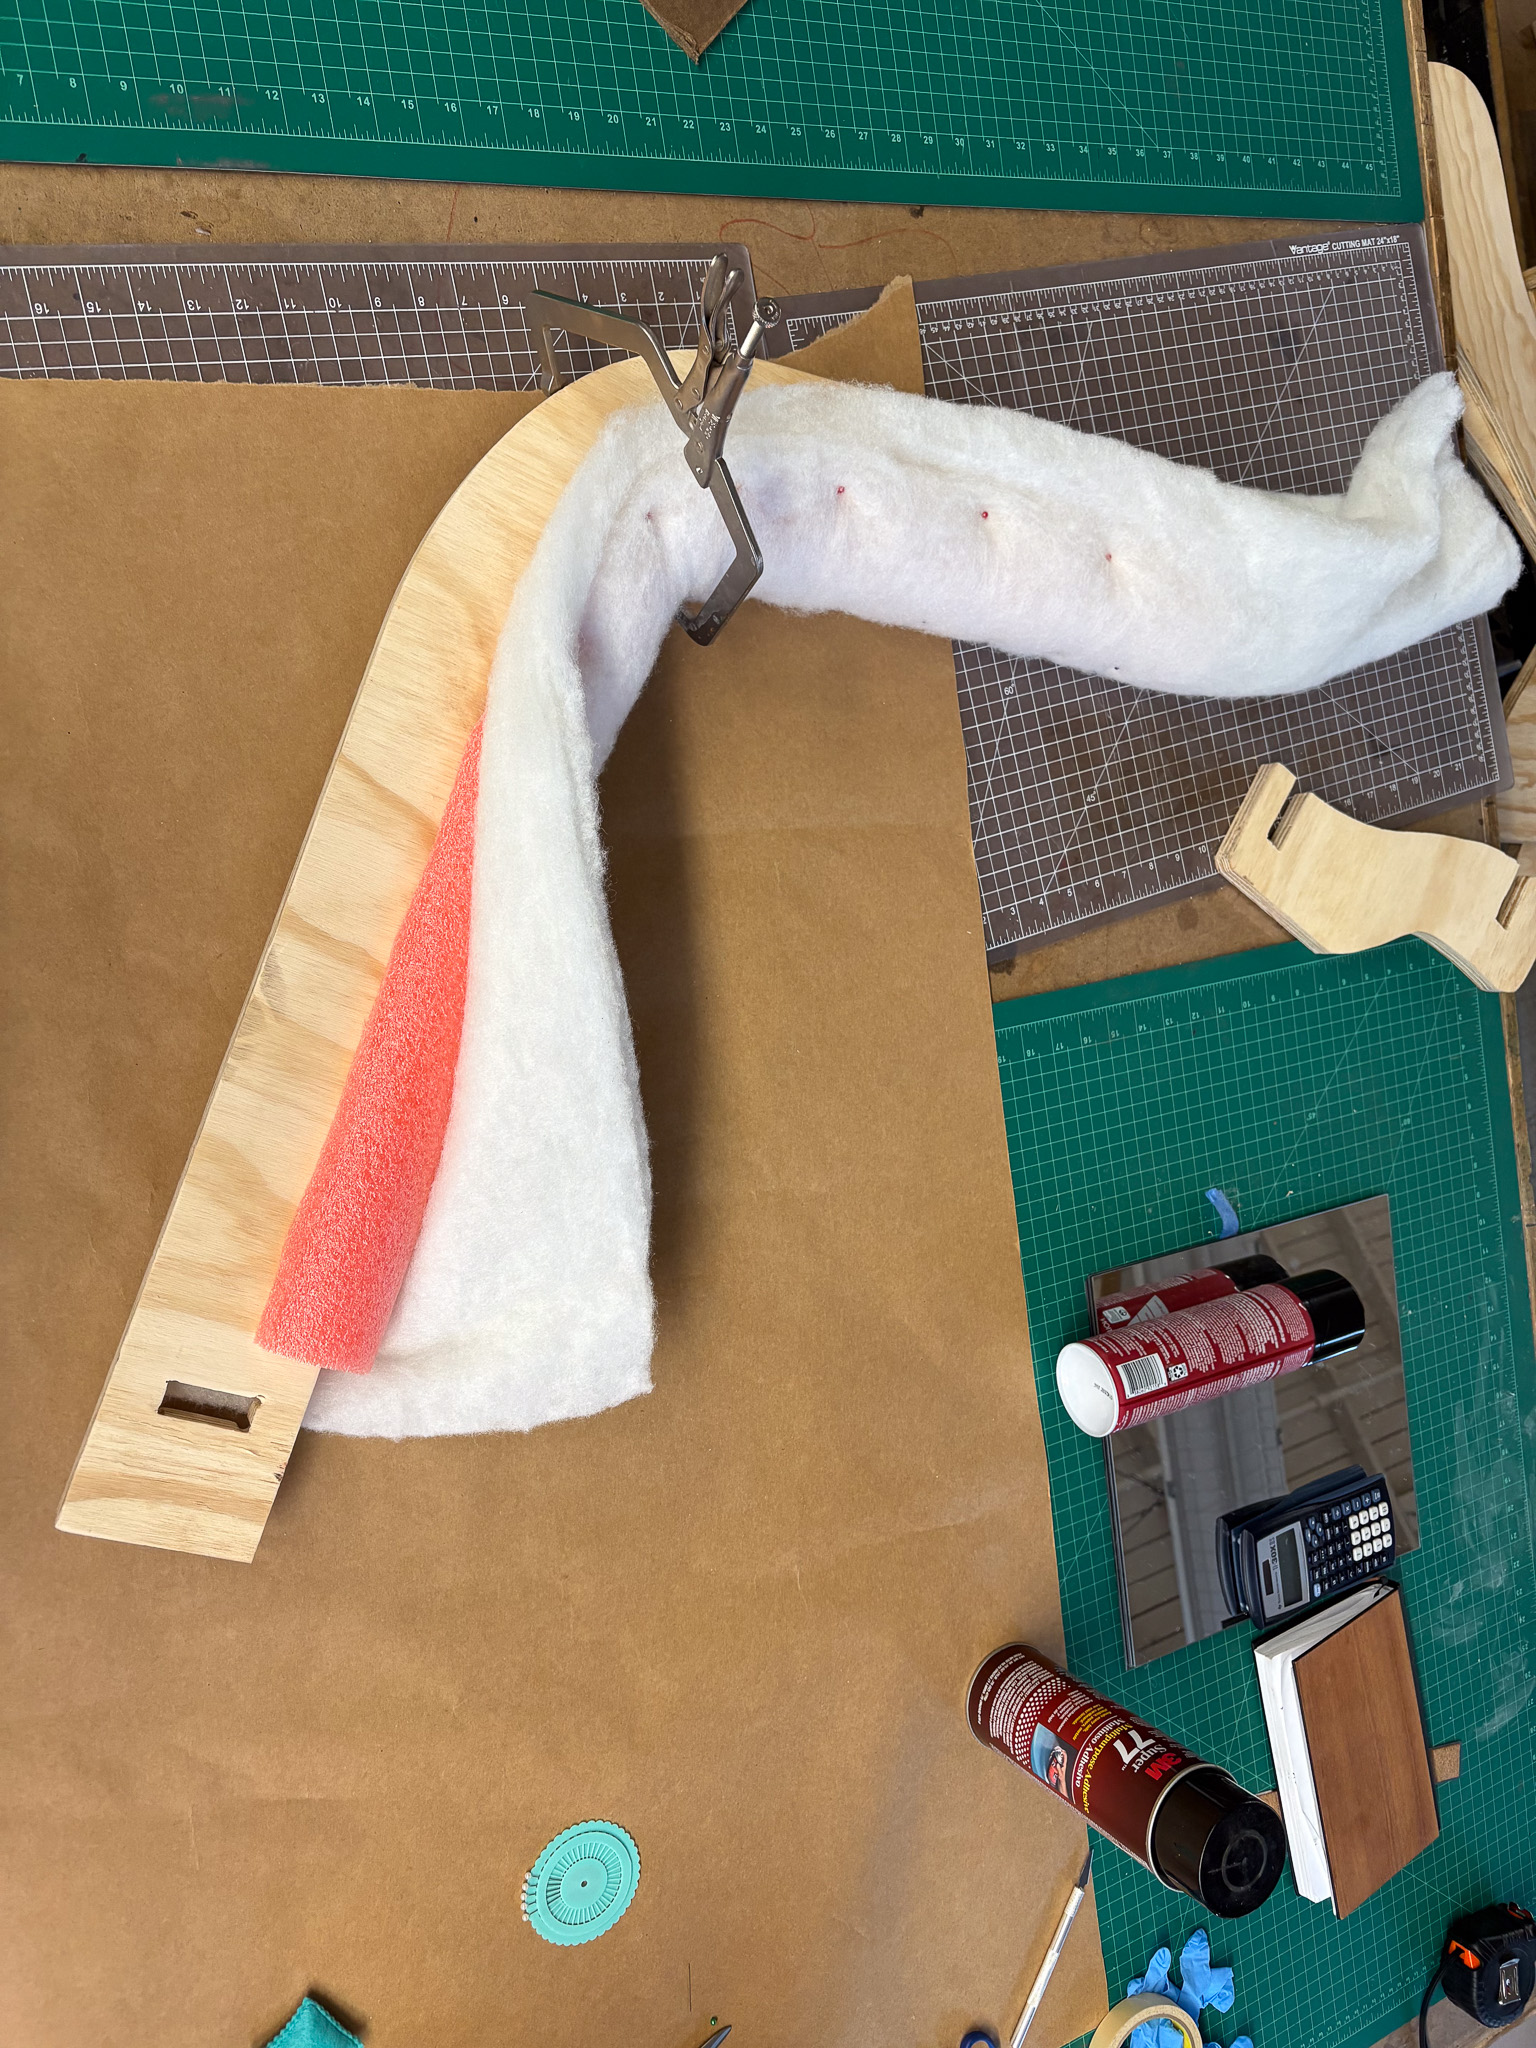
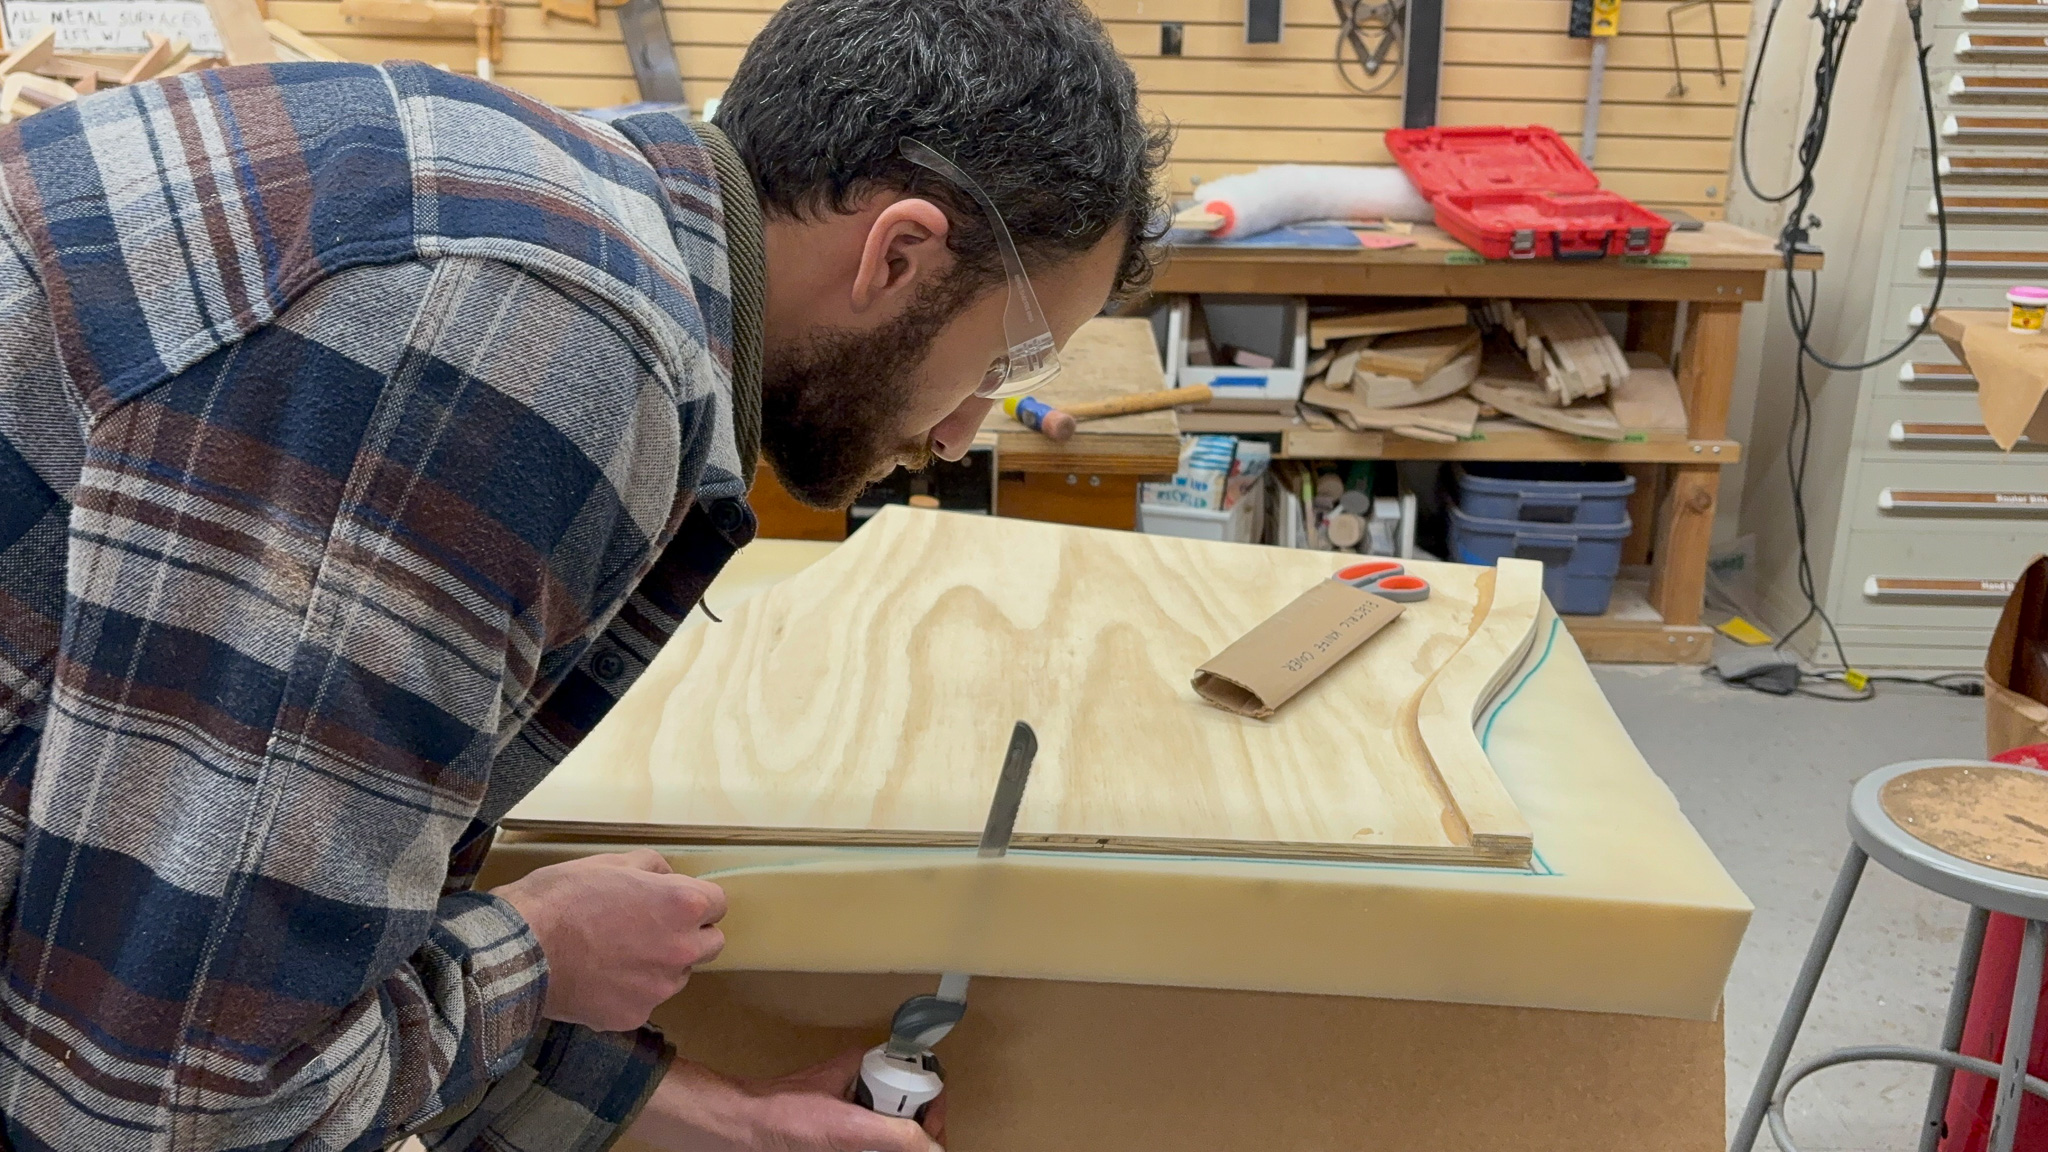
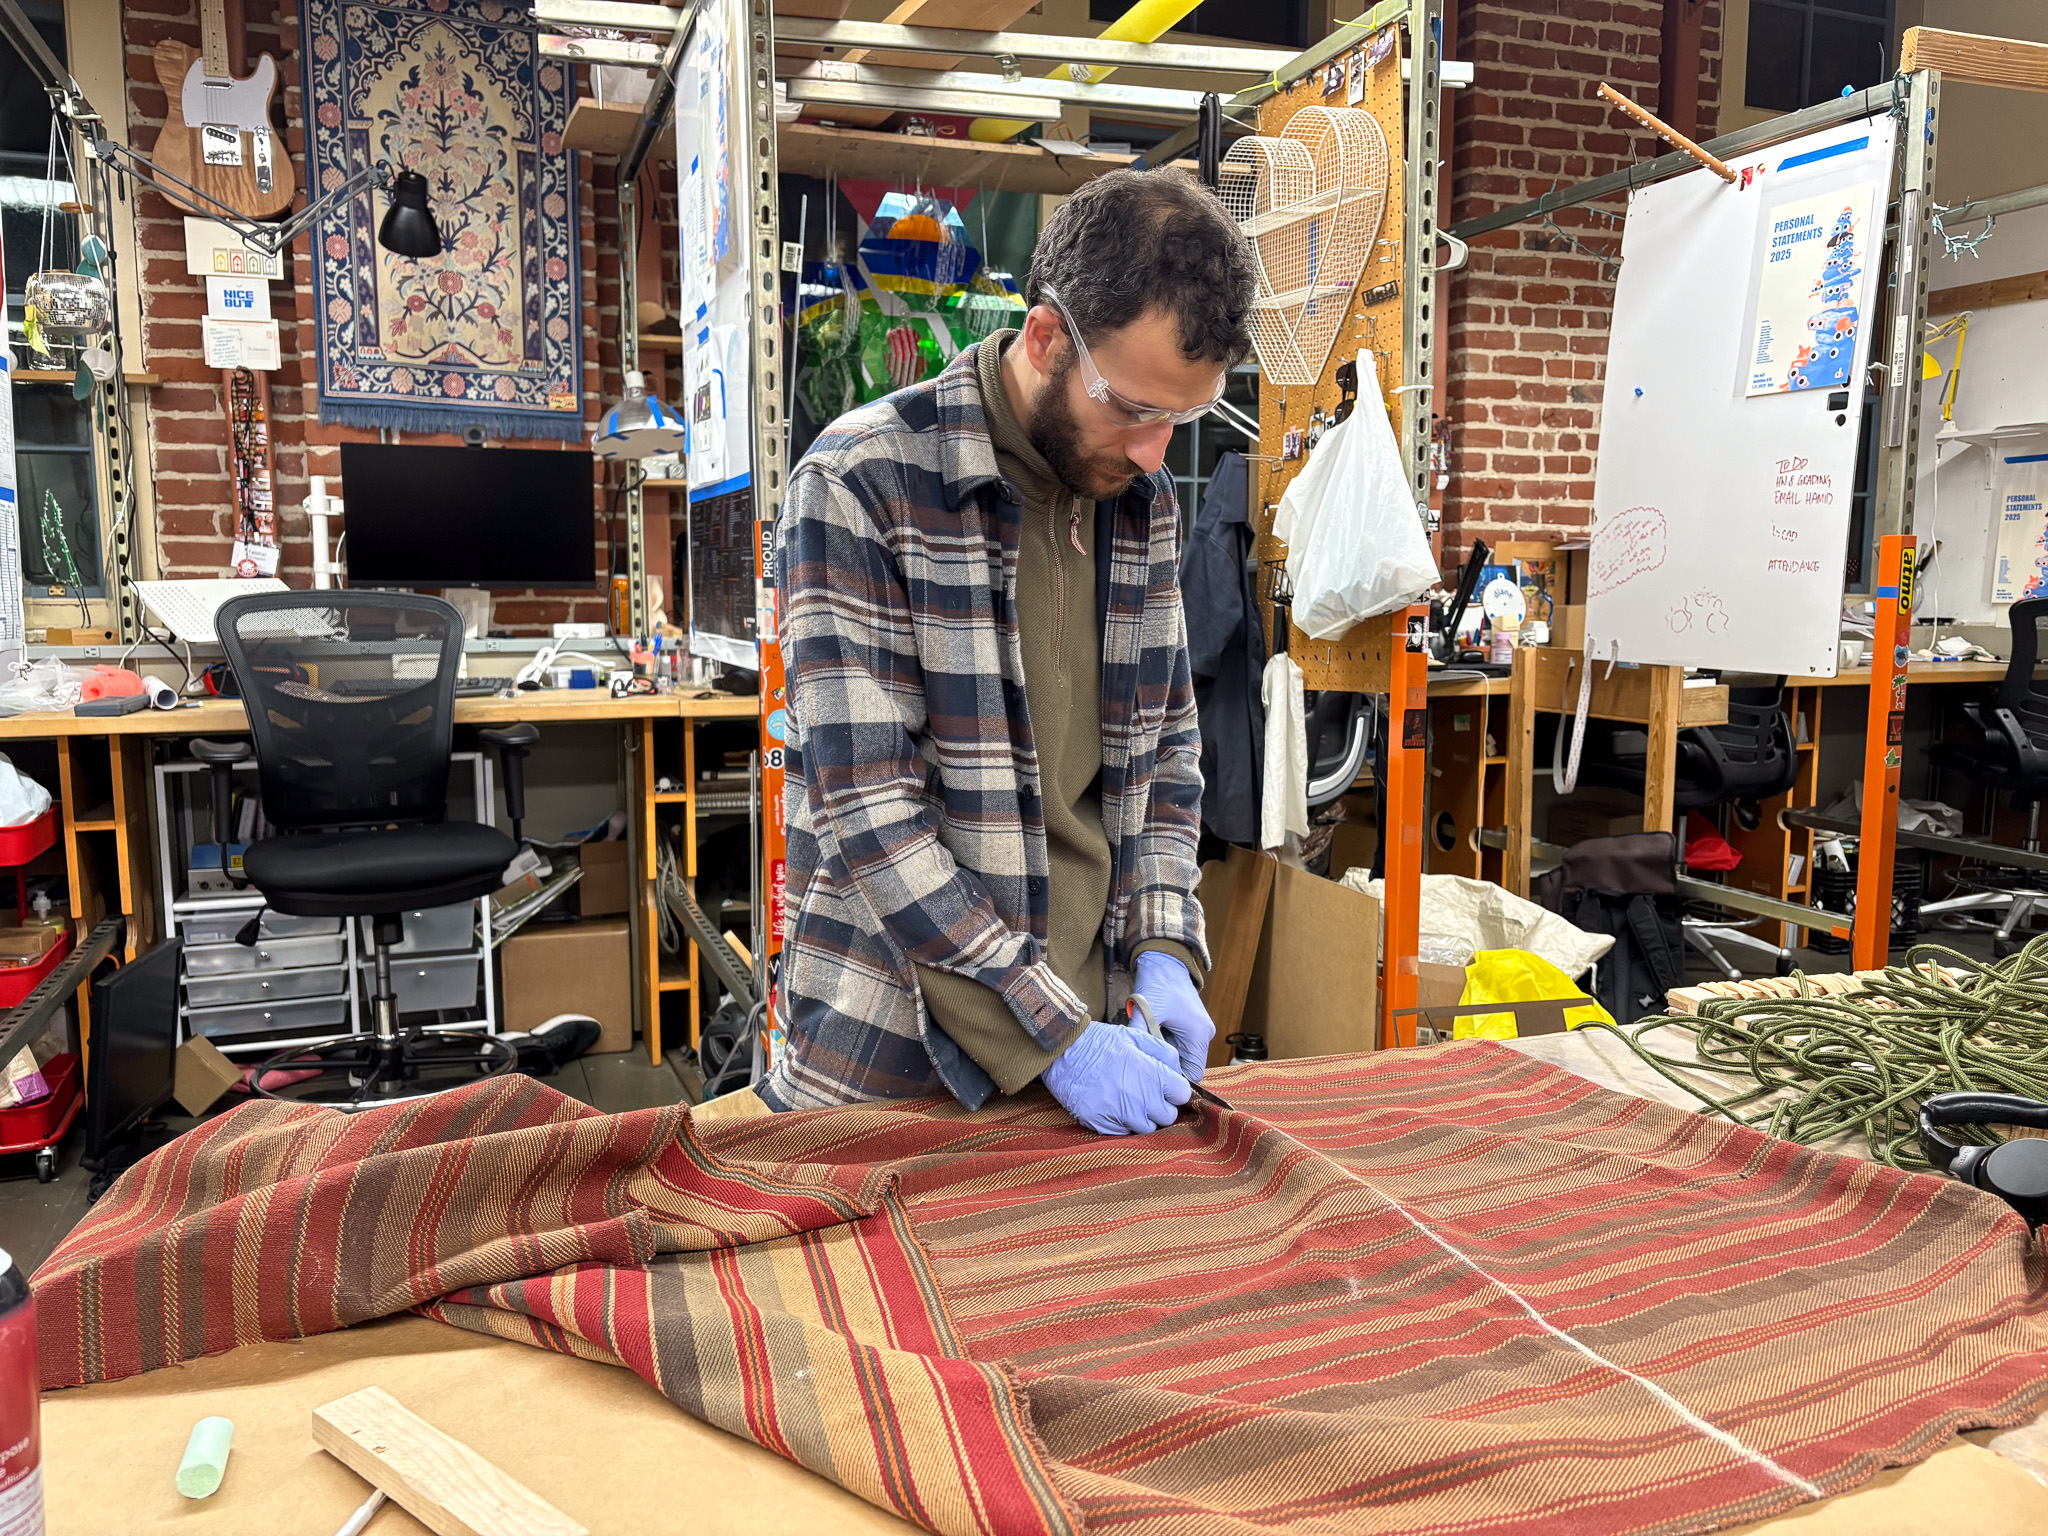
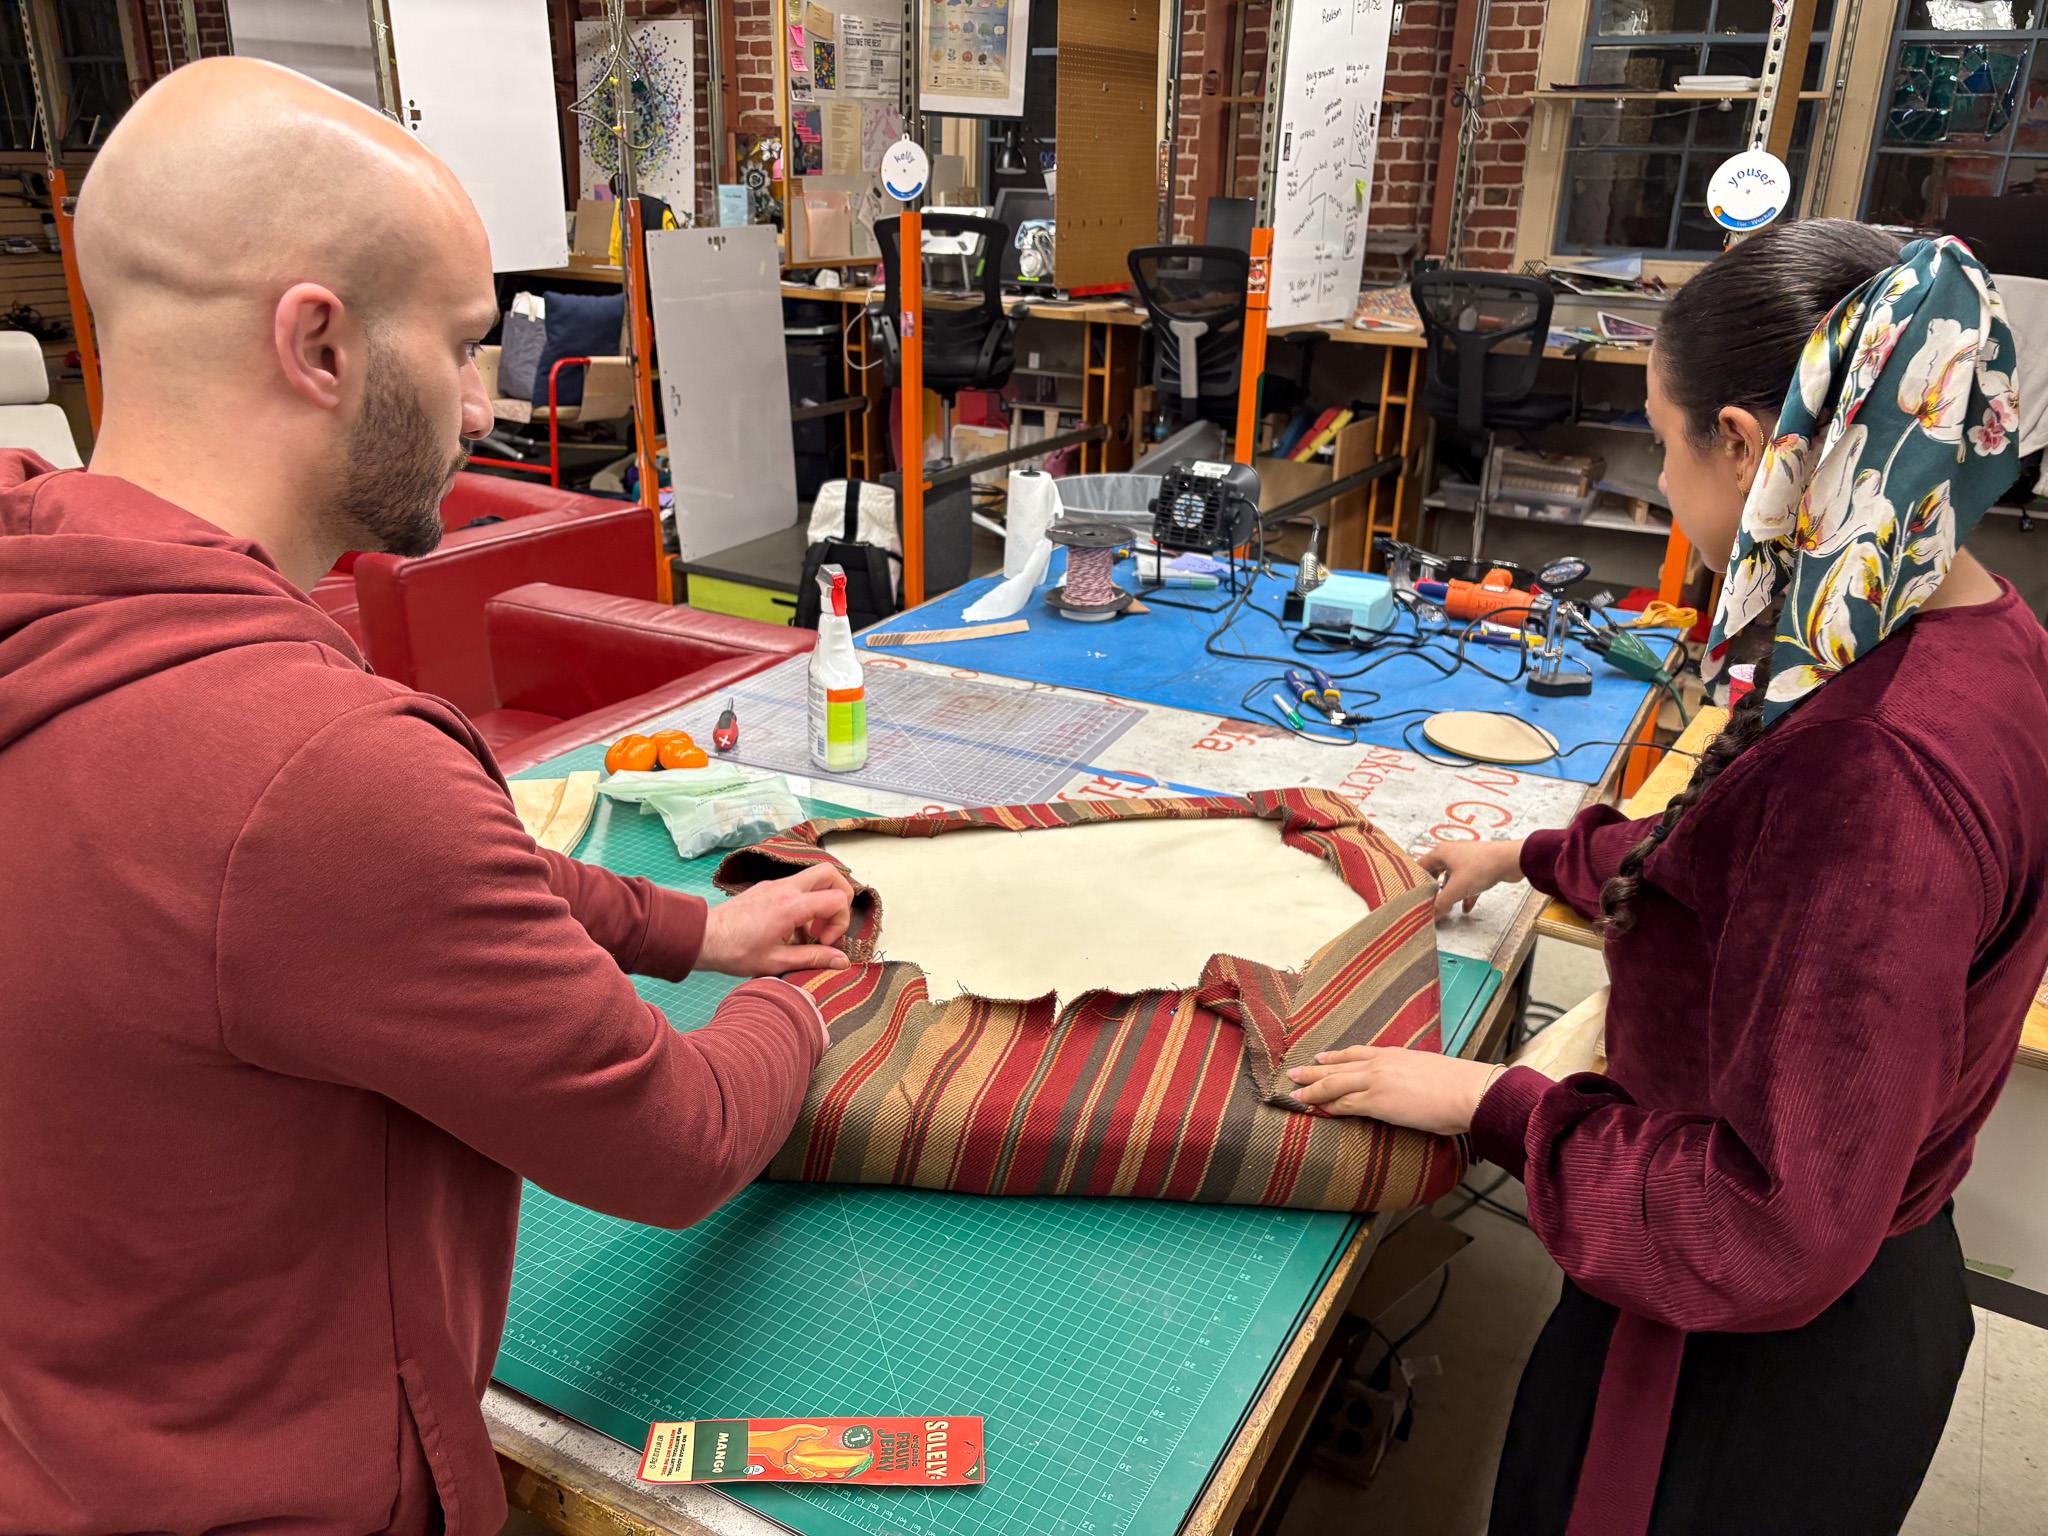
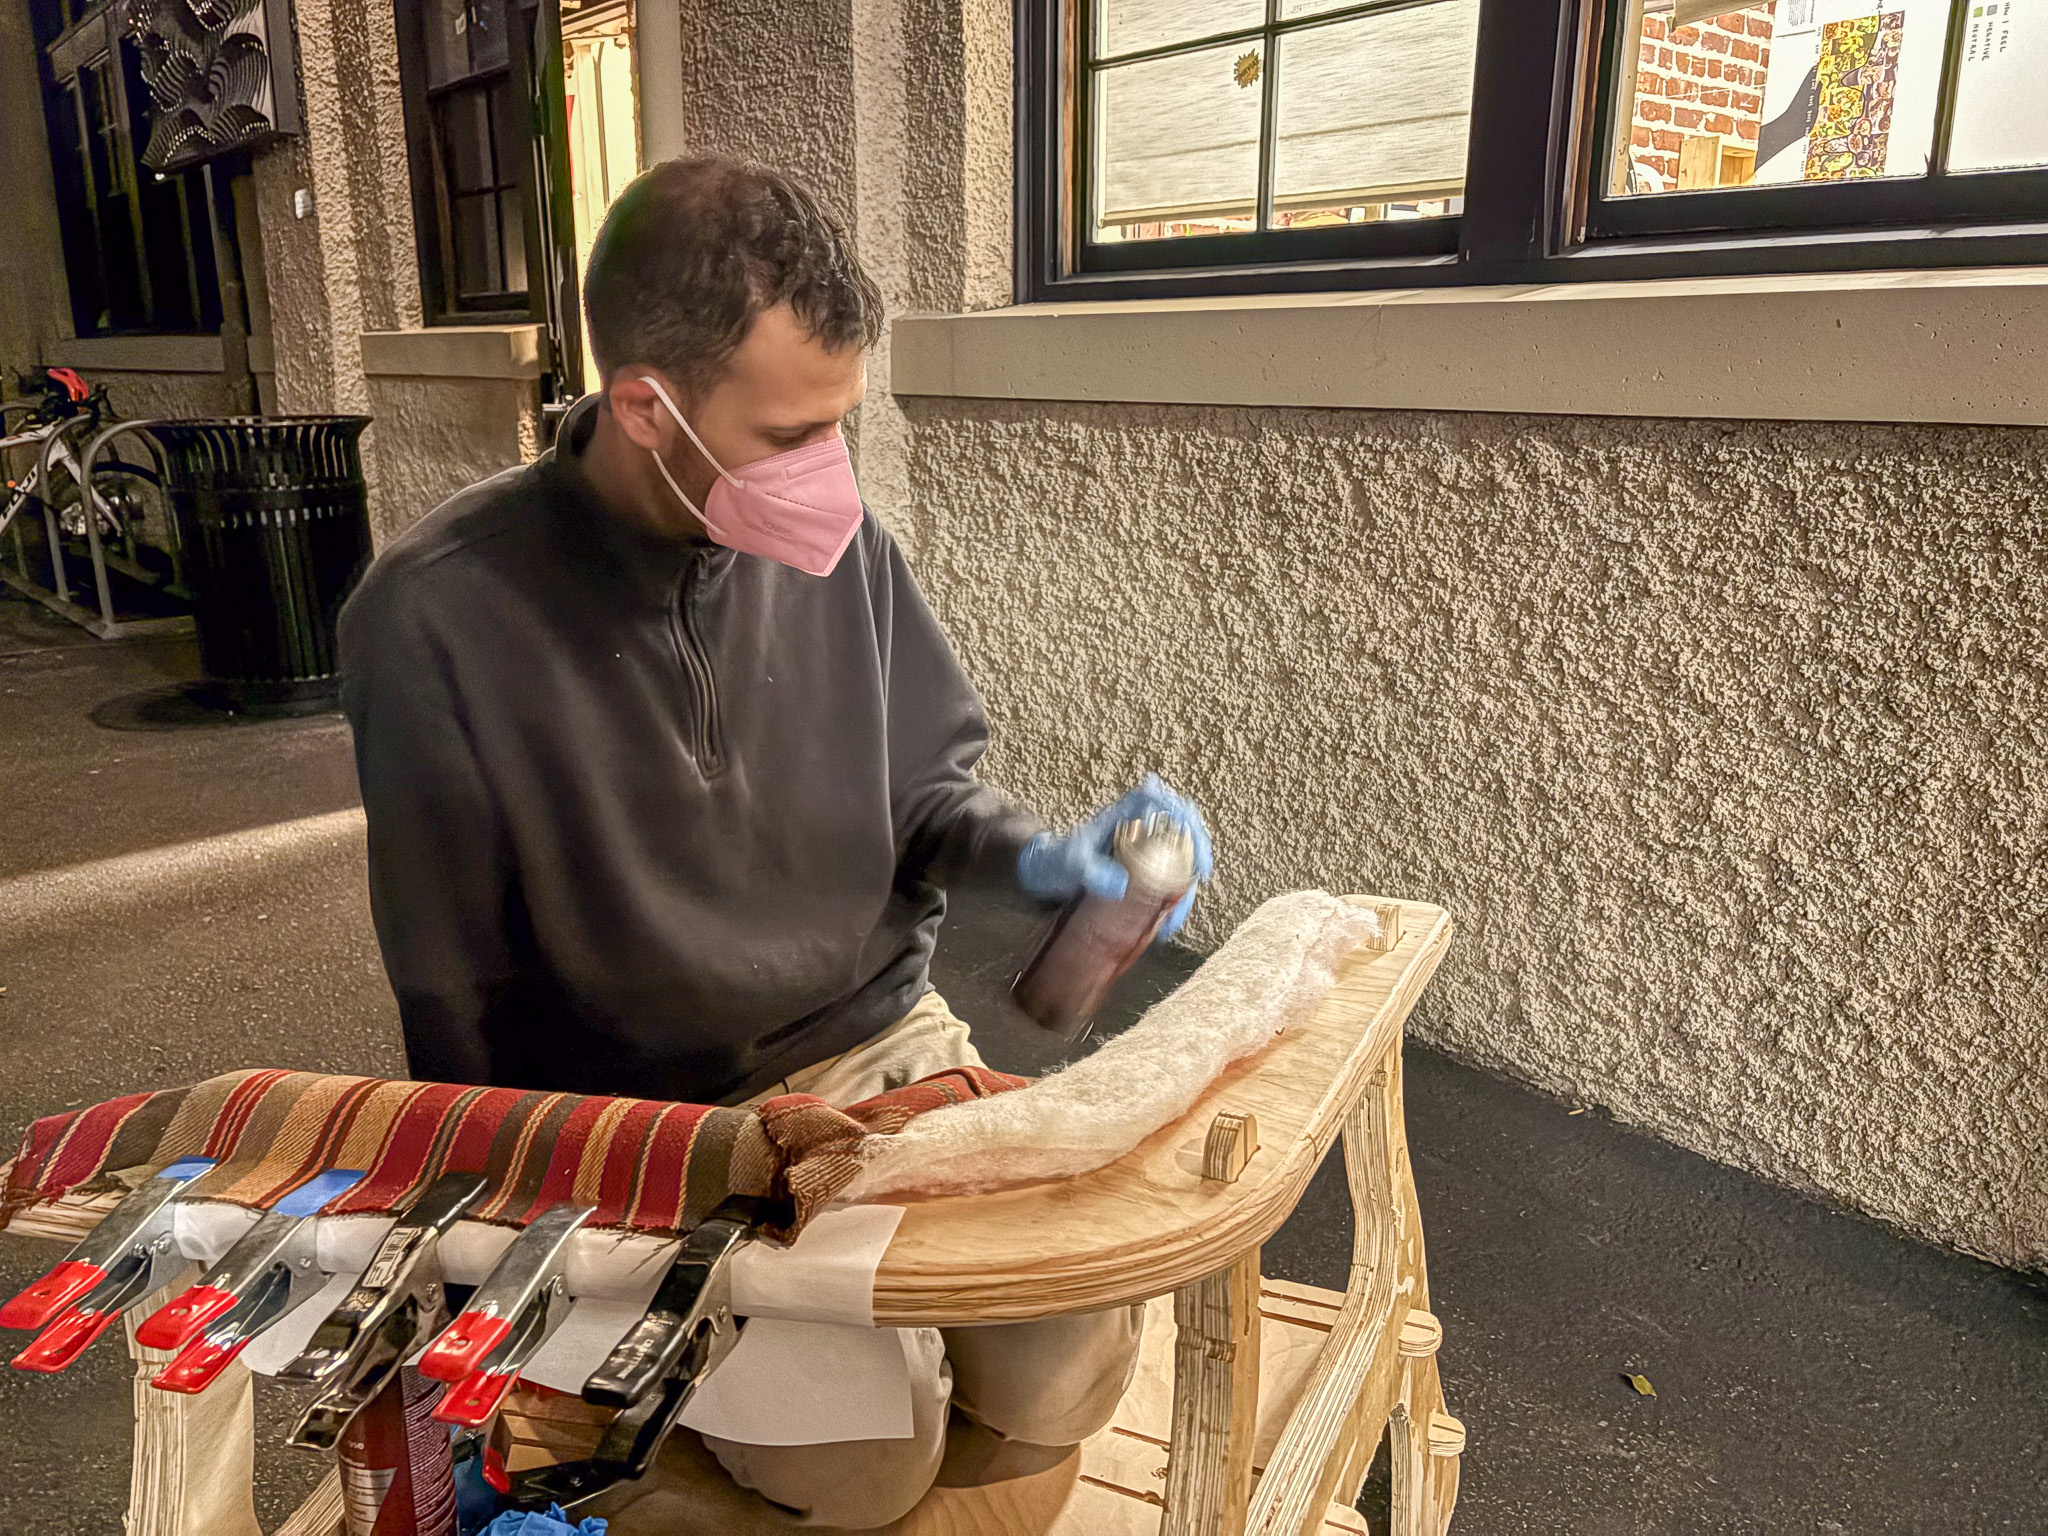
Upholstery
Snap-Fit Design
Parts Consolidation
Prototyping
User Testing
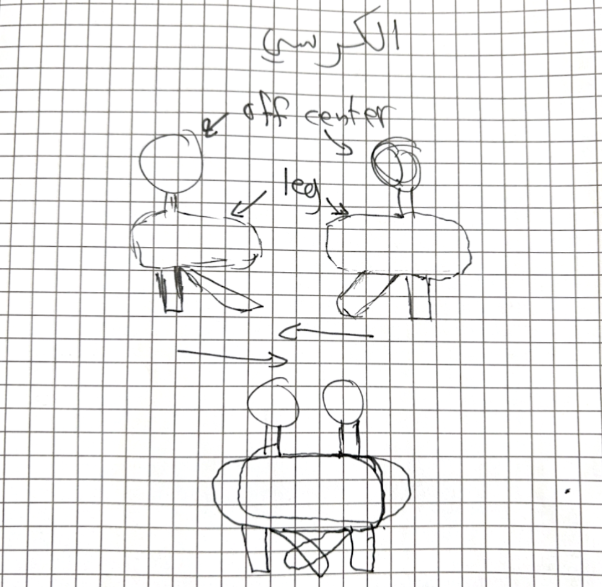
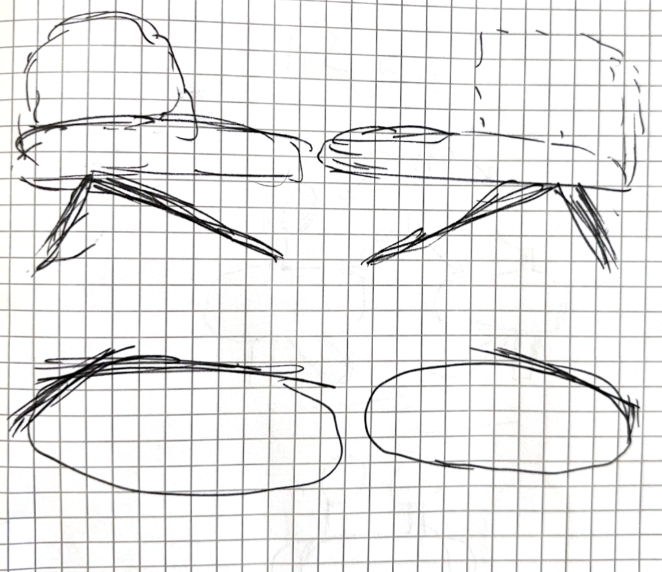
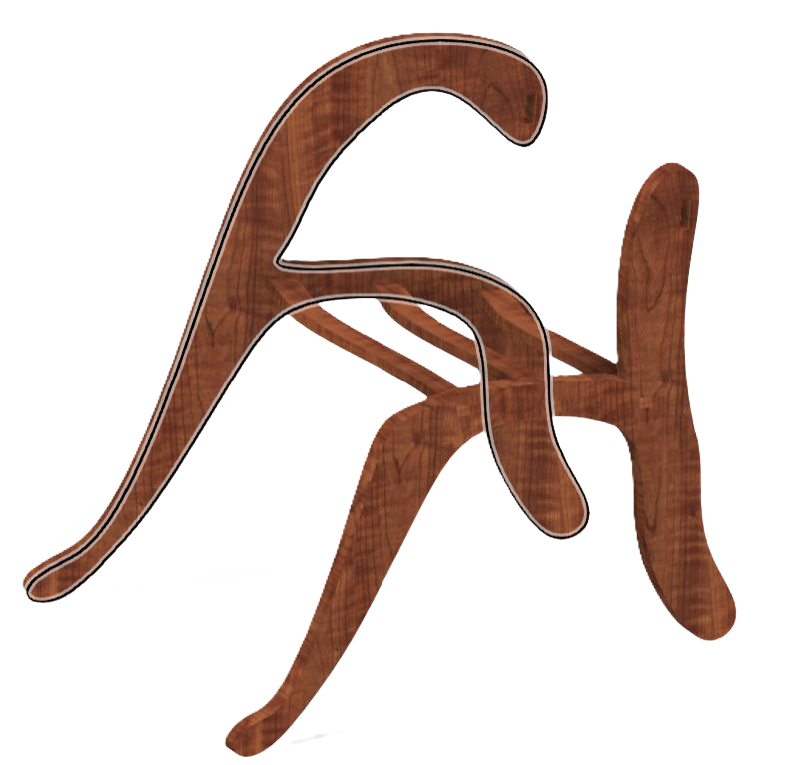
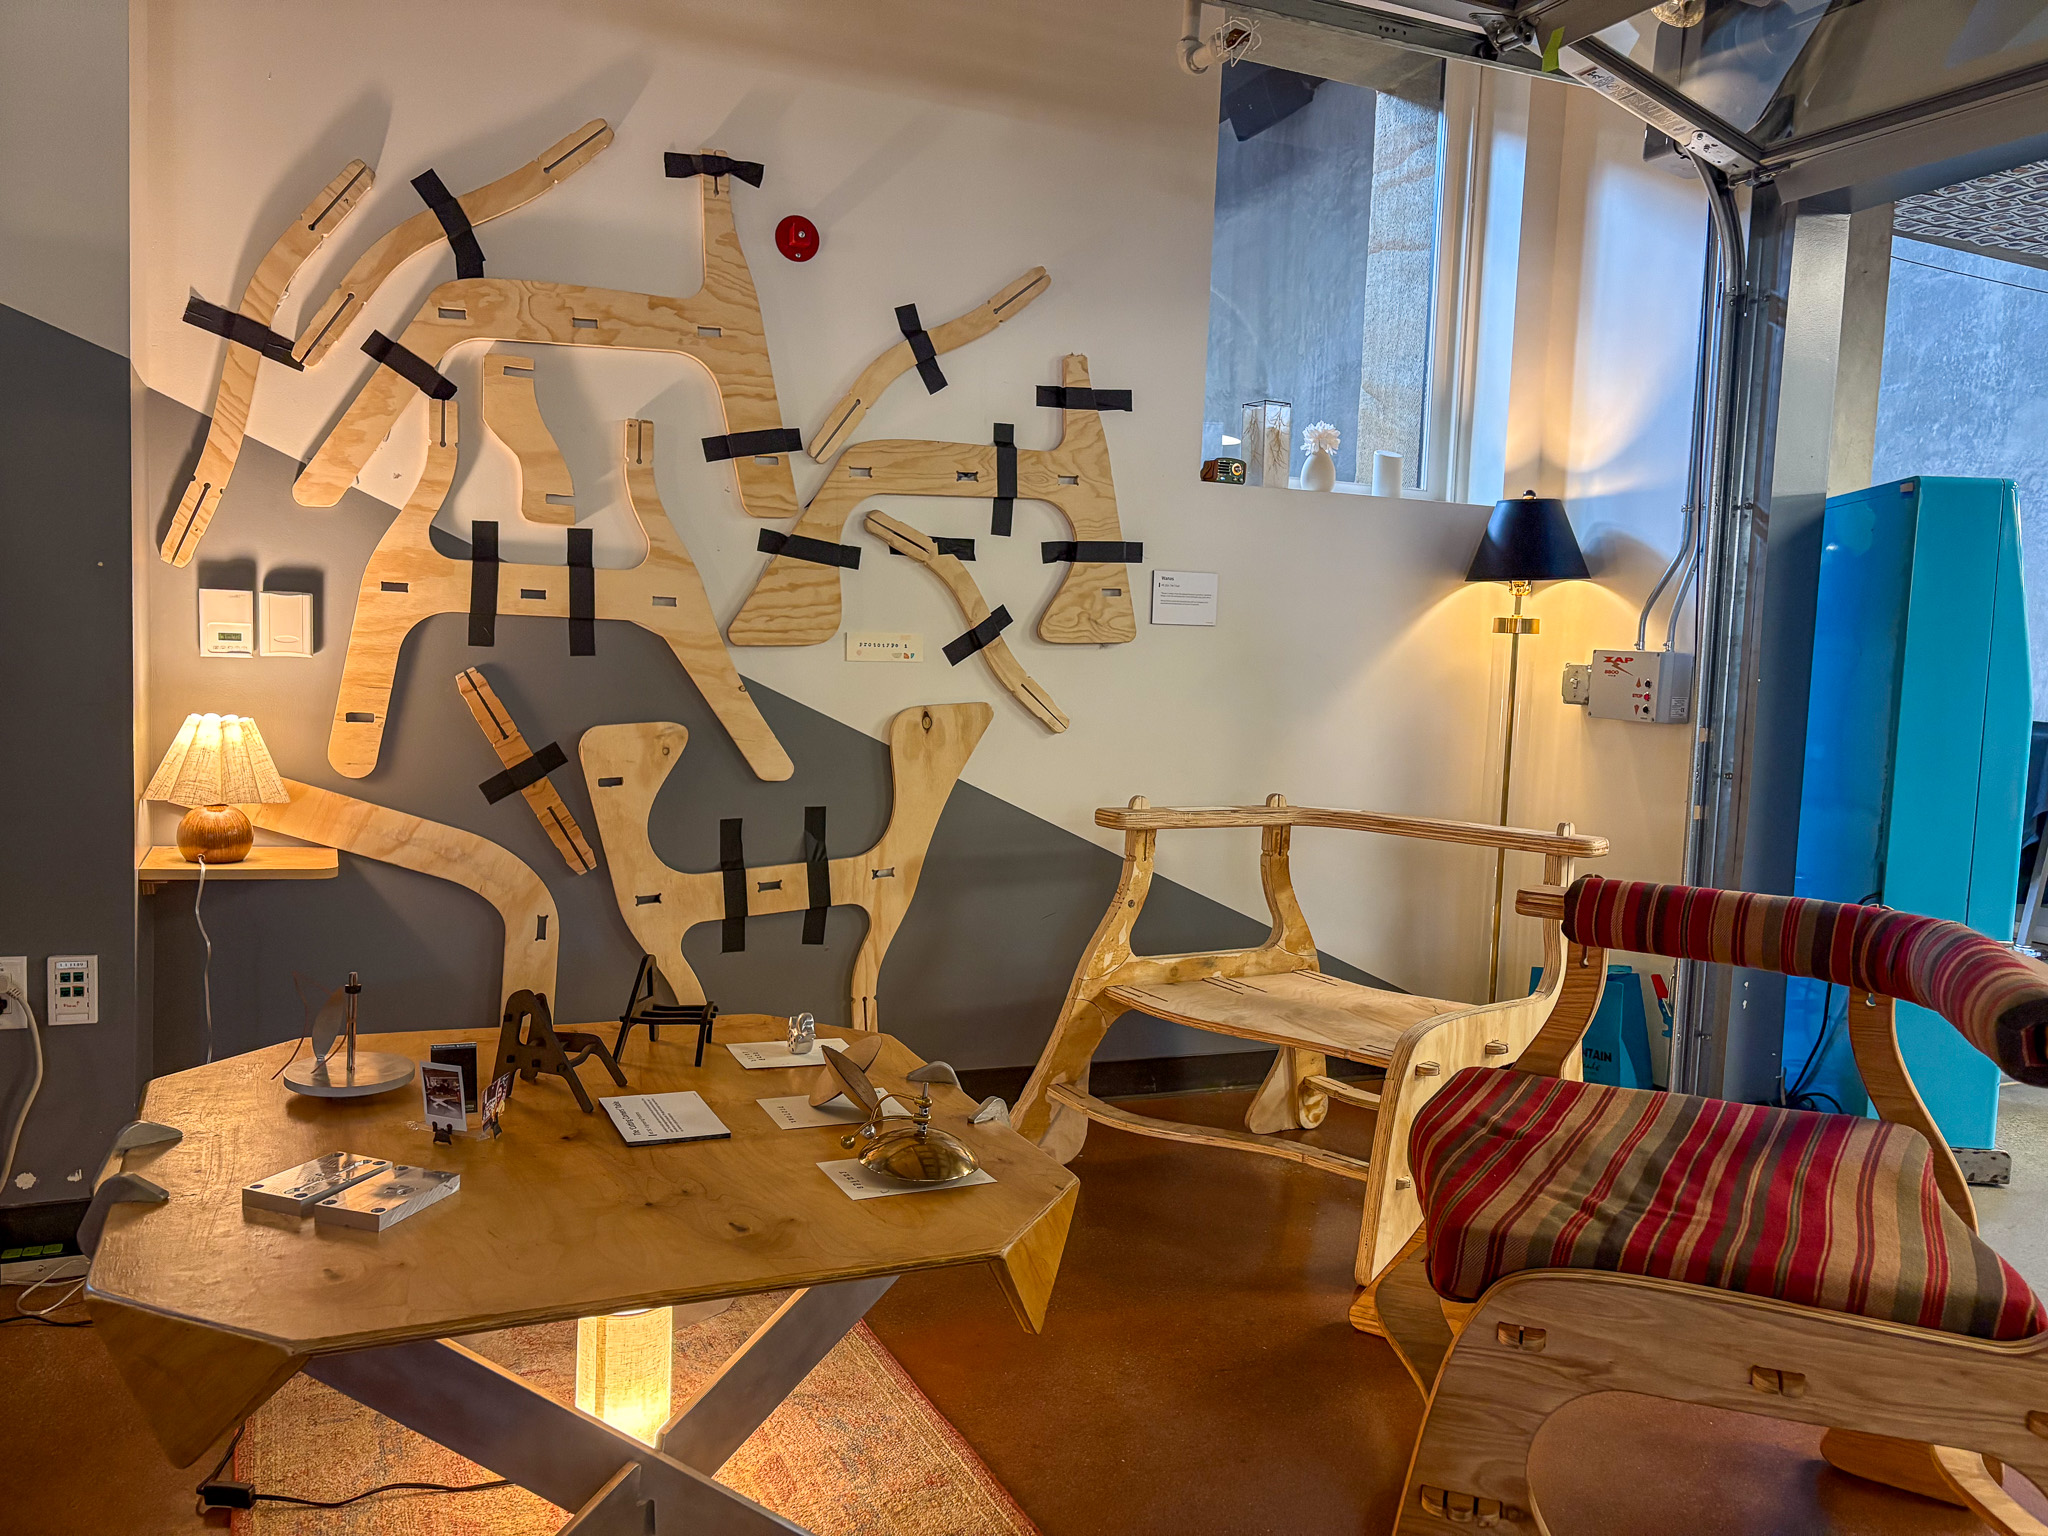
After a few initial sketches I went to CAD and built a model I can laser cut.
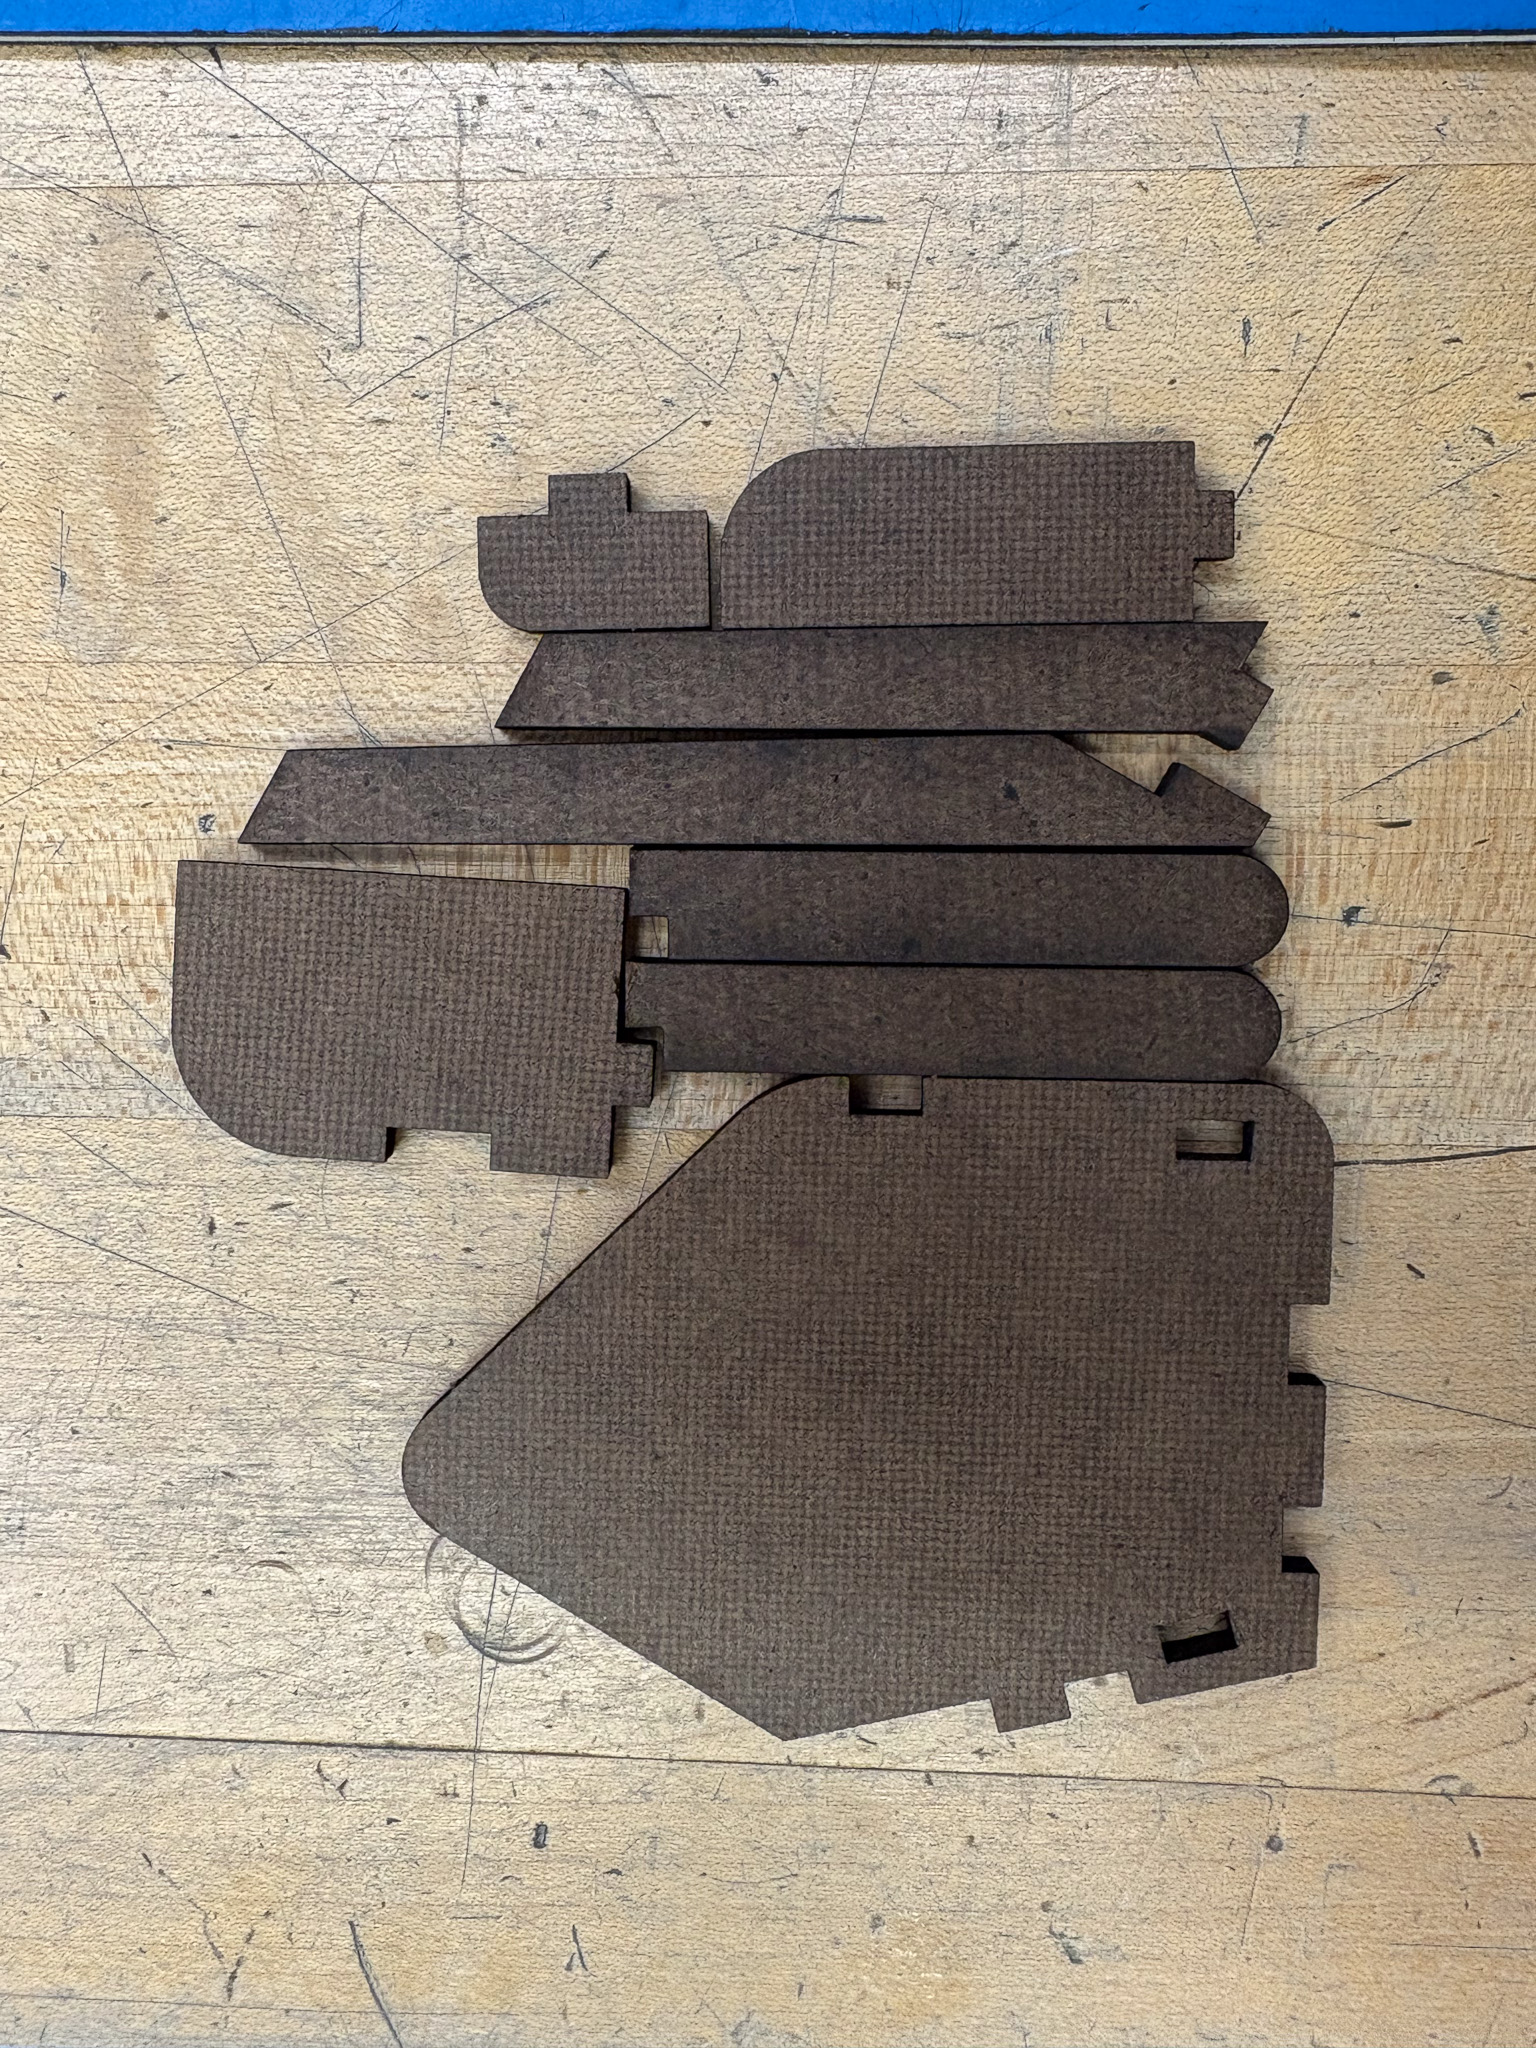
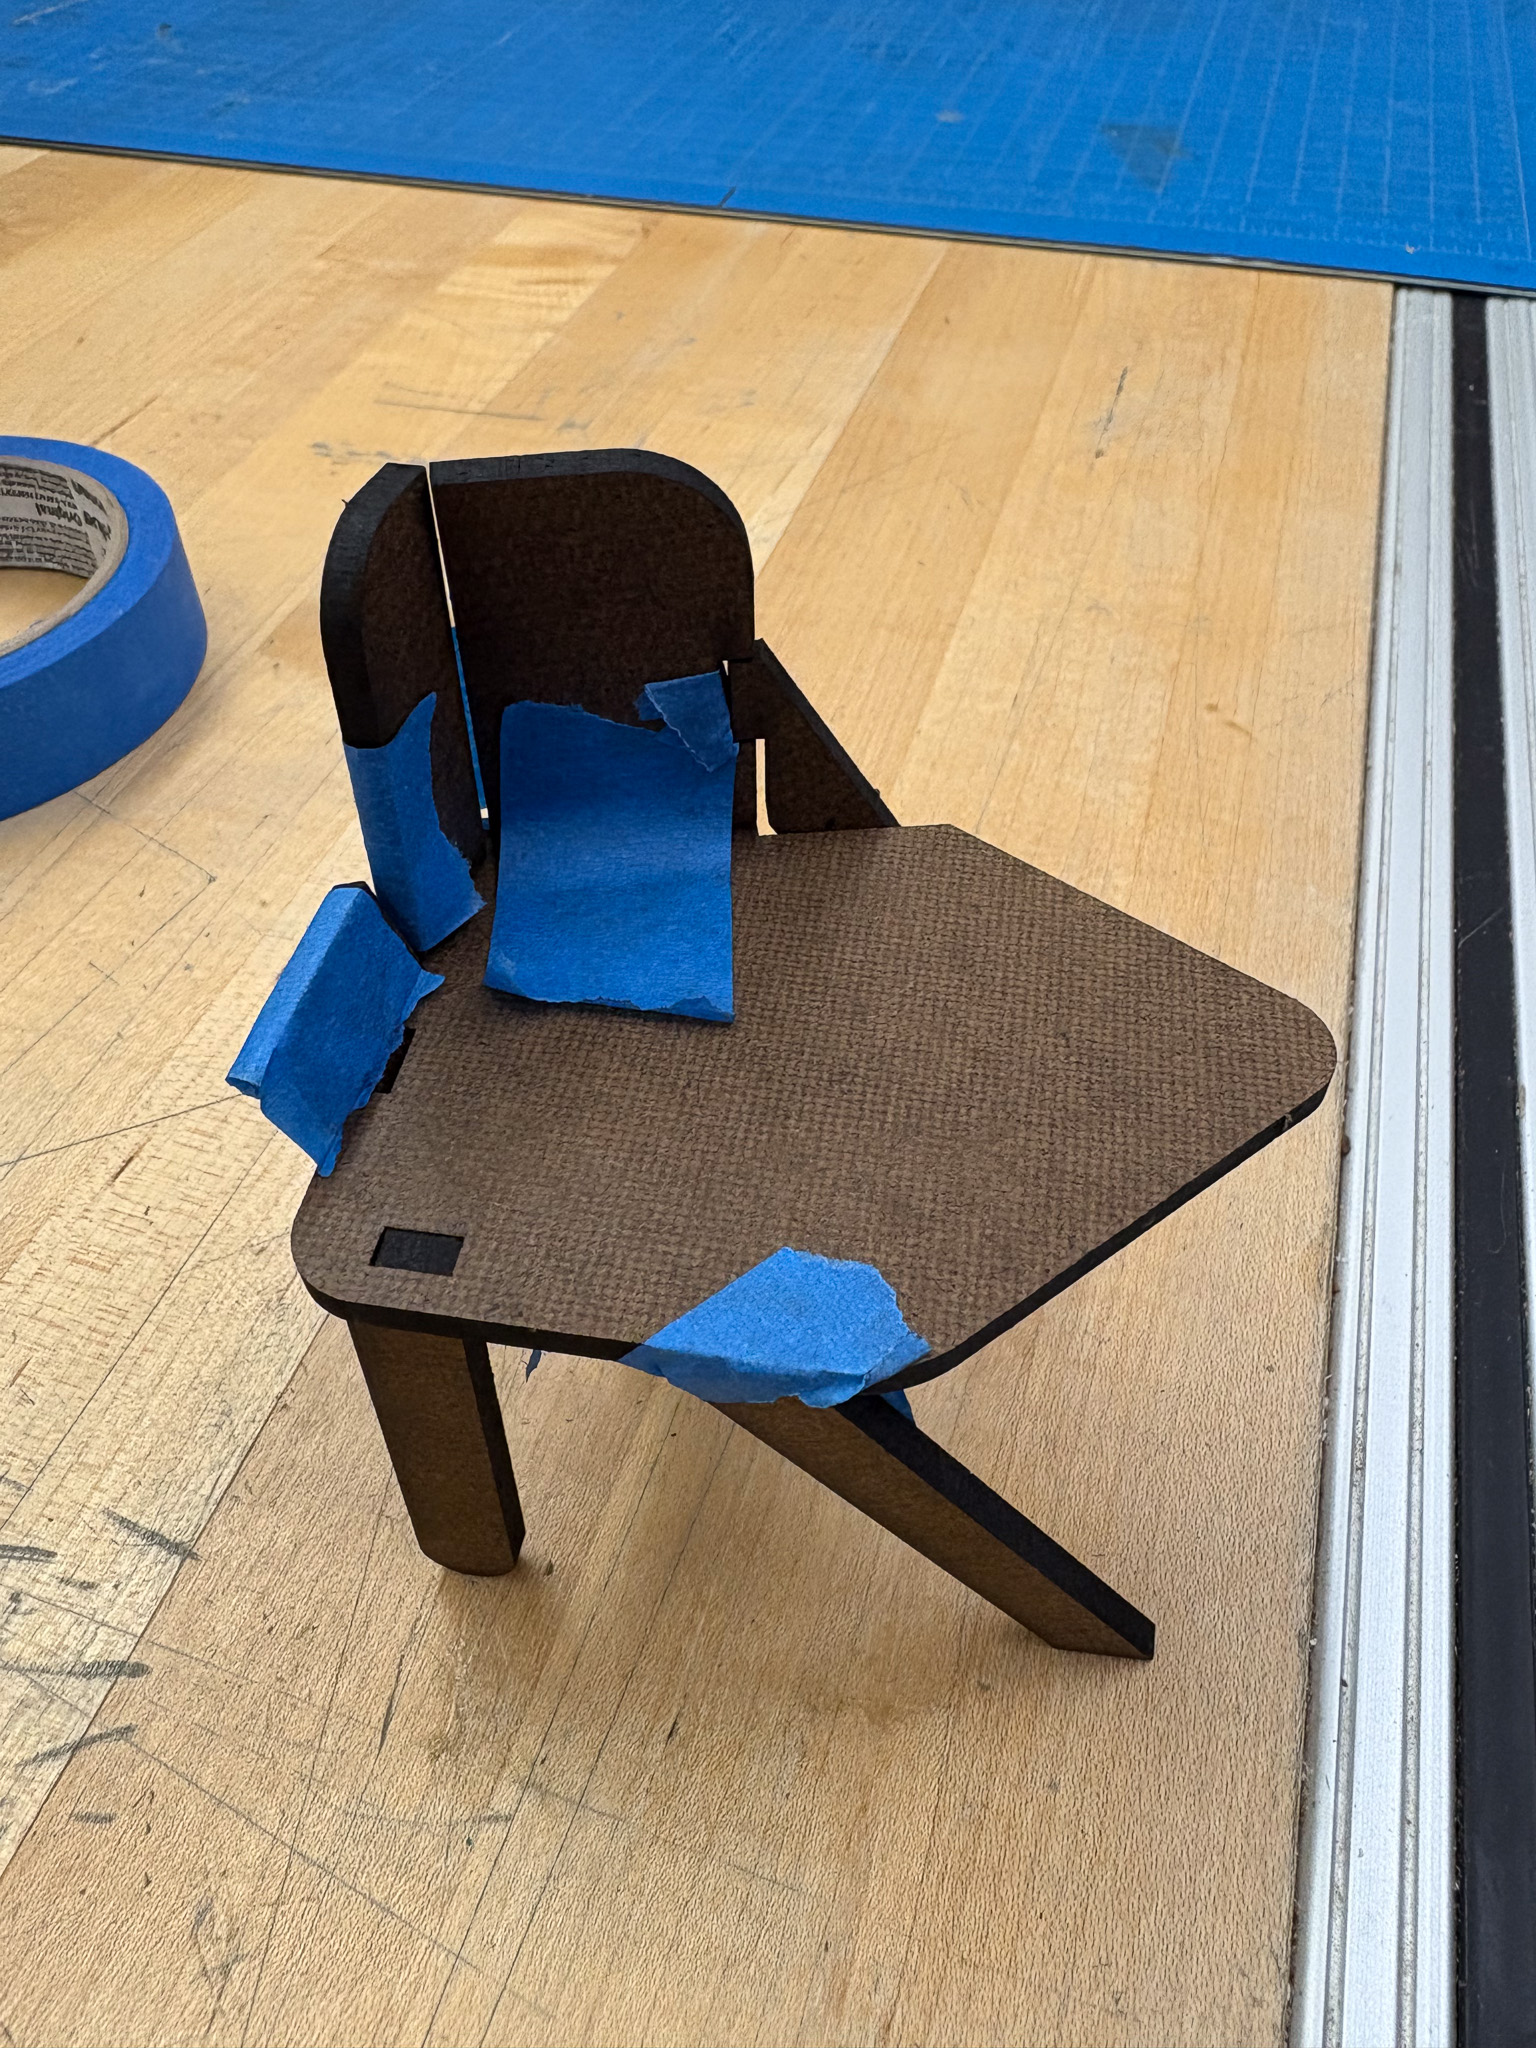
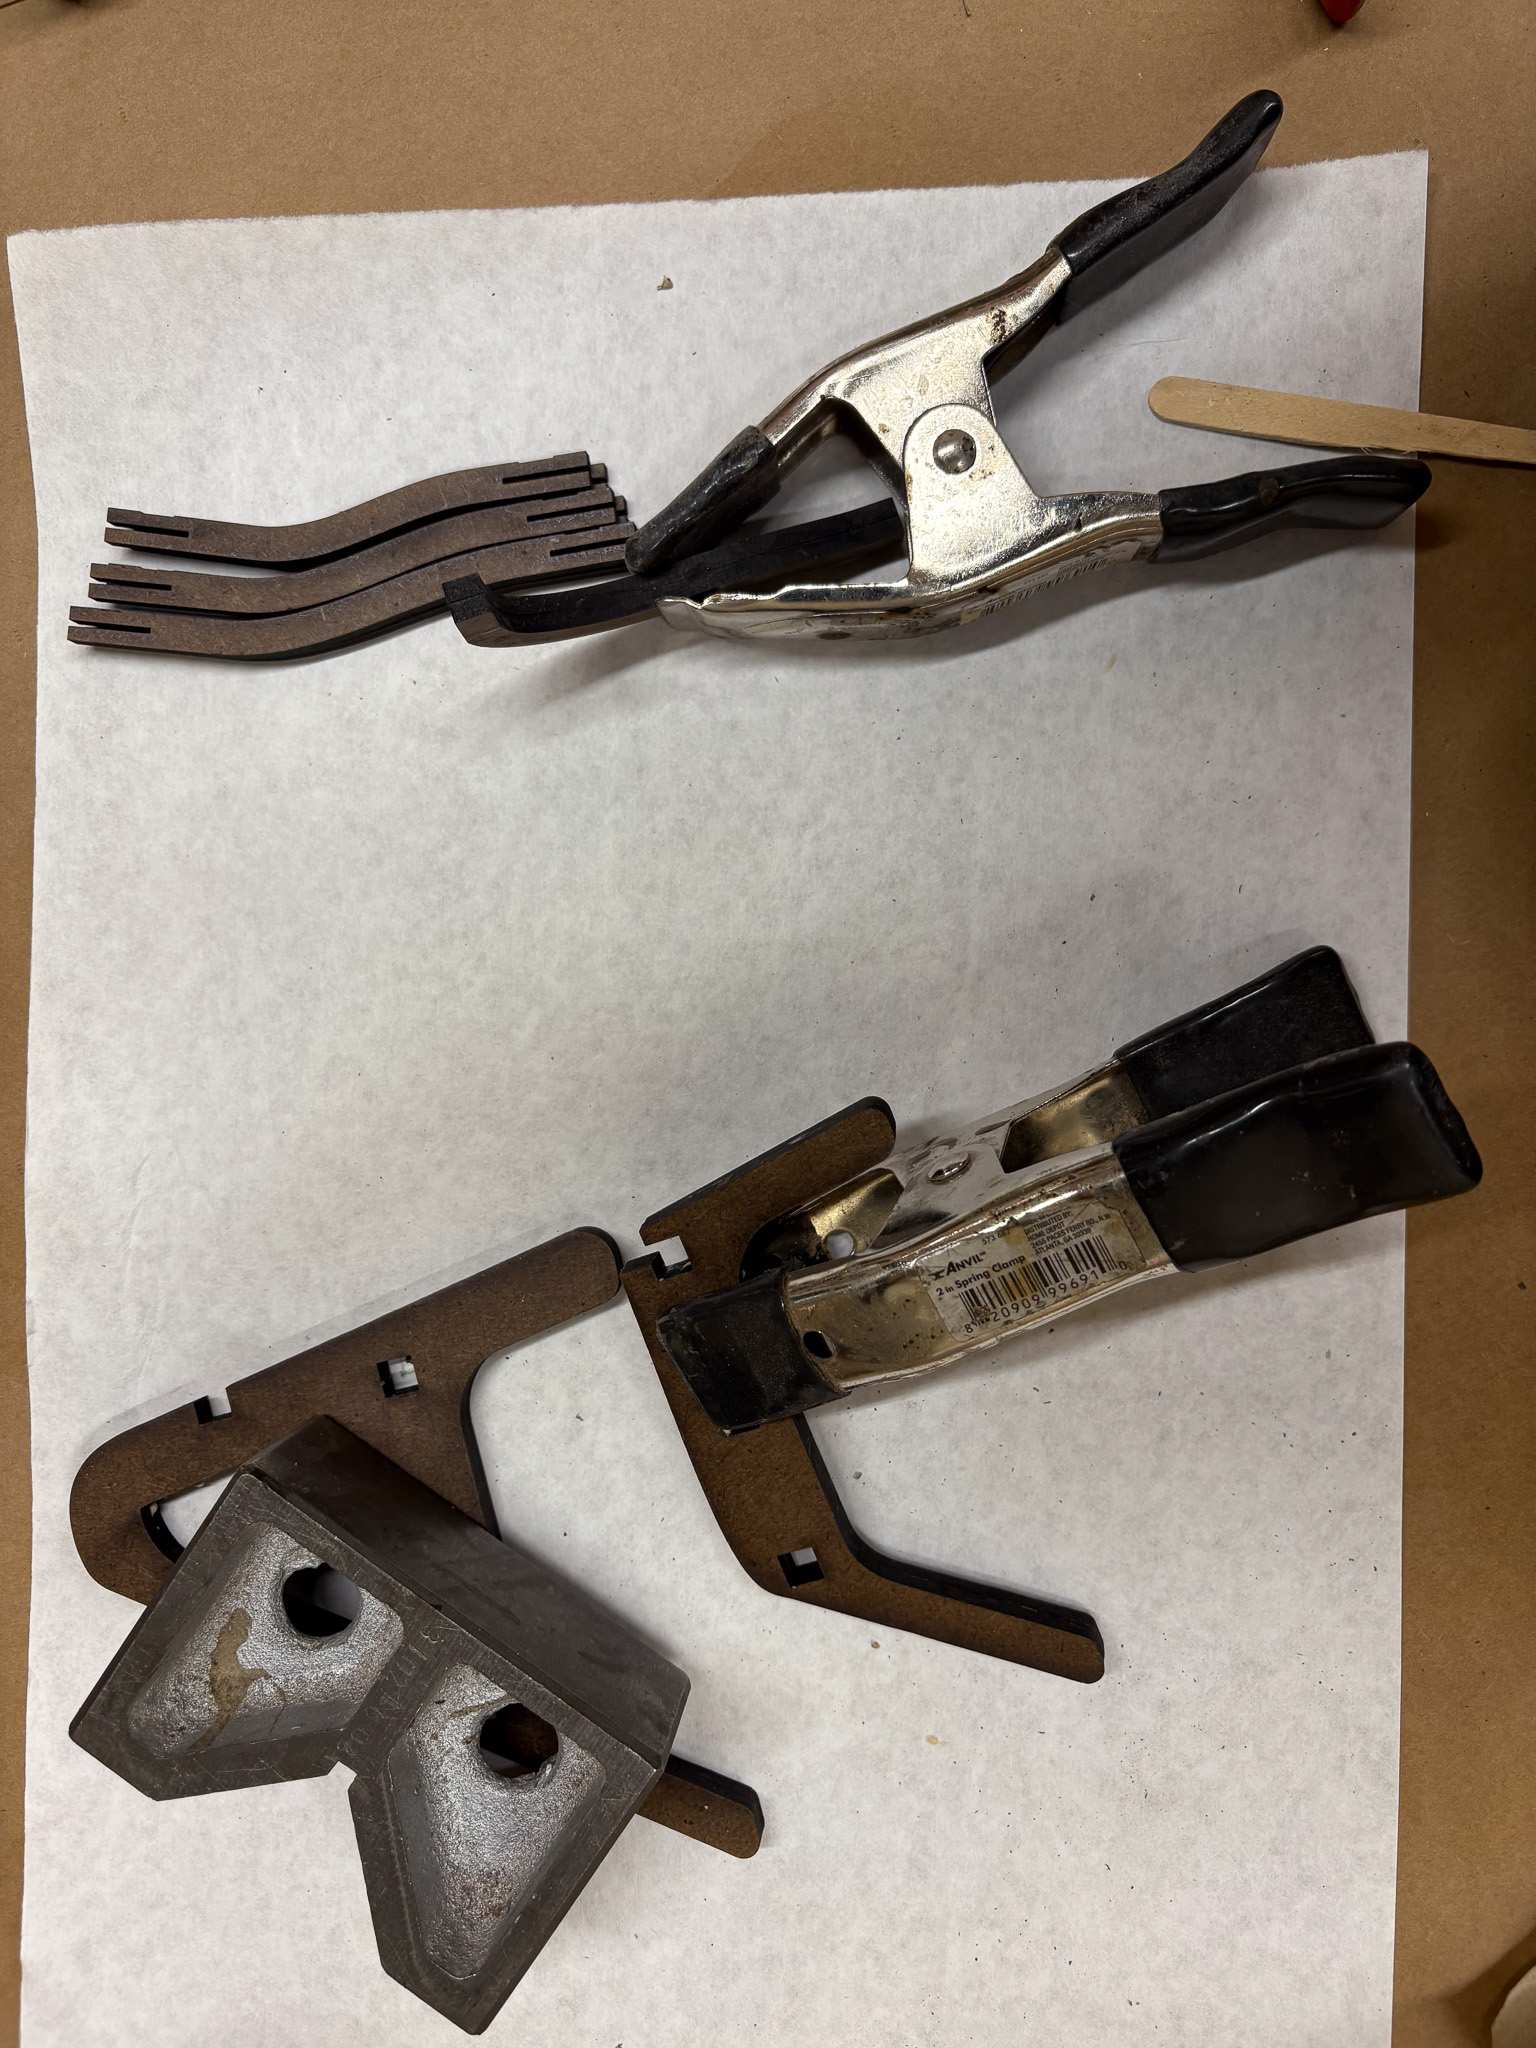
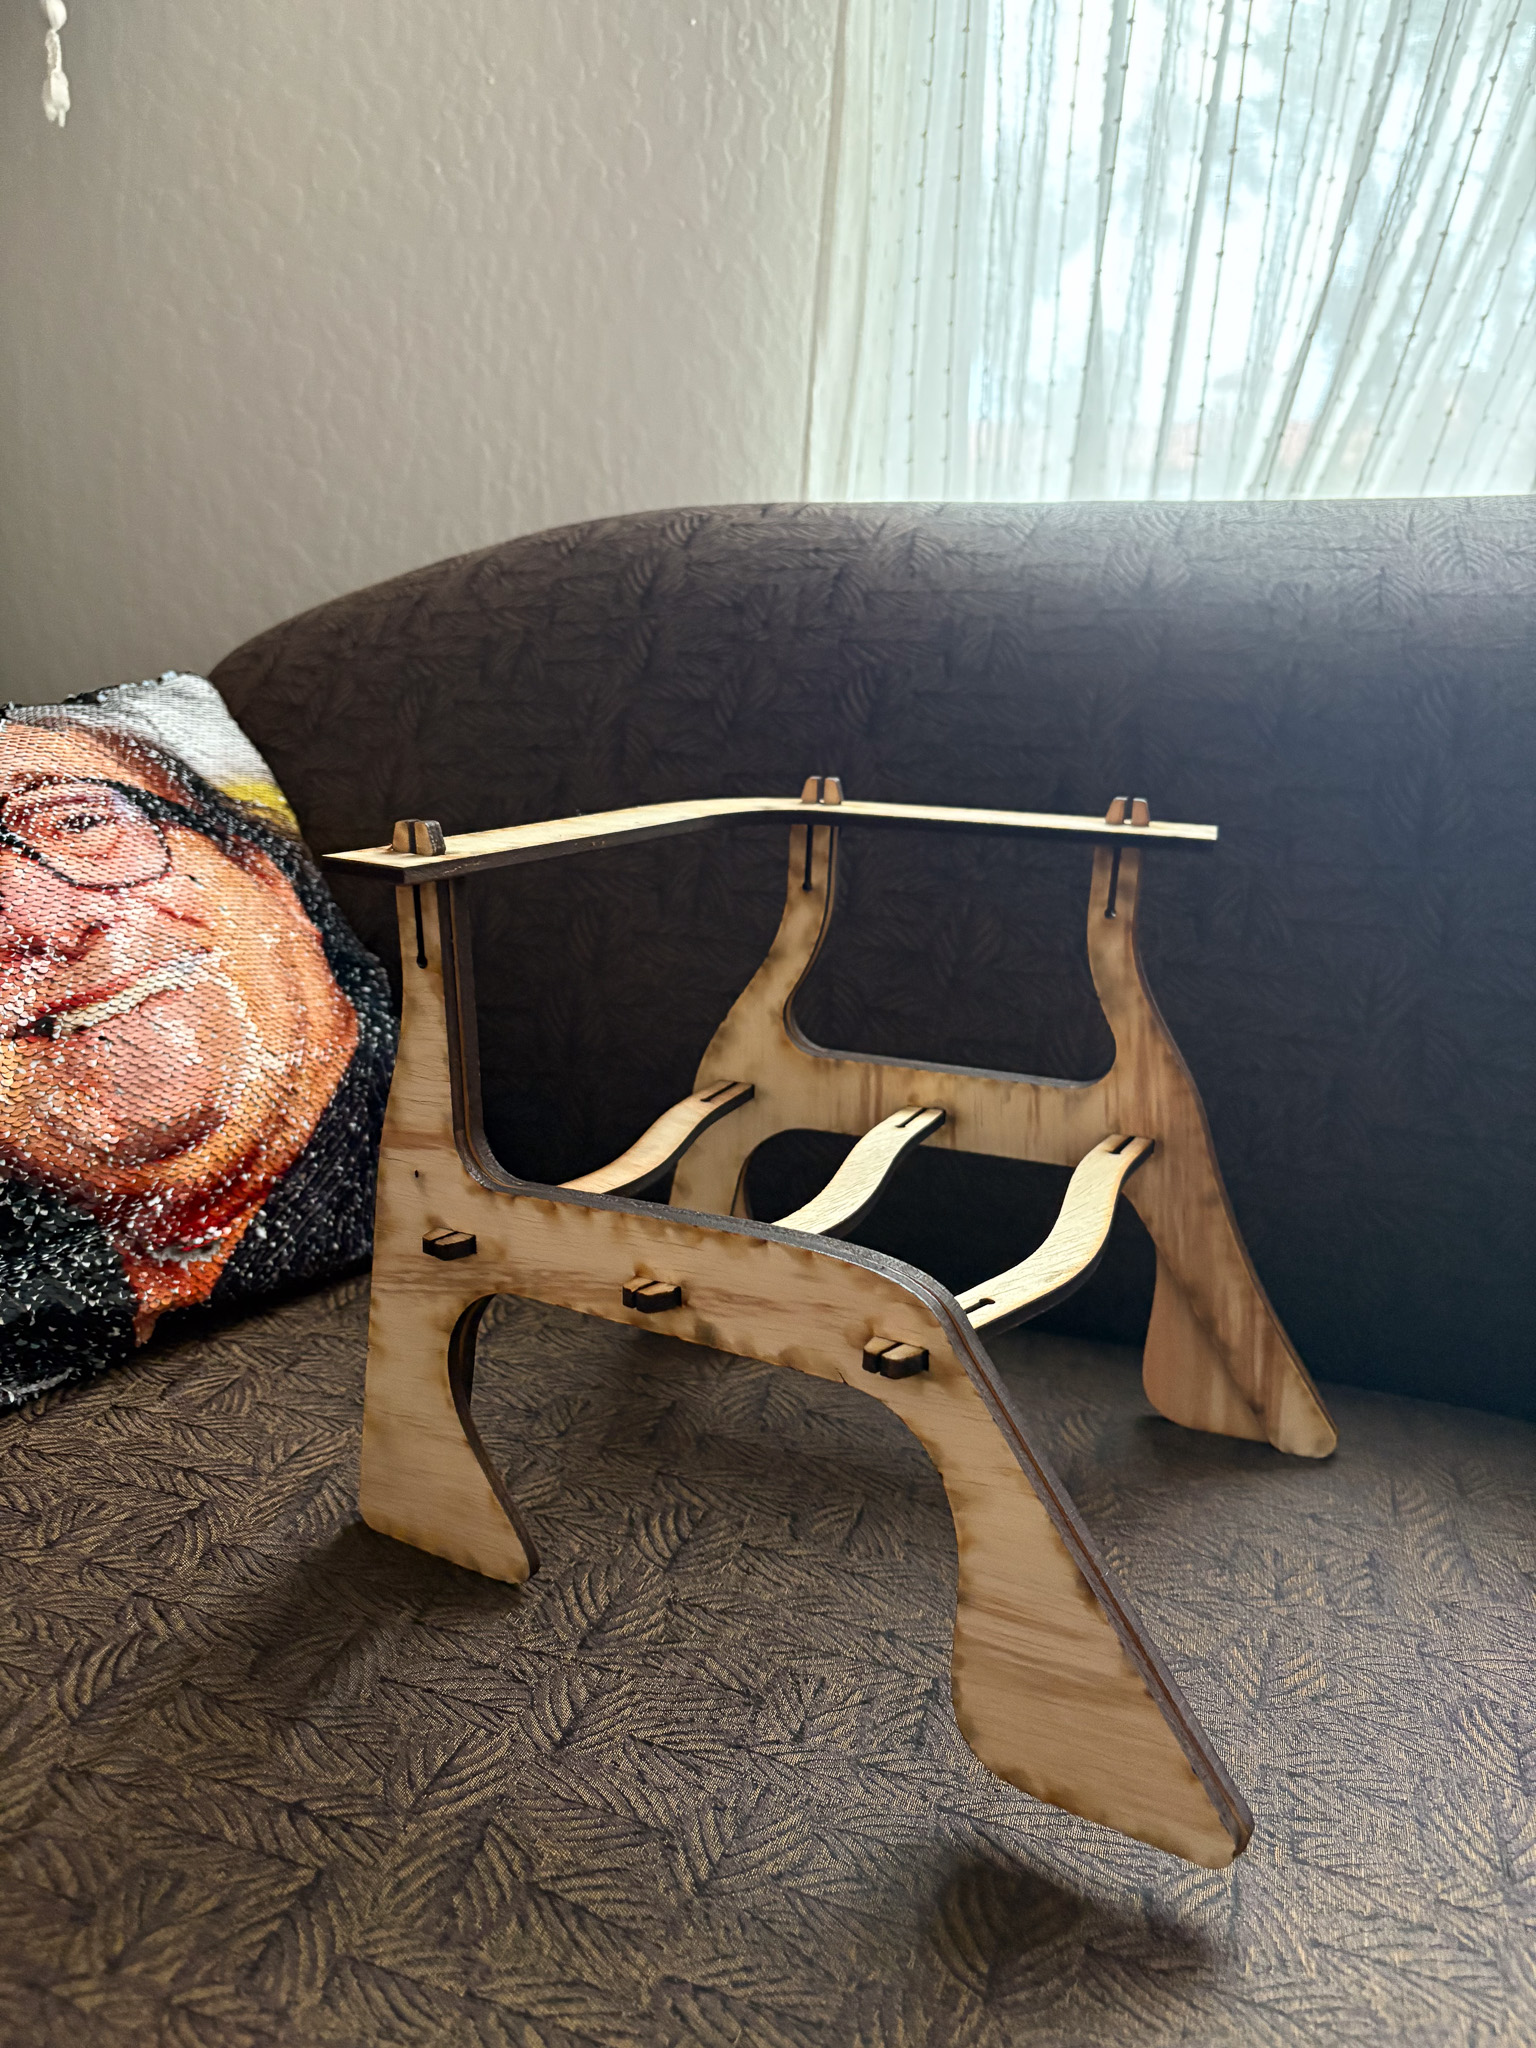
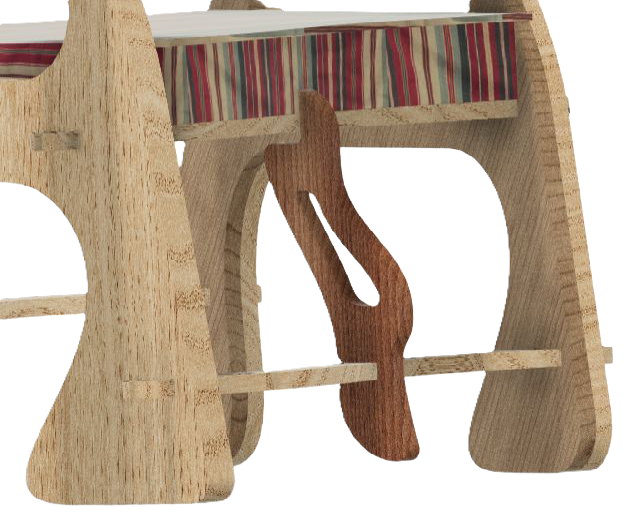
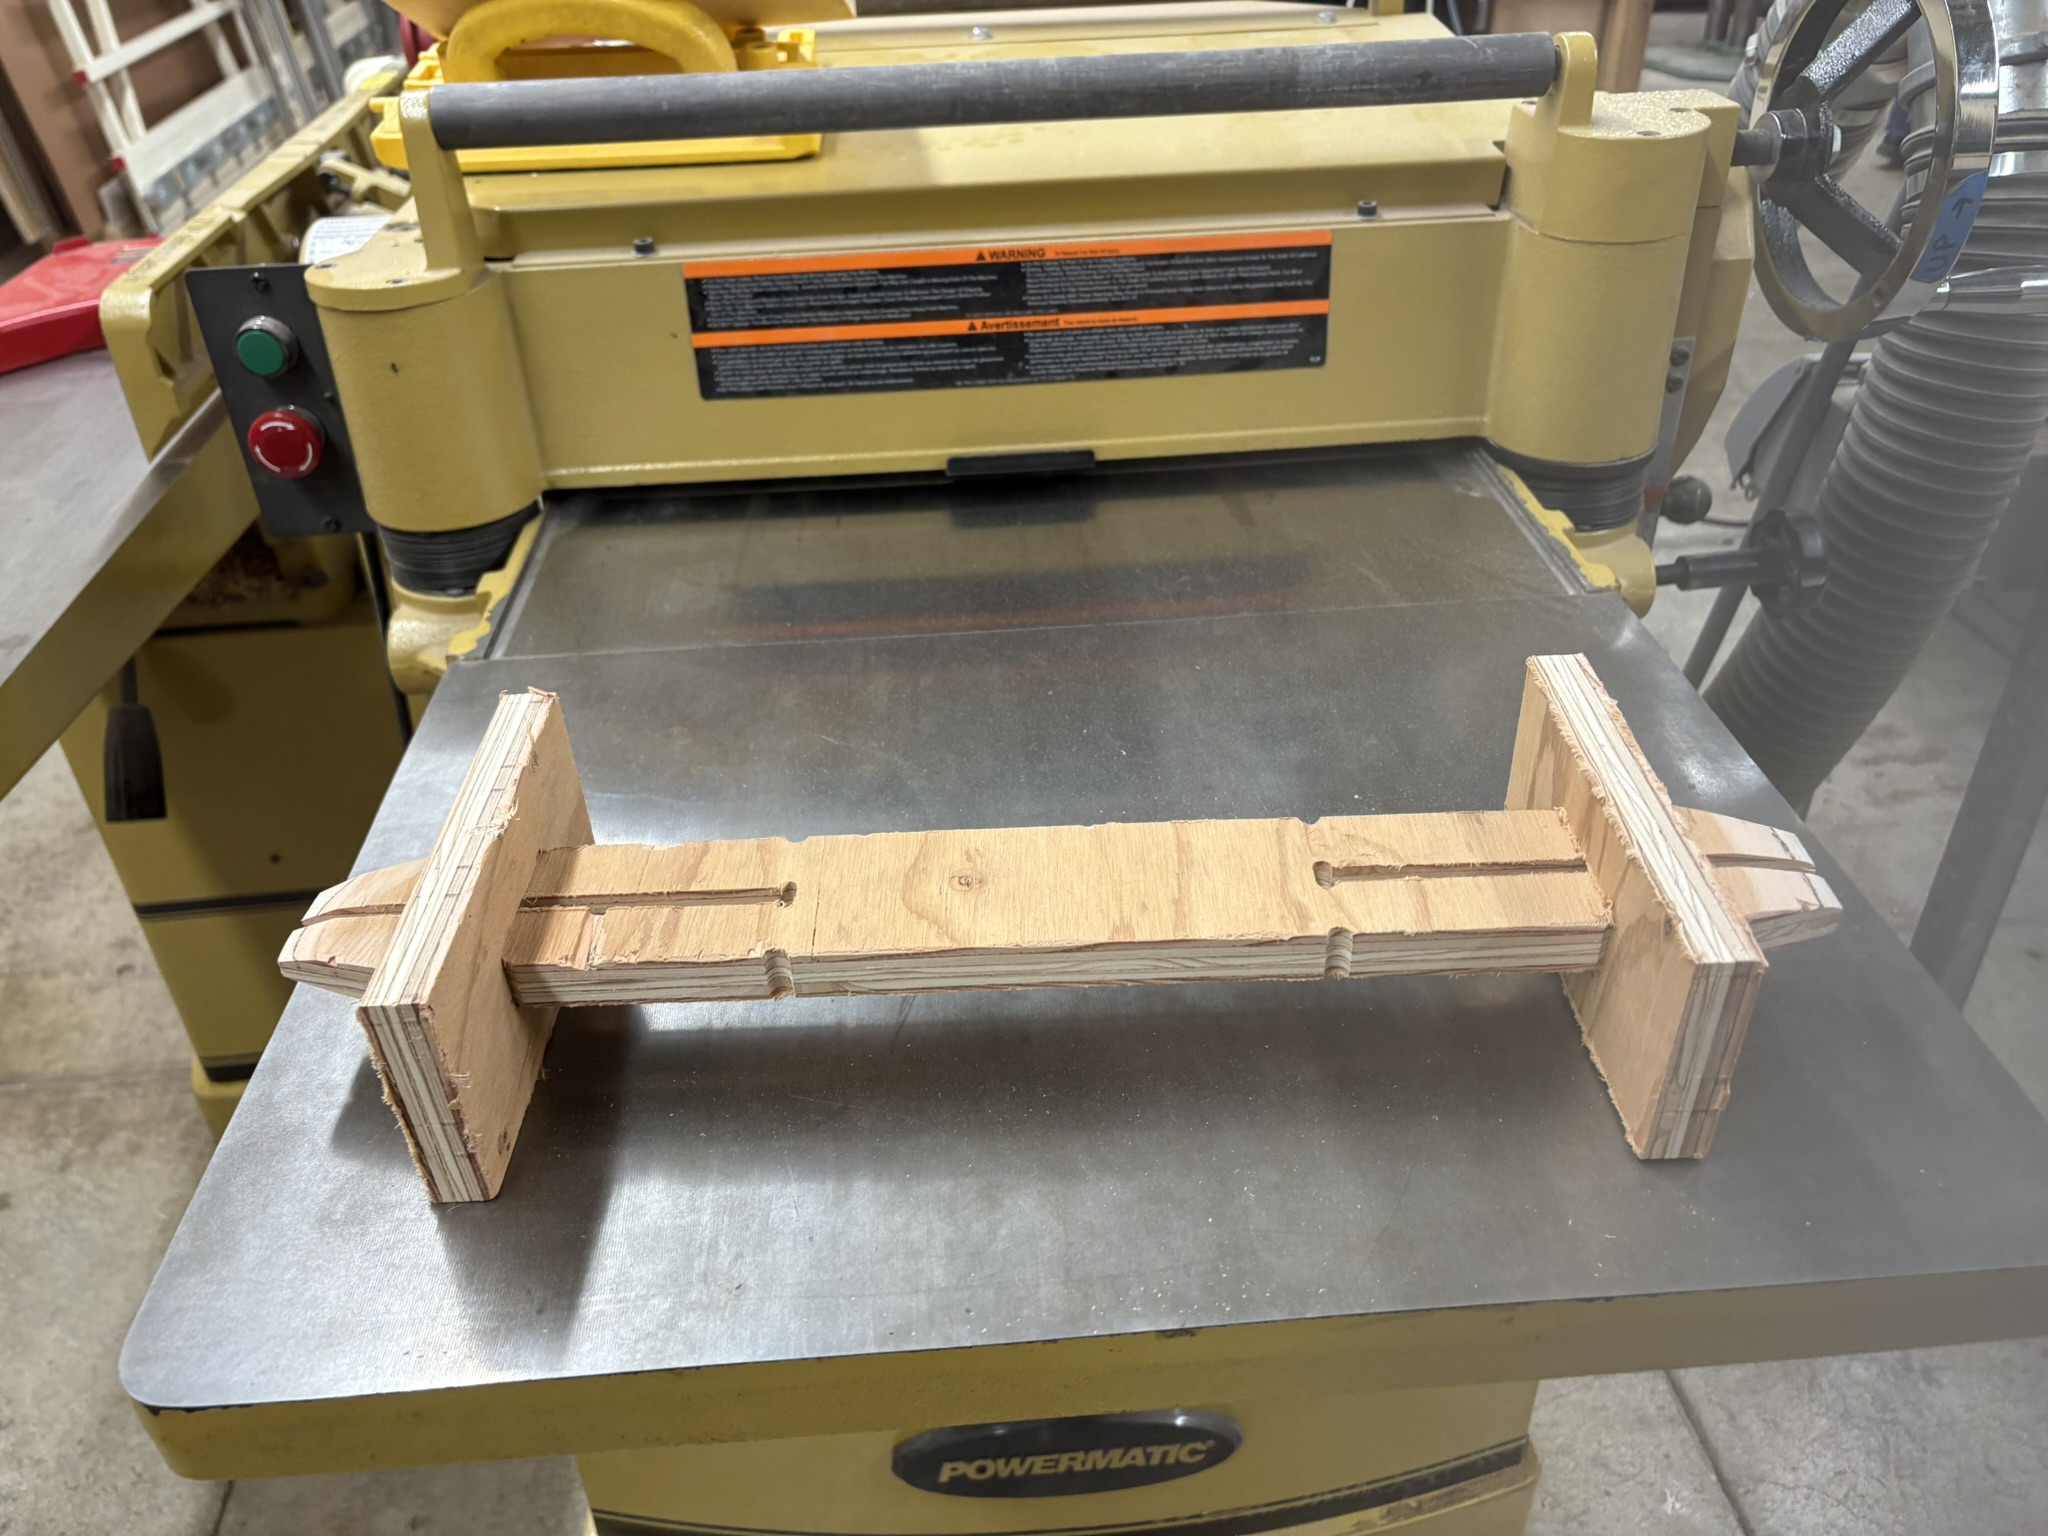
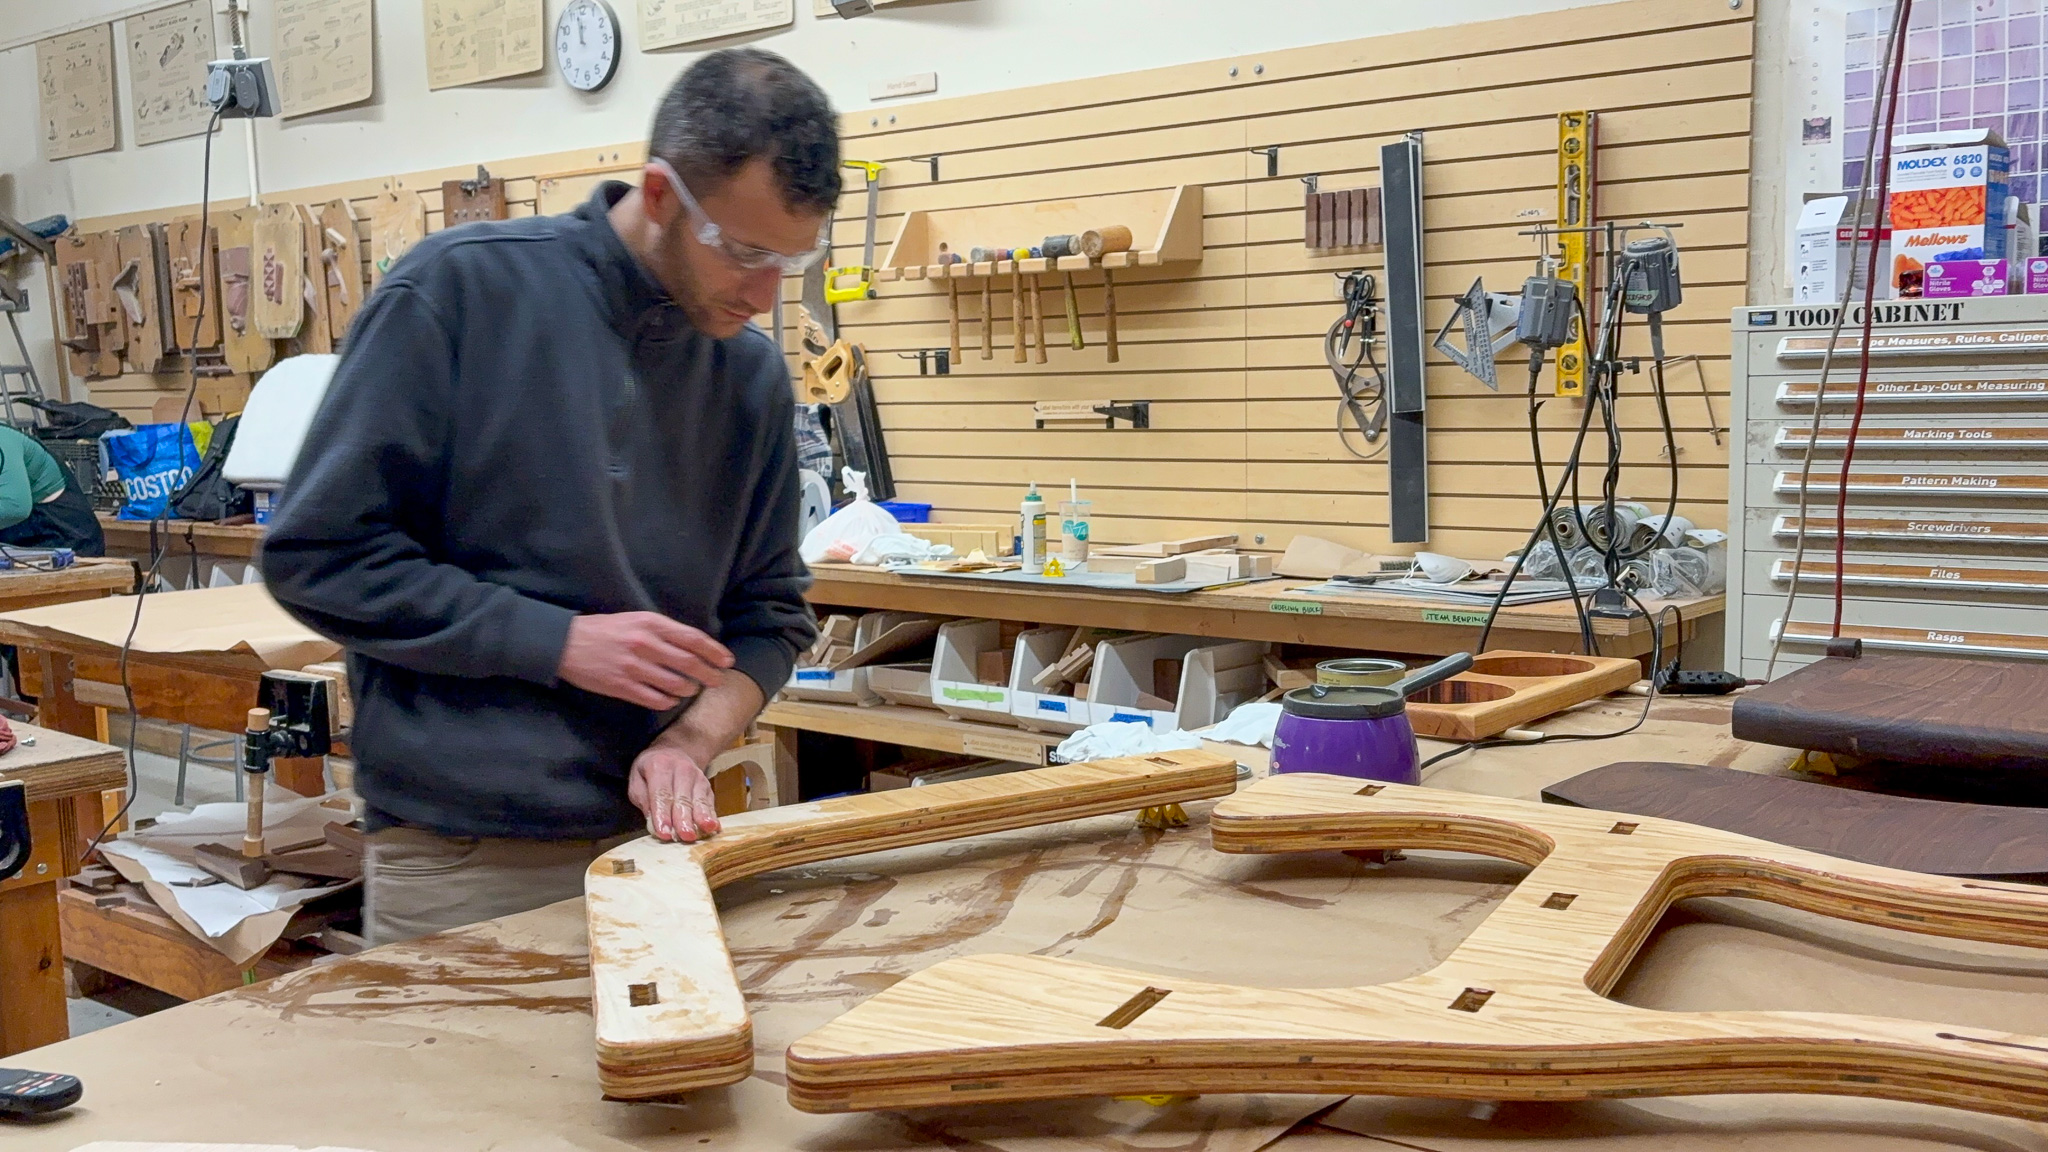
As I moved through the laser cut prototypes, I explored the possibility of designing a snap fit joint to eliminate hardware and for ease of assembly. Getting the design of joints right was critical; so I prototyped the joint first using plywood and tested the design concept.
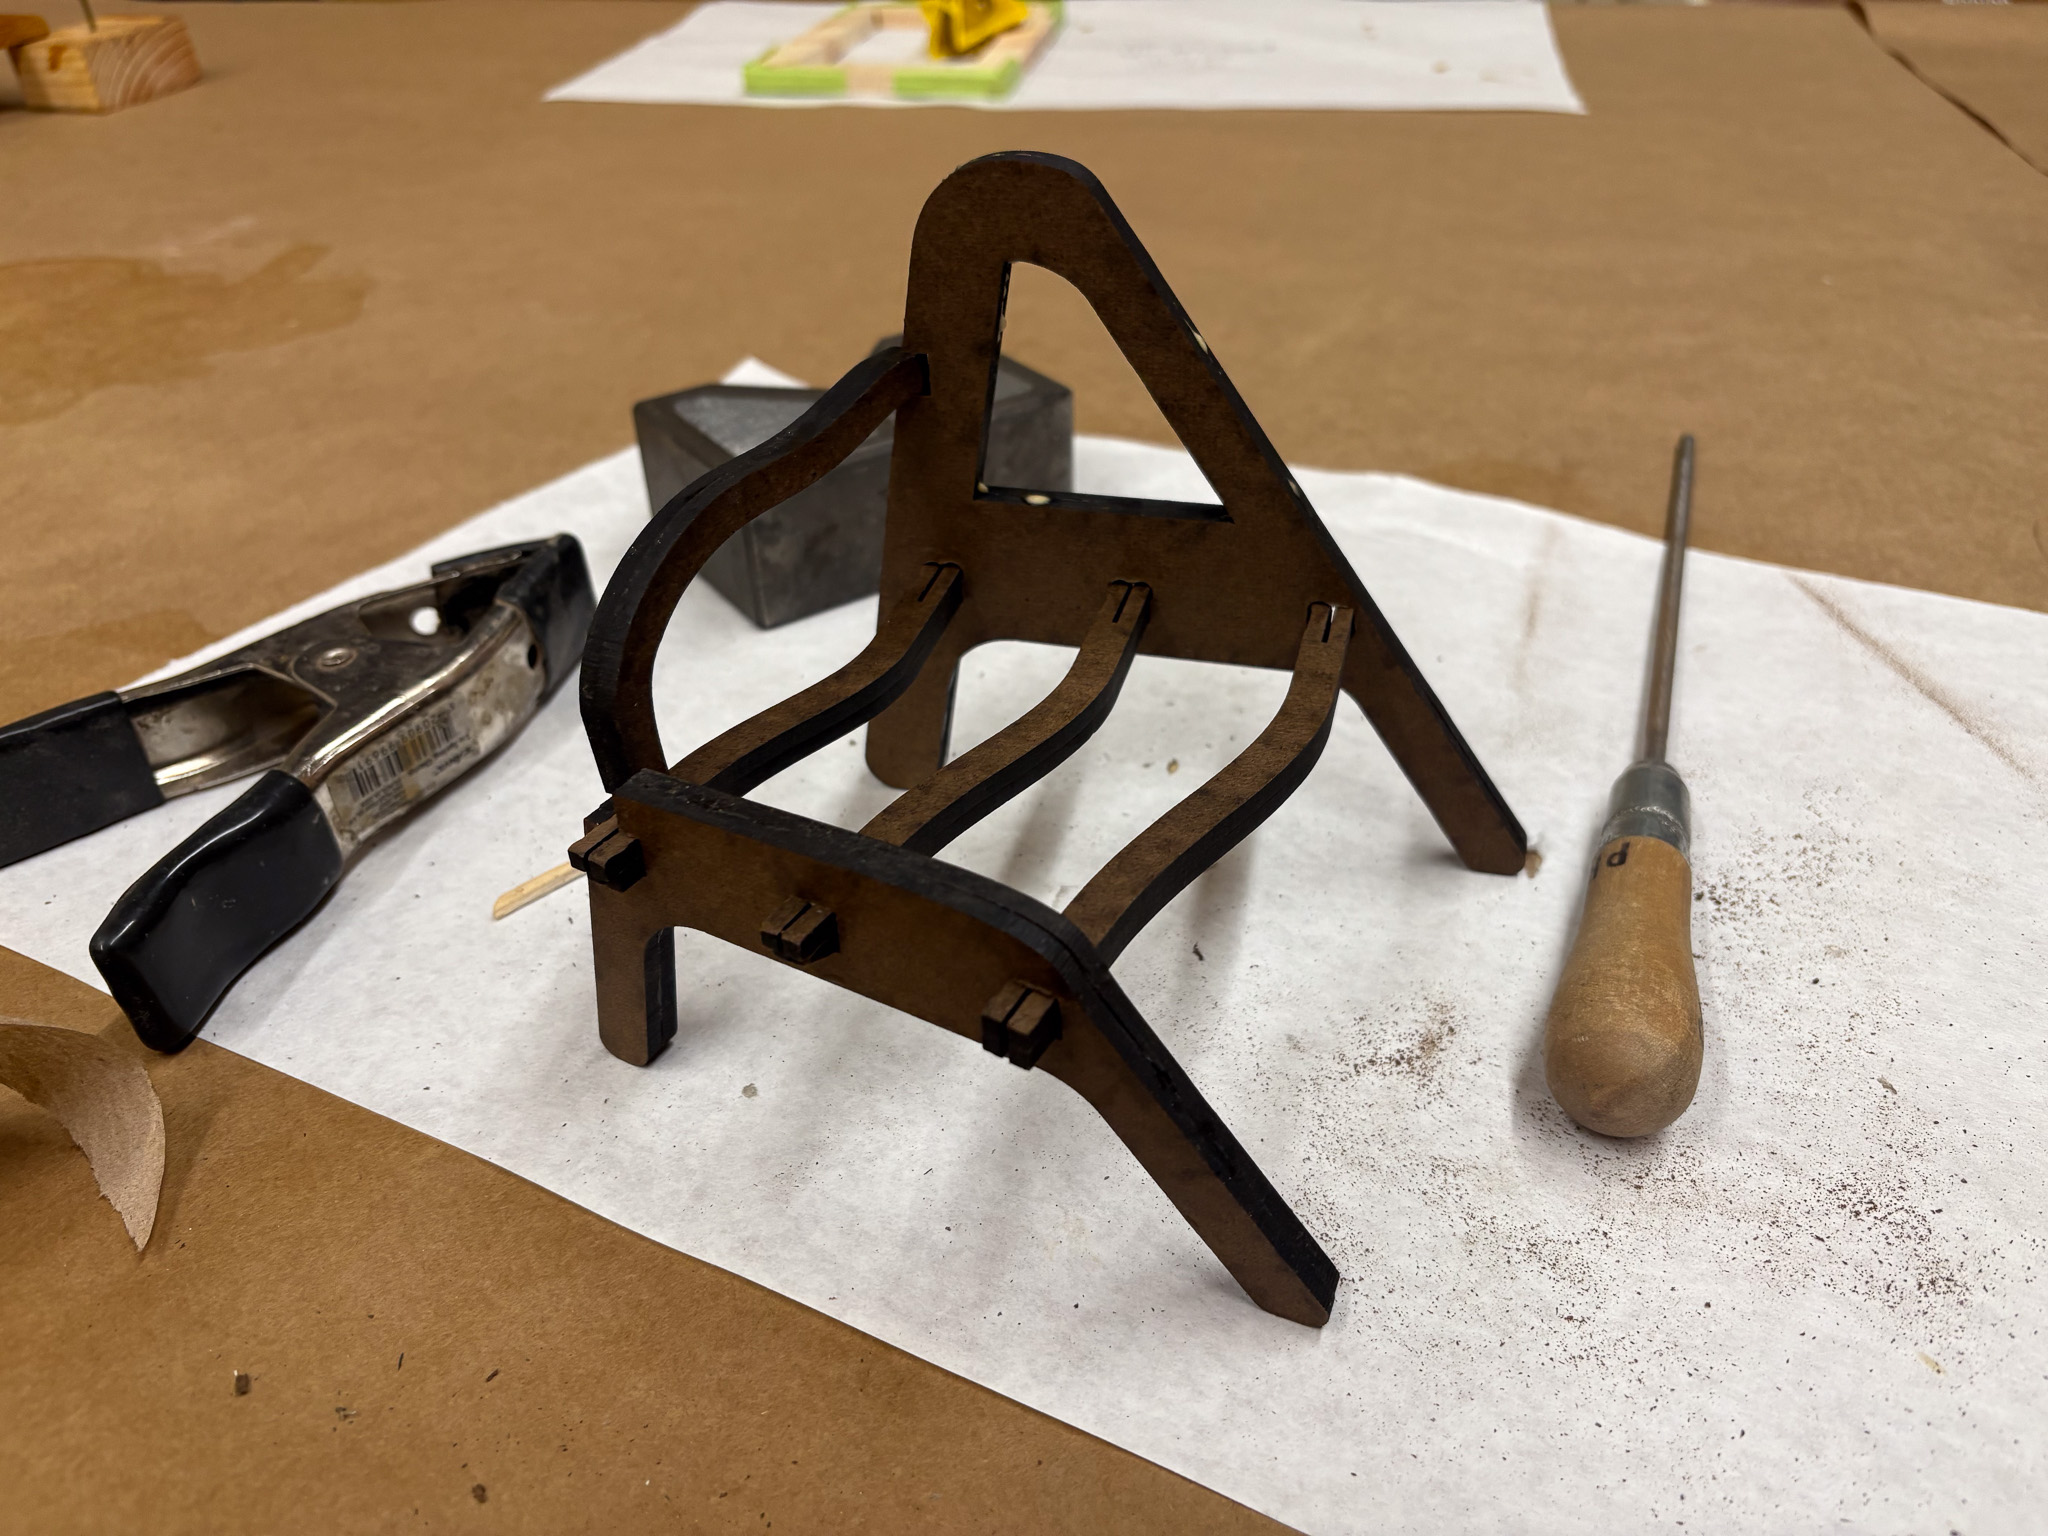
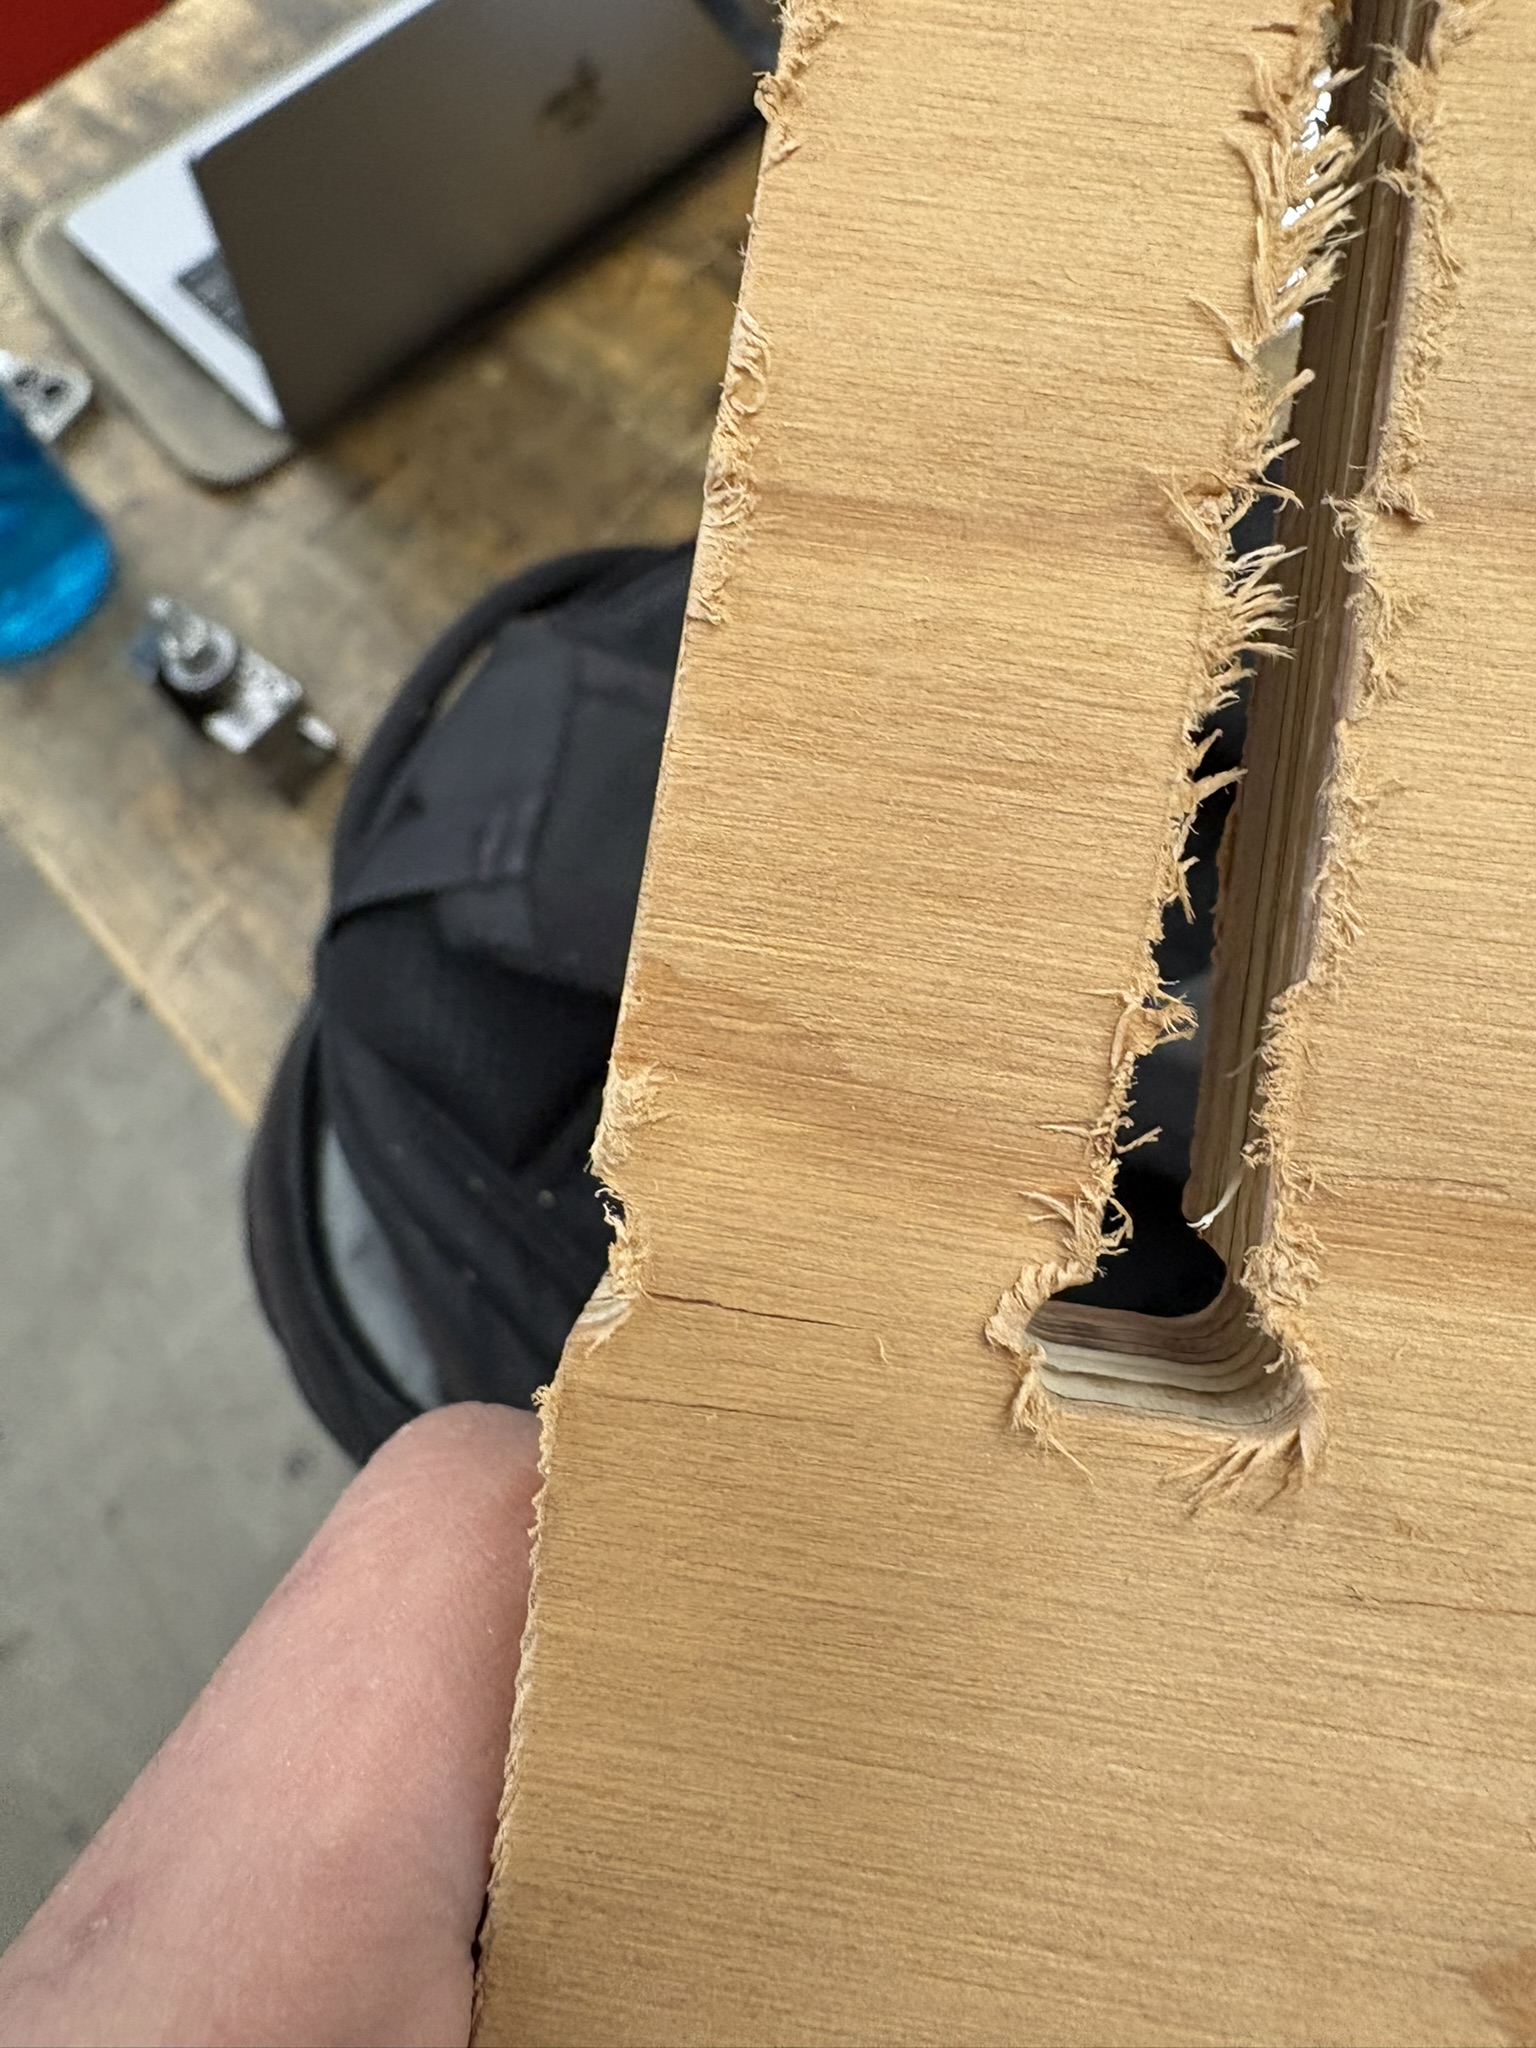
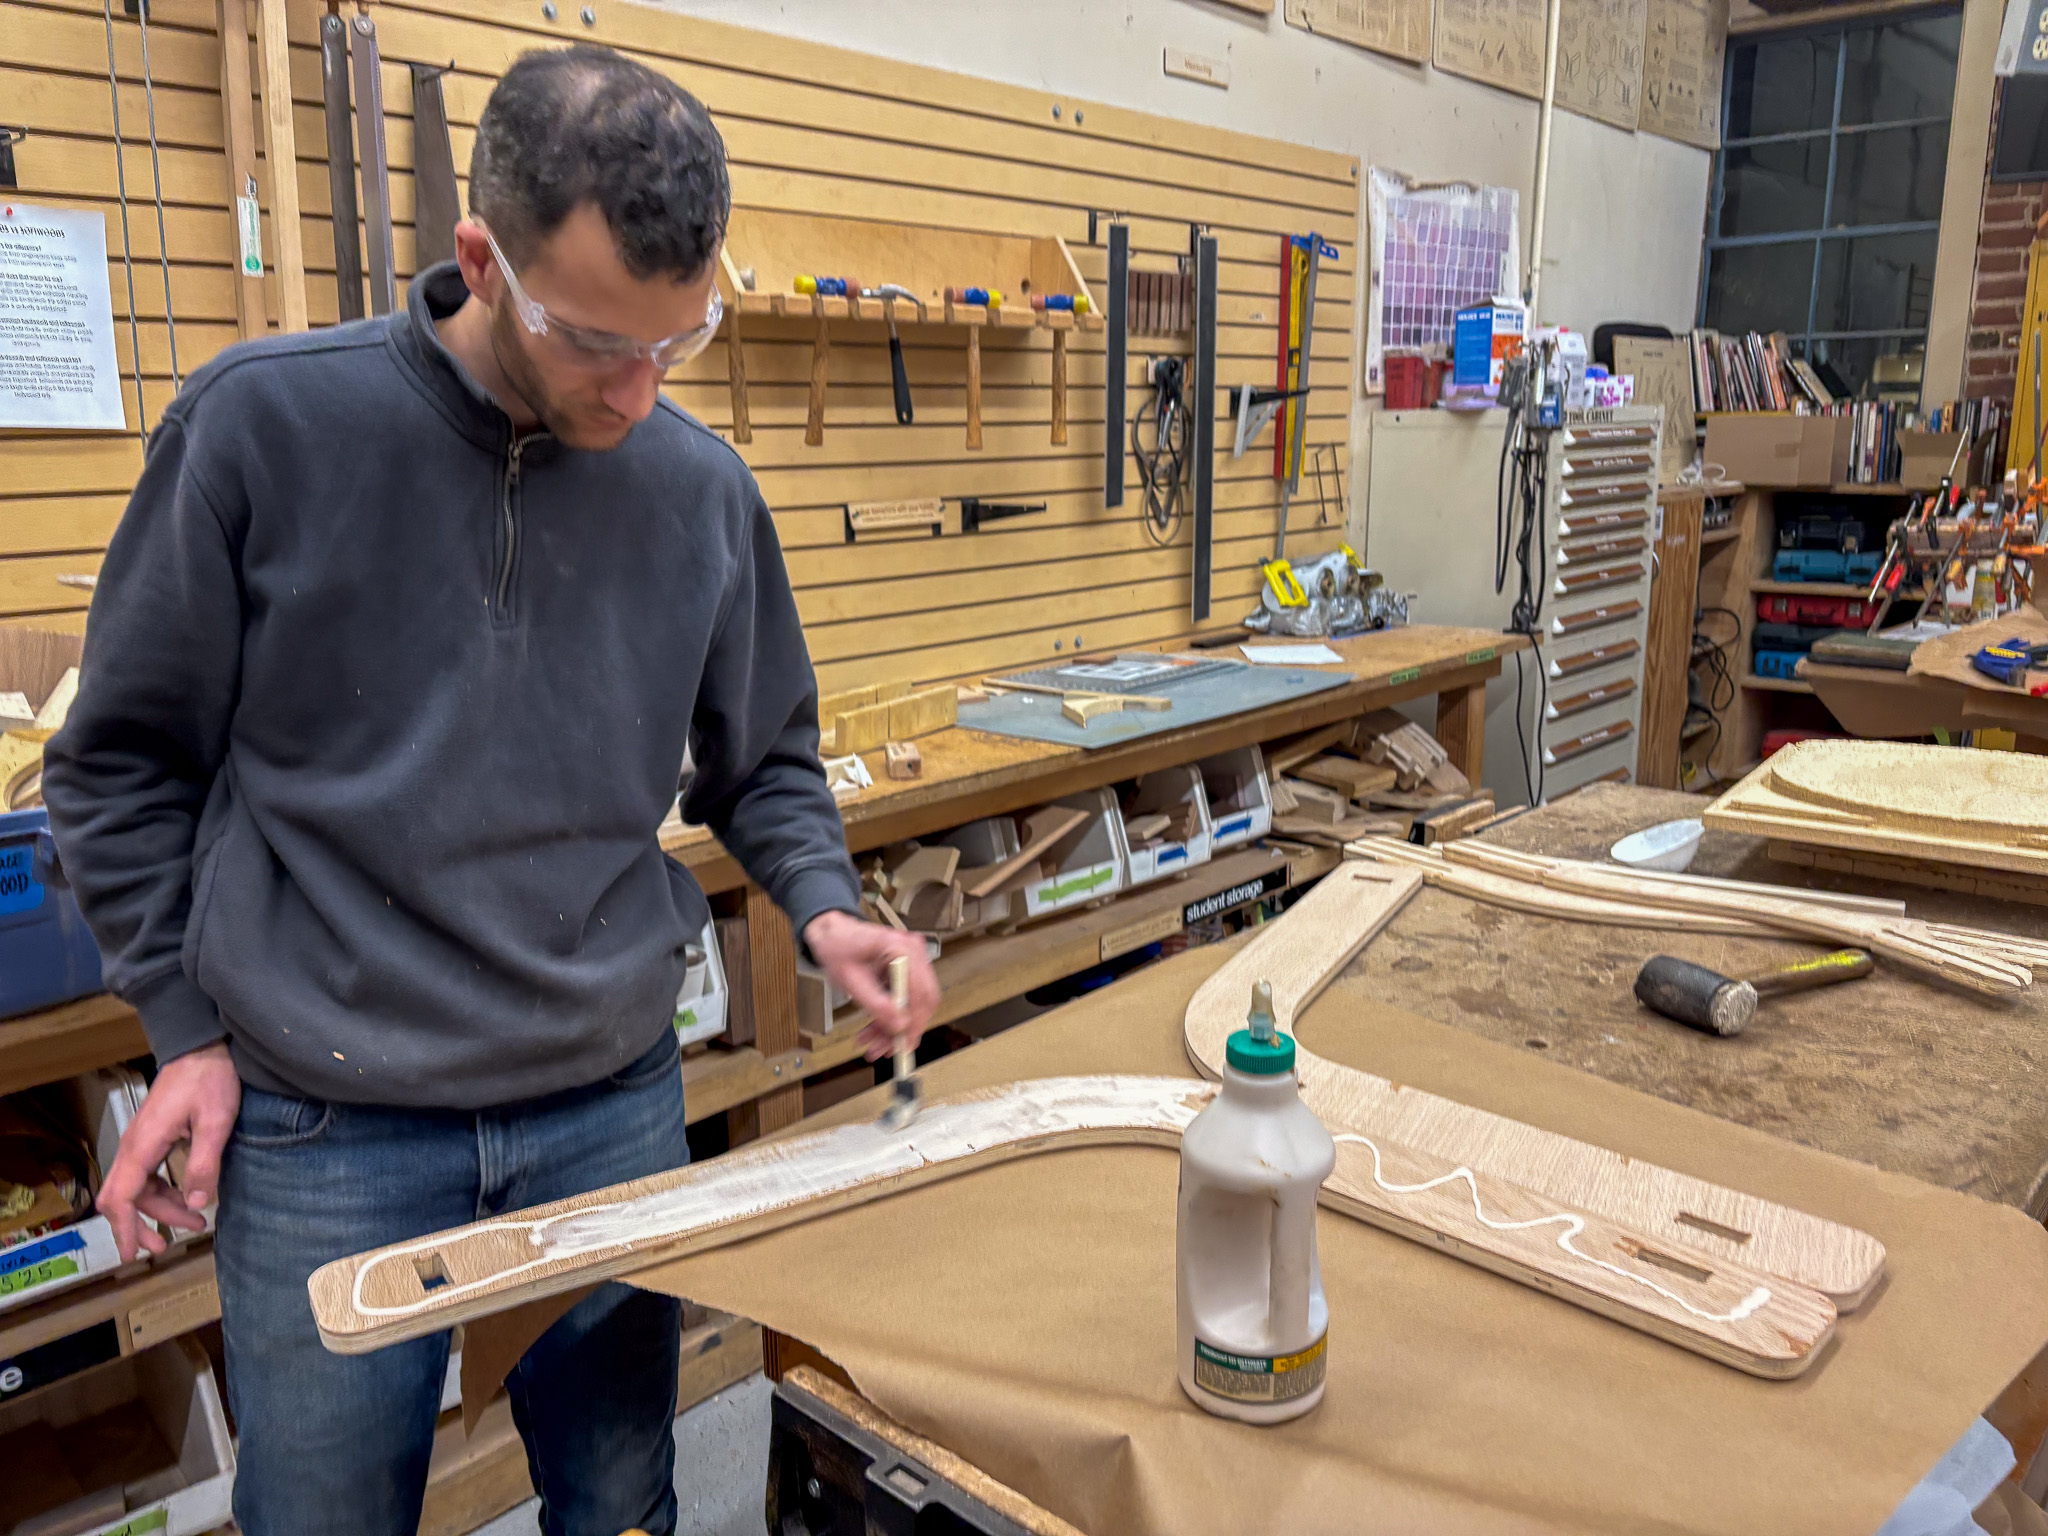
The joints held up well and the snaping in and out worked well, but after test I noticed a crack near the end of the joint finger. To solve that:
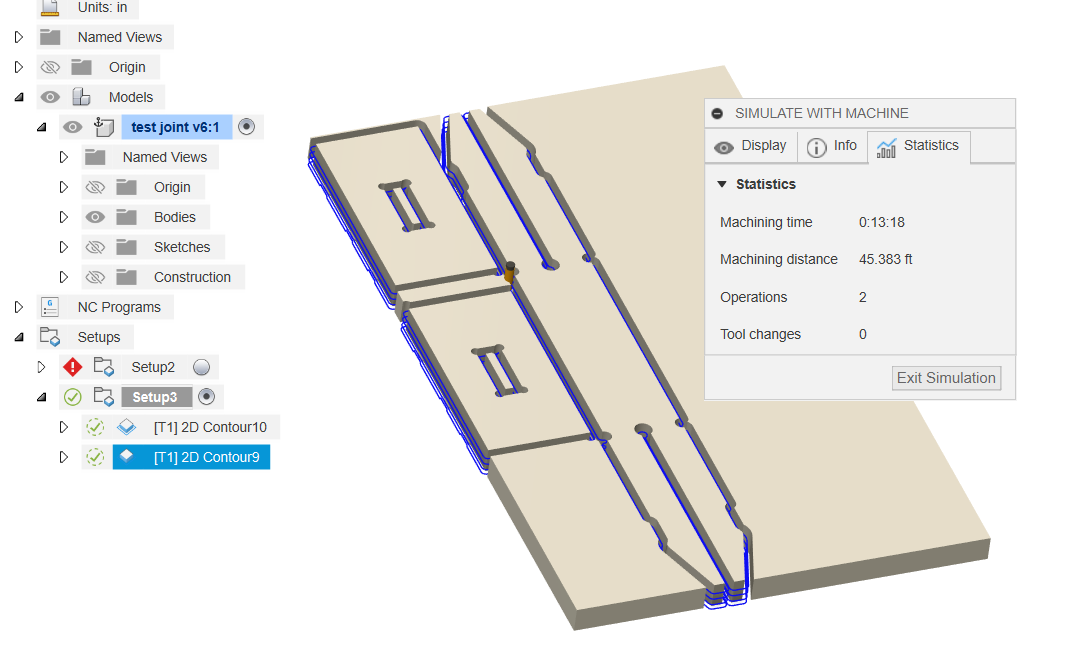
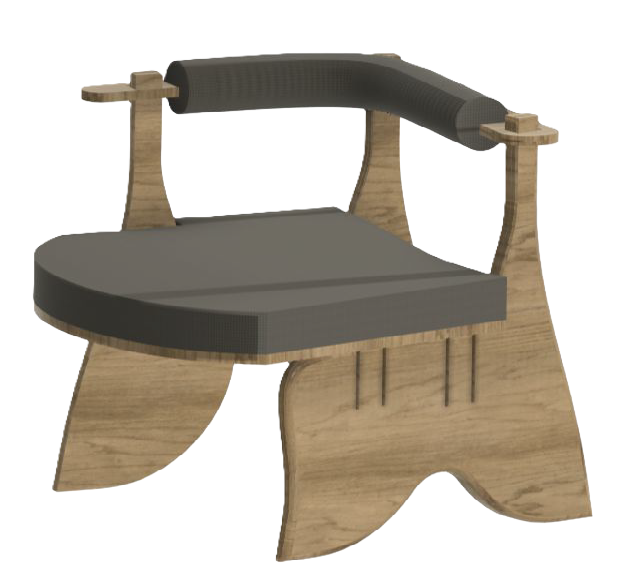
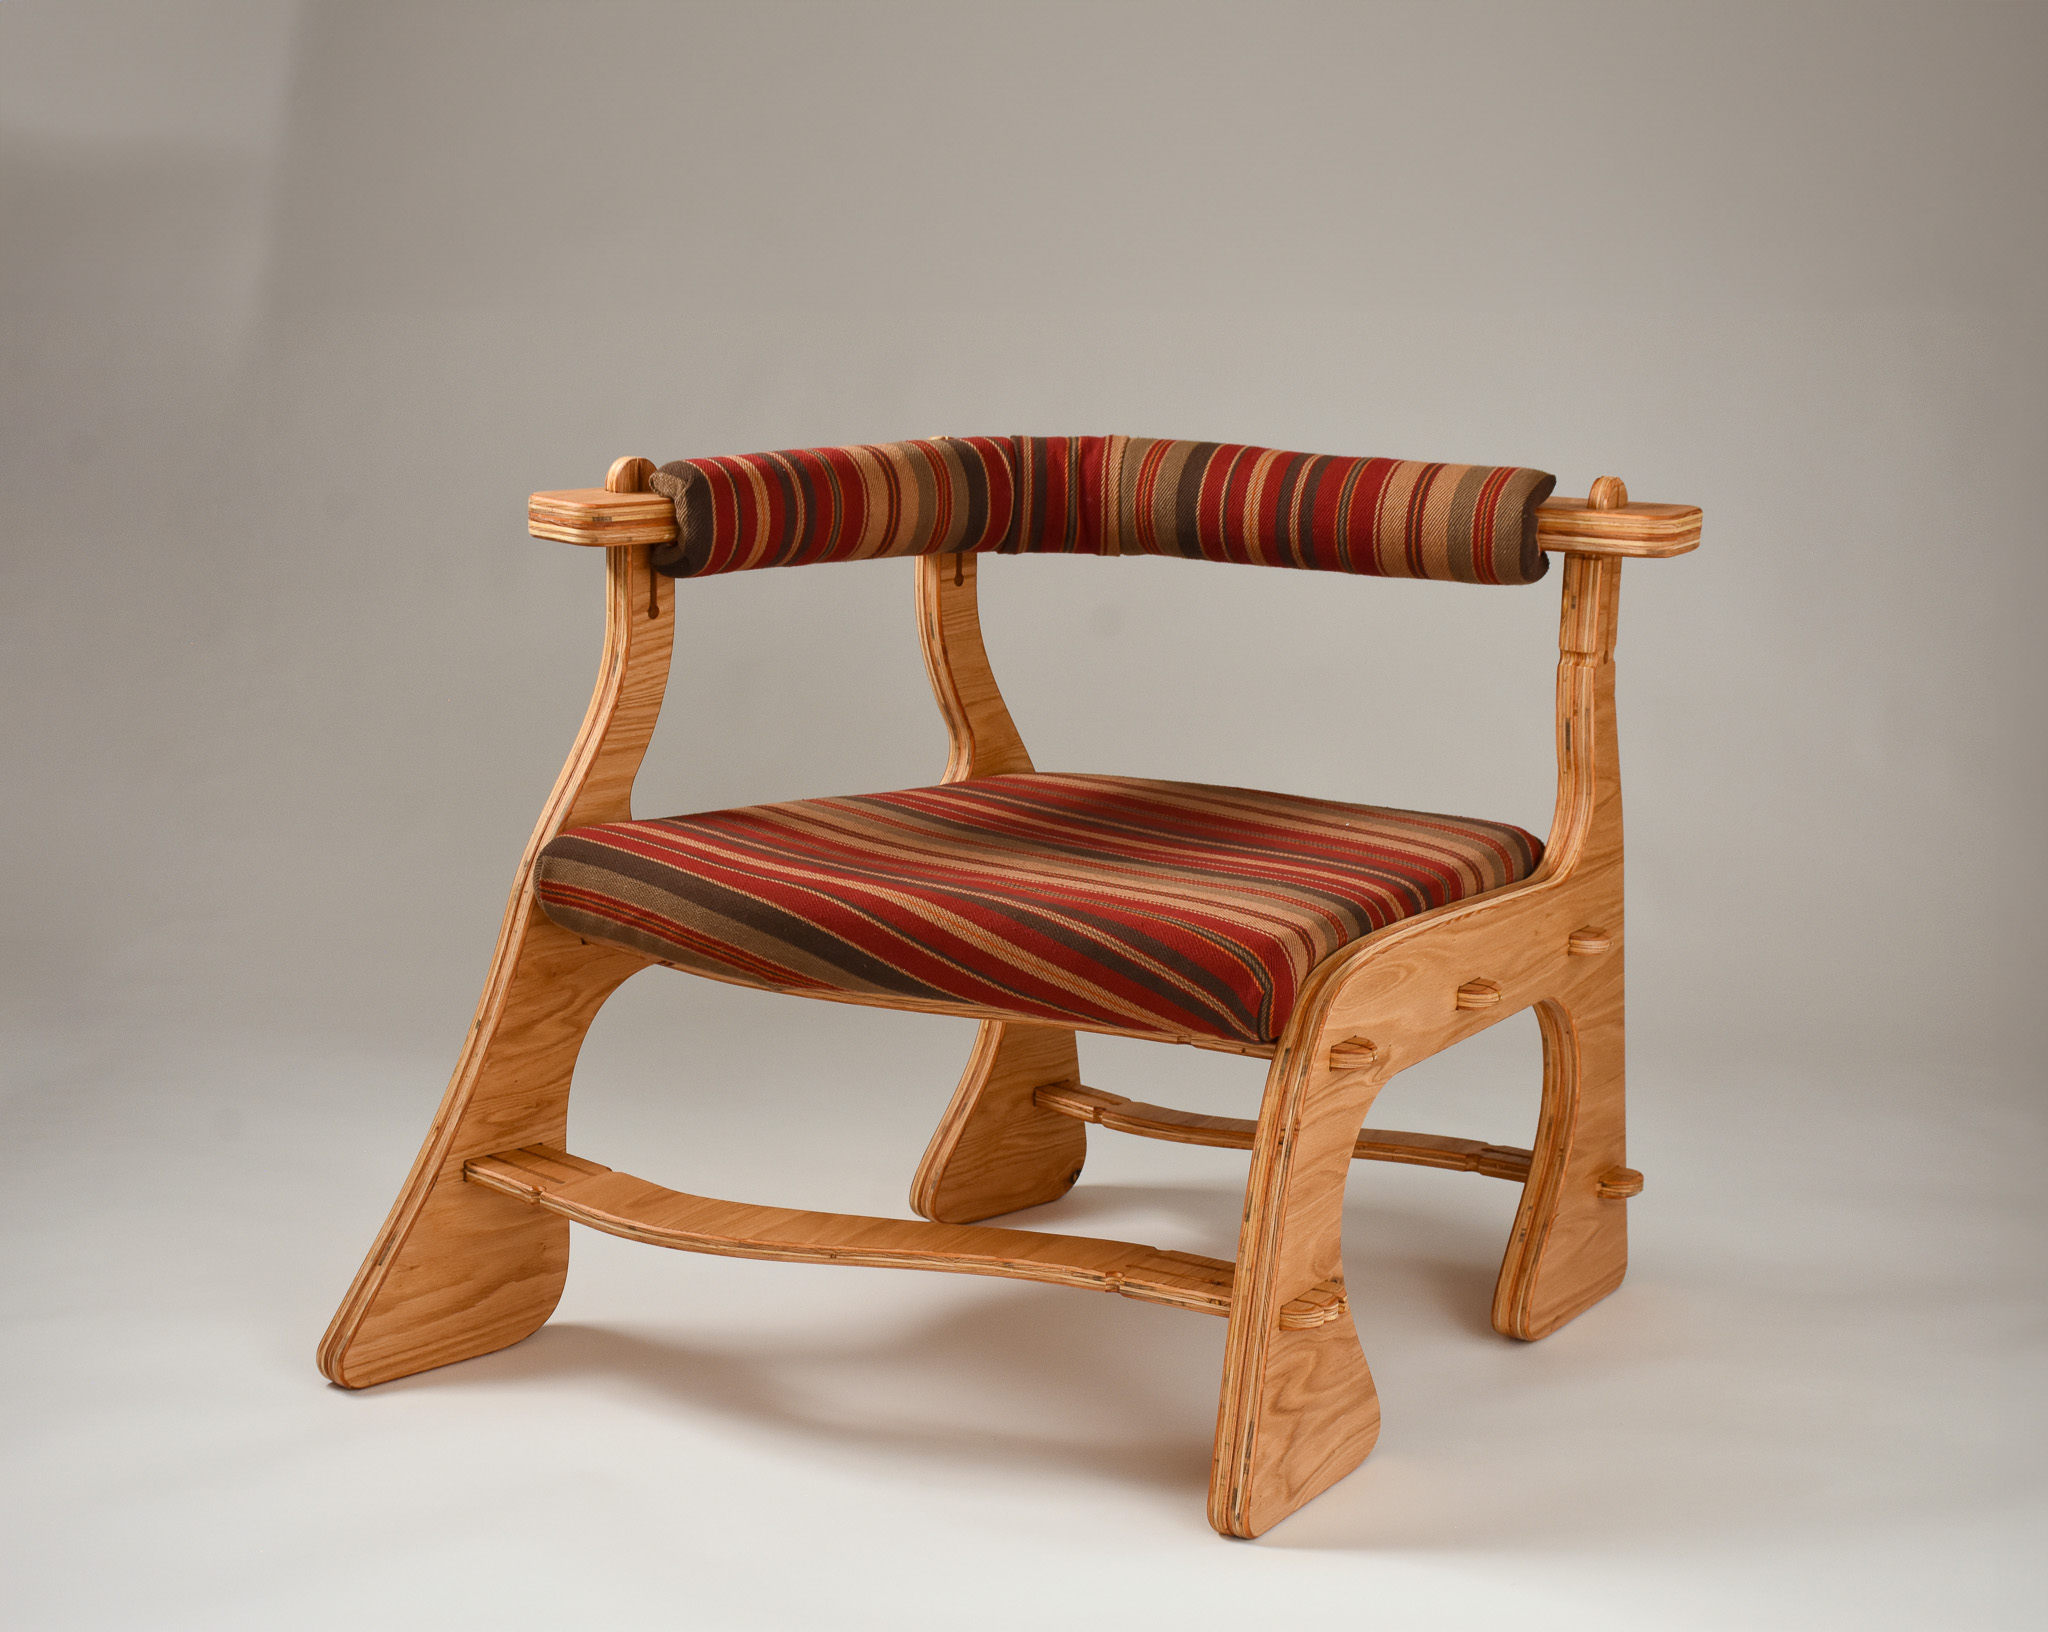
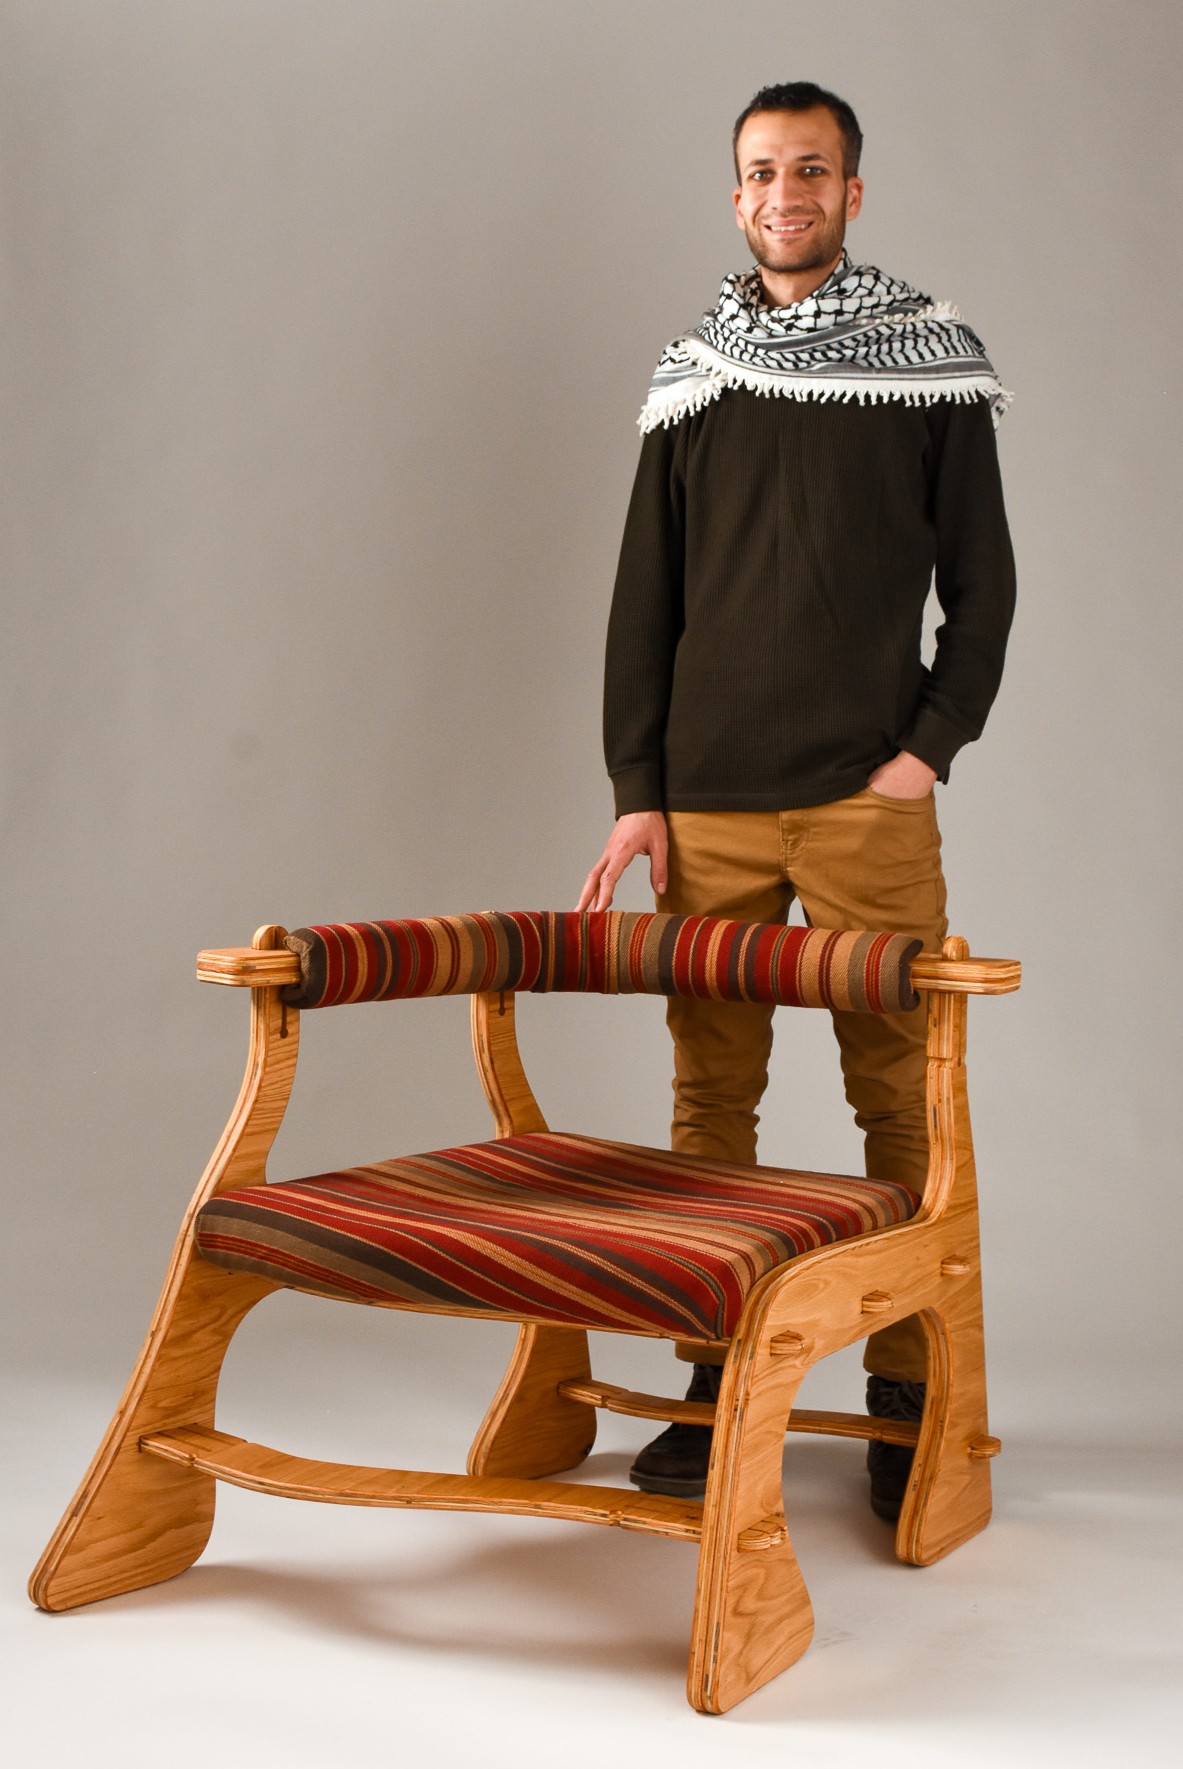
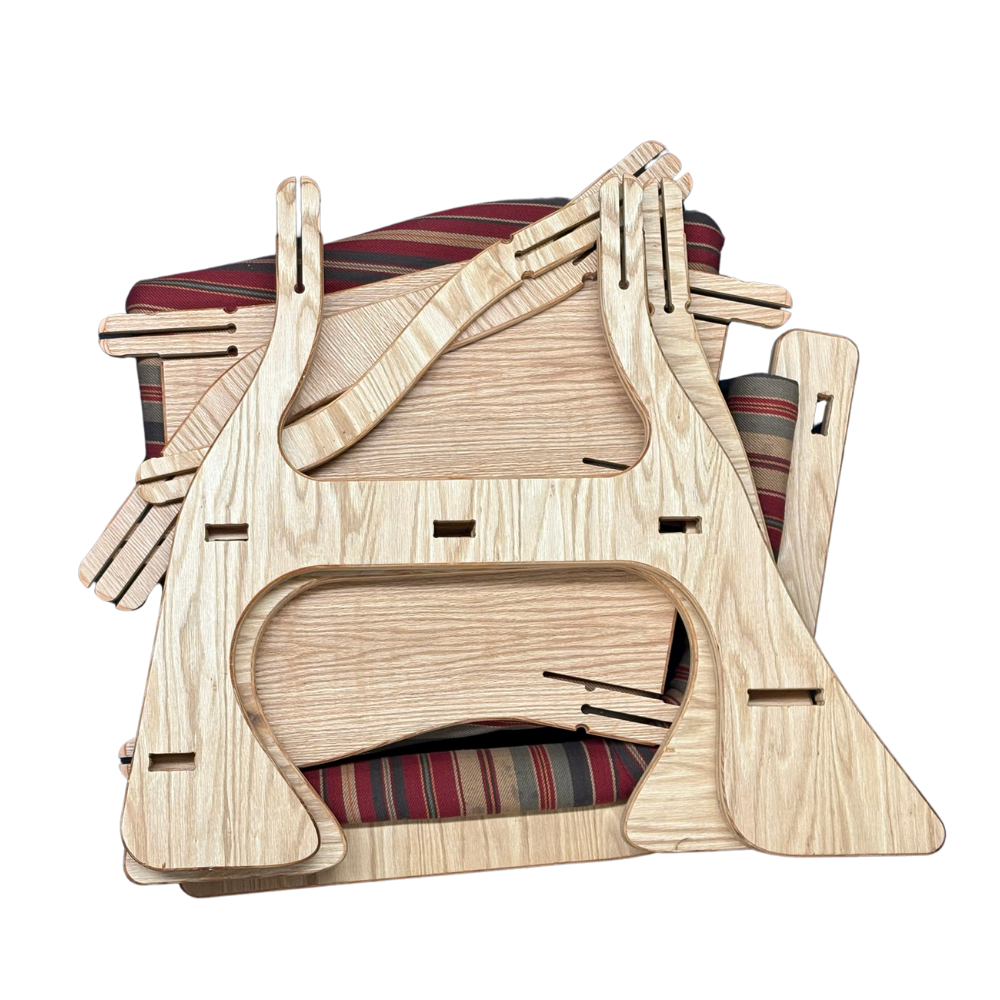
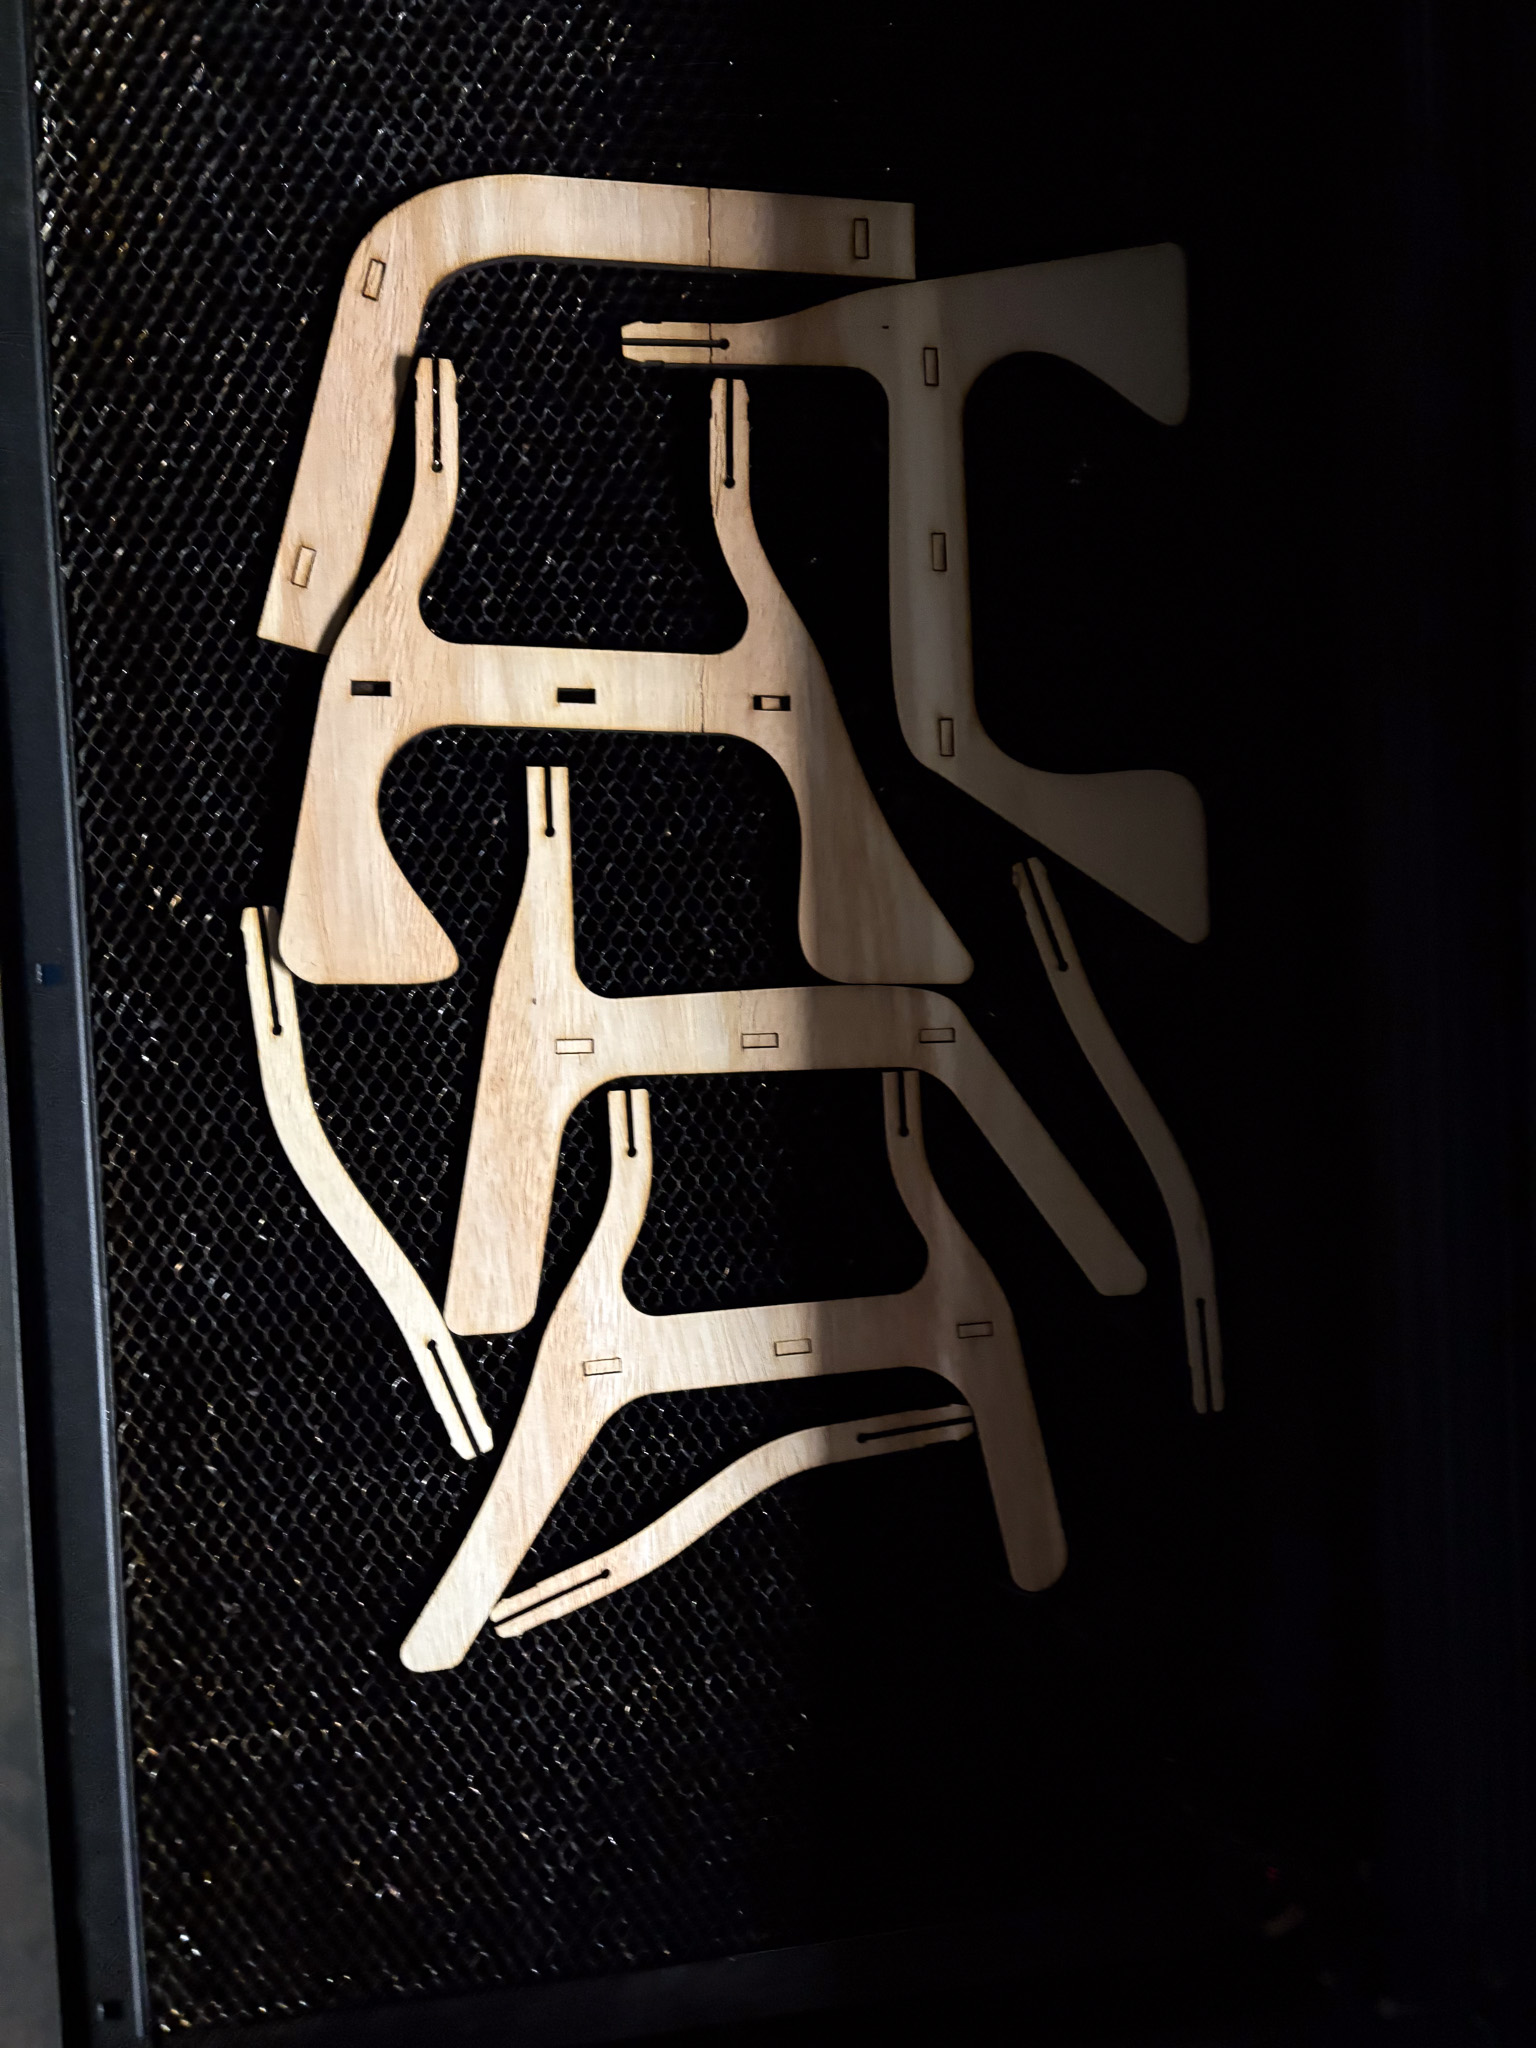
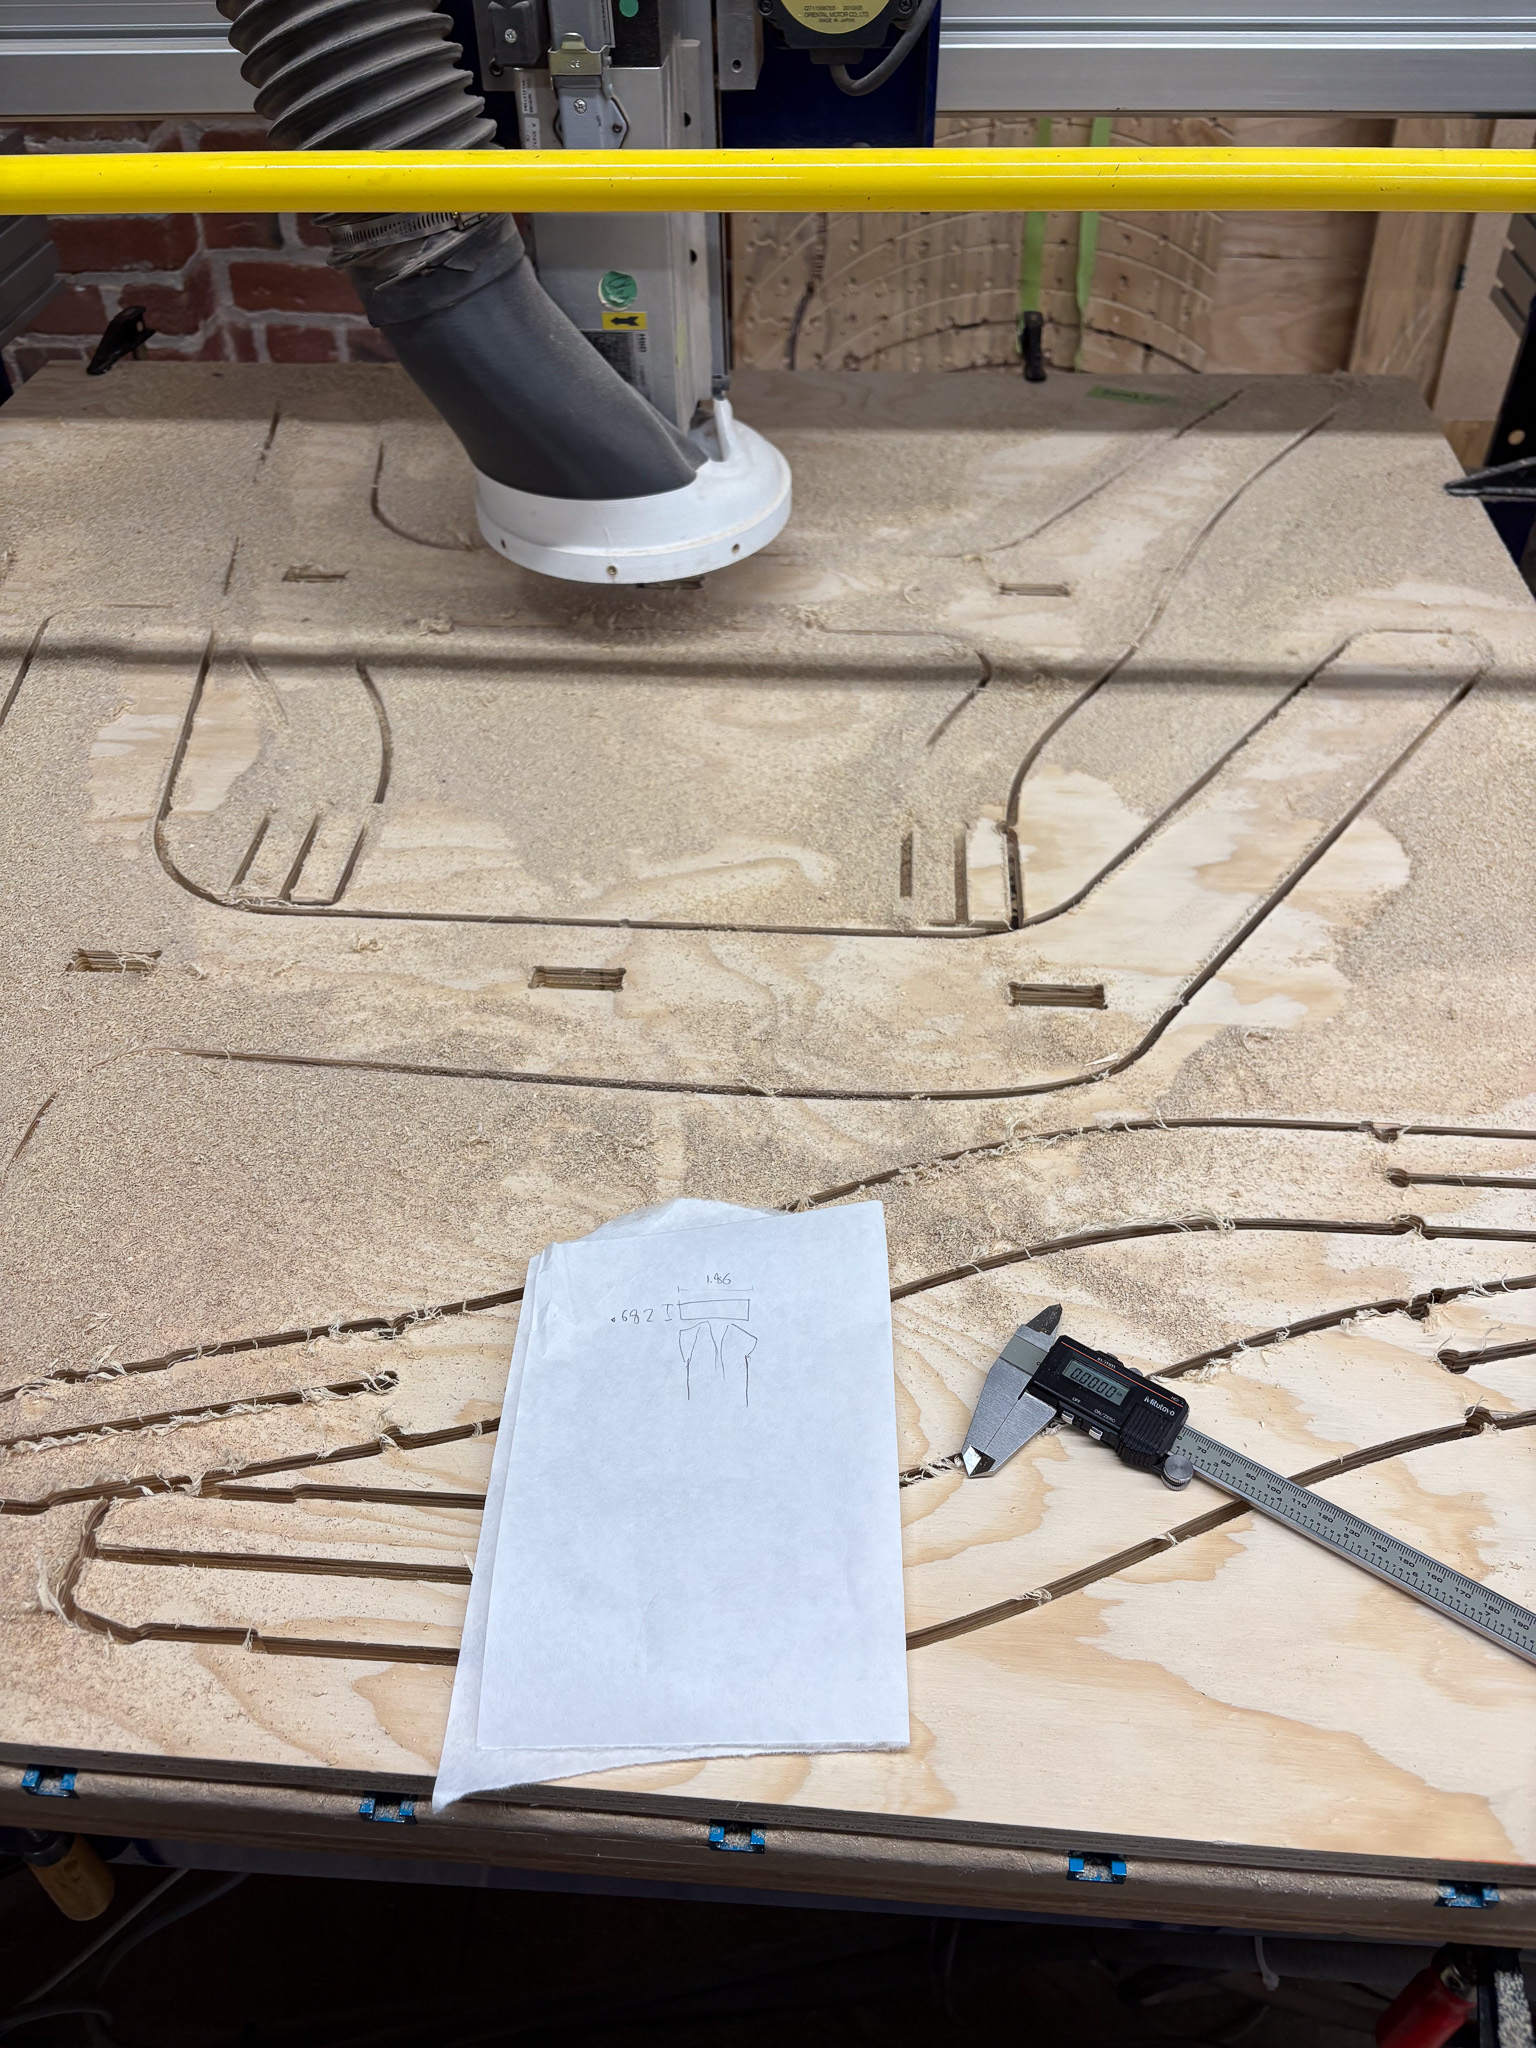
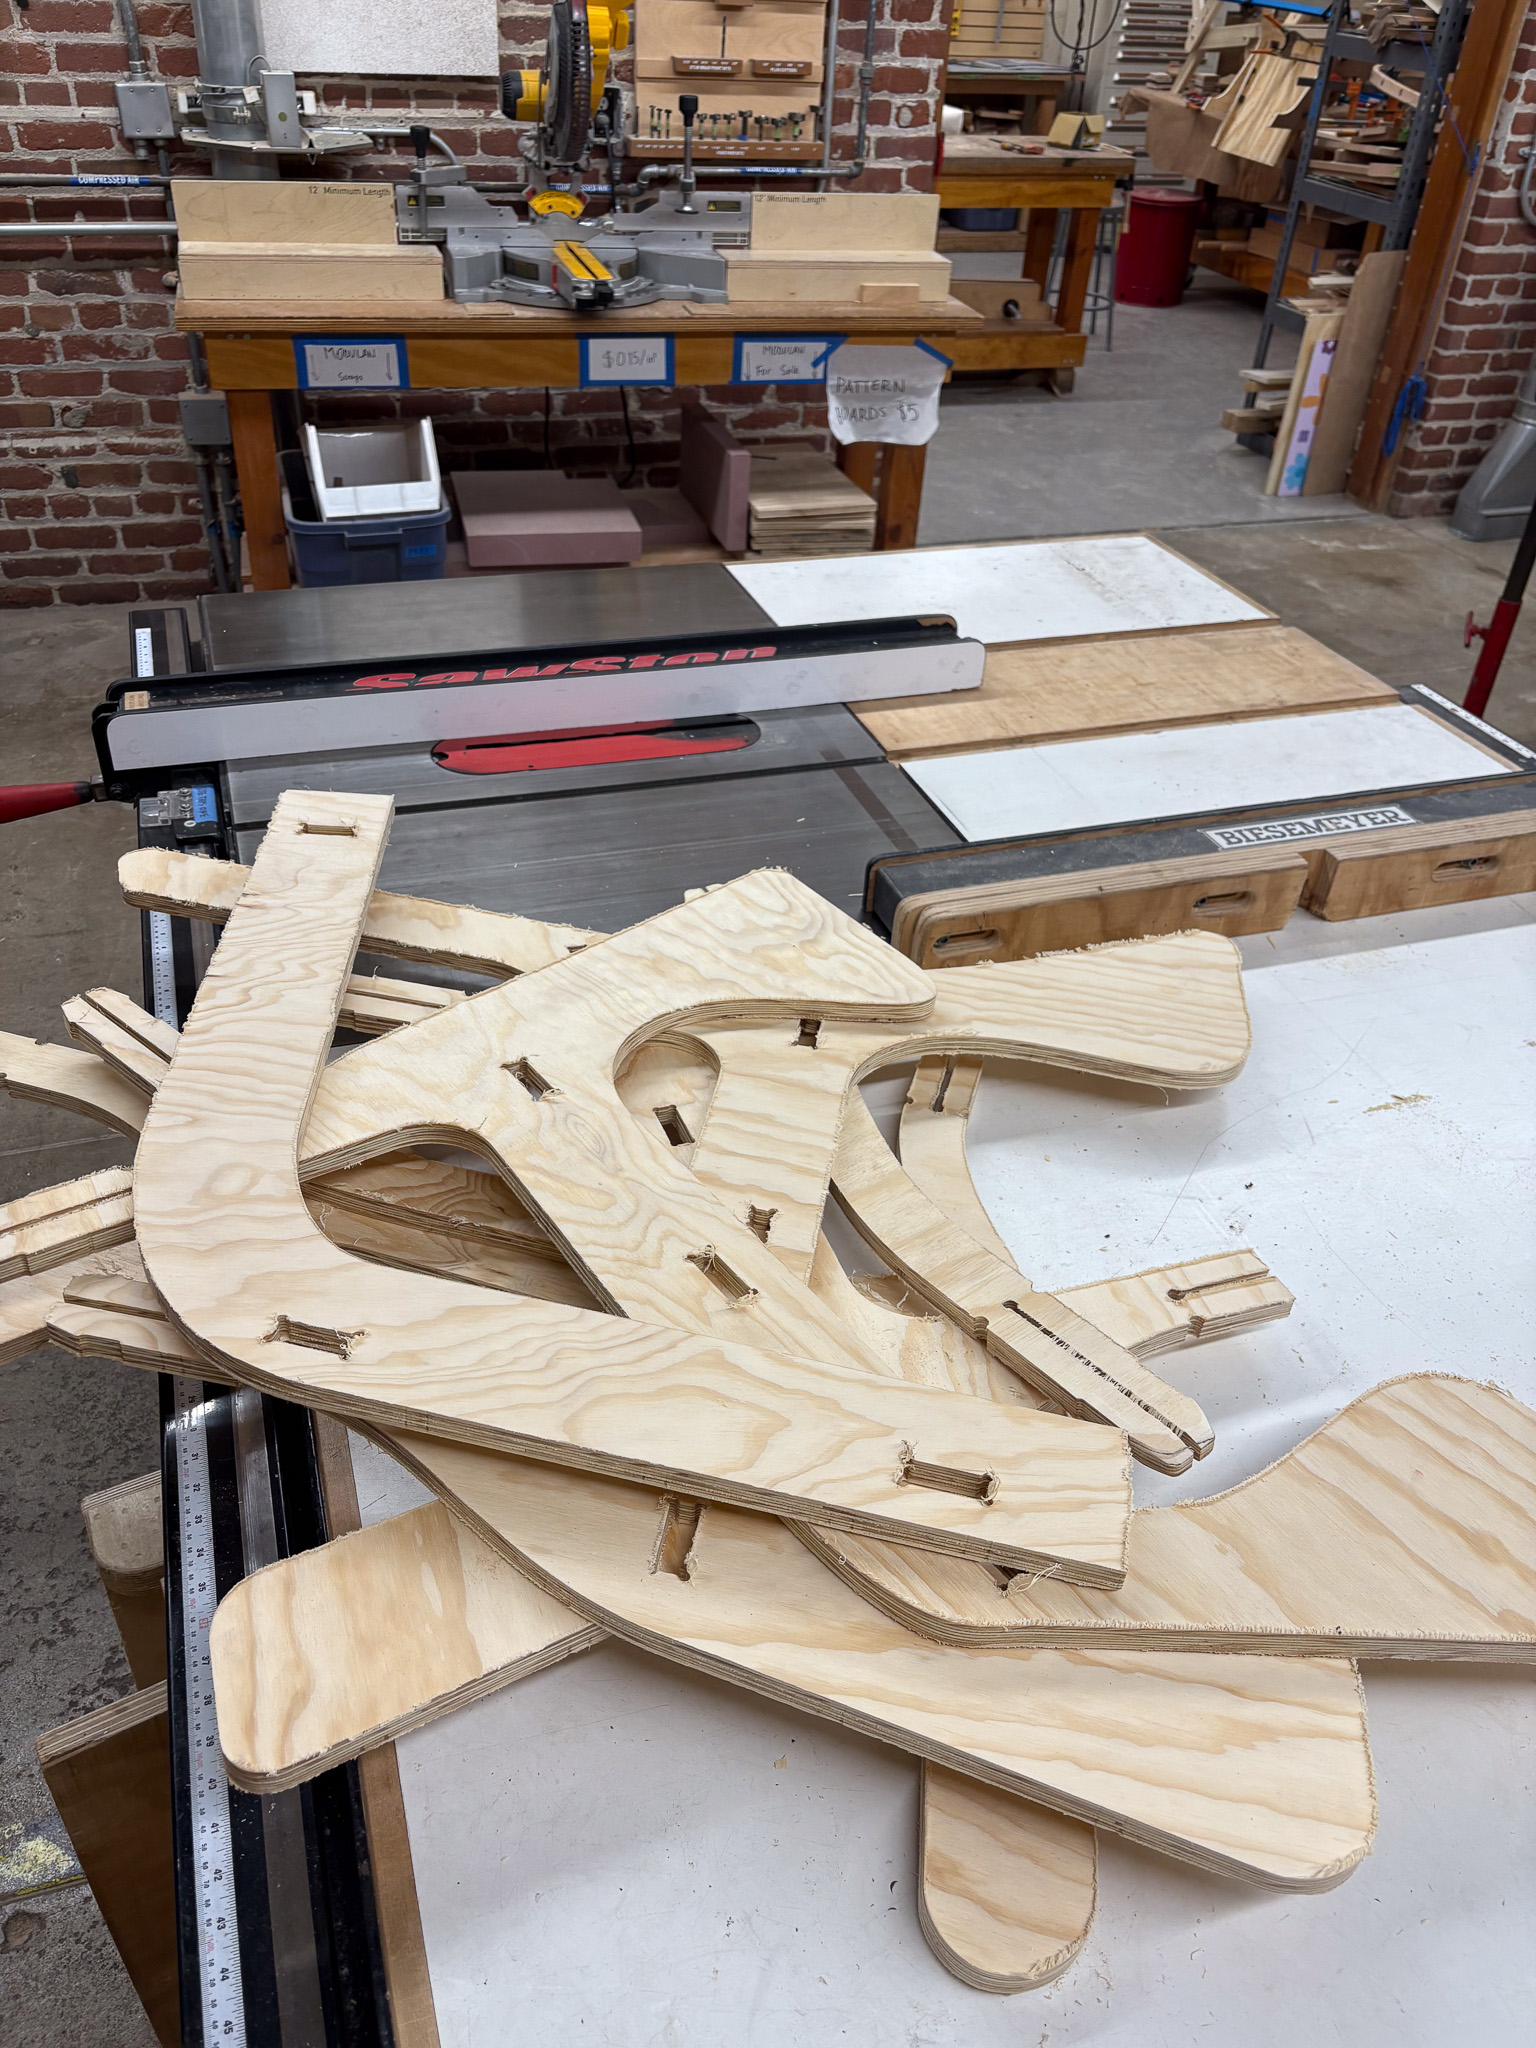
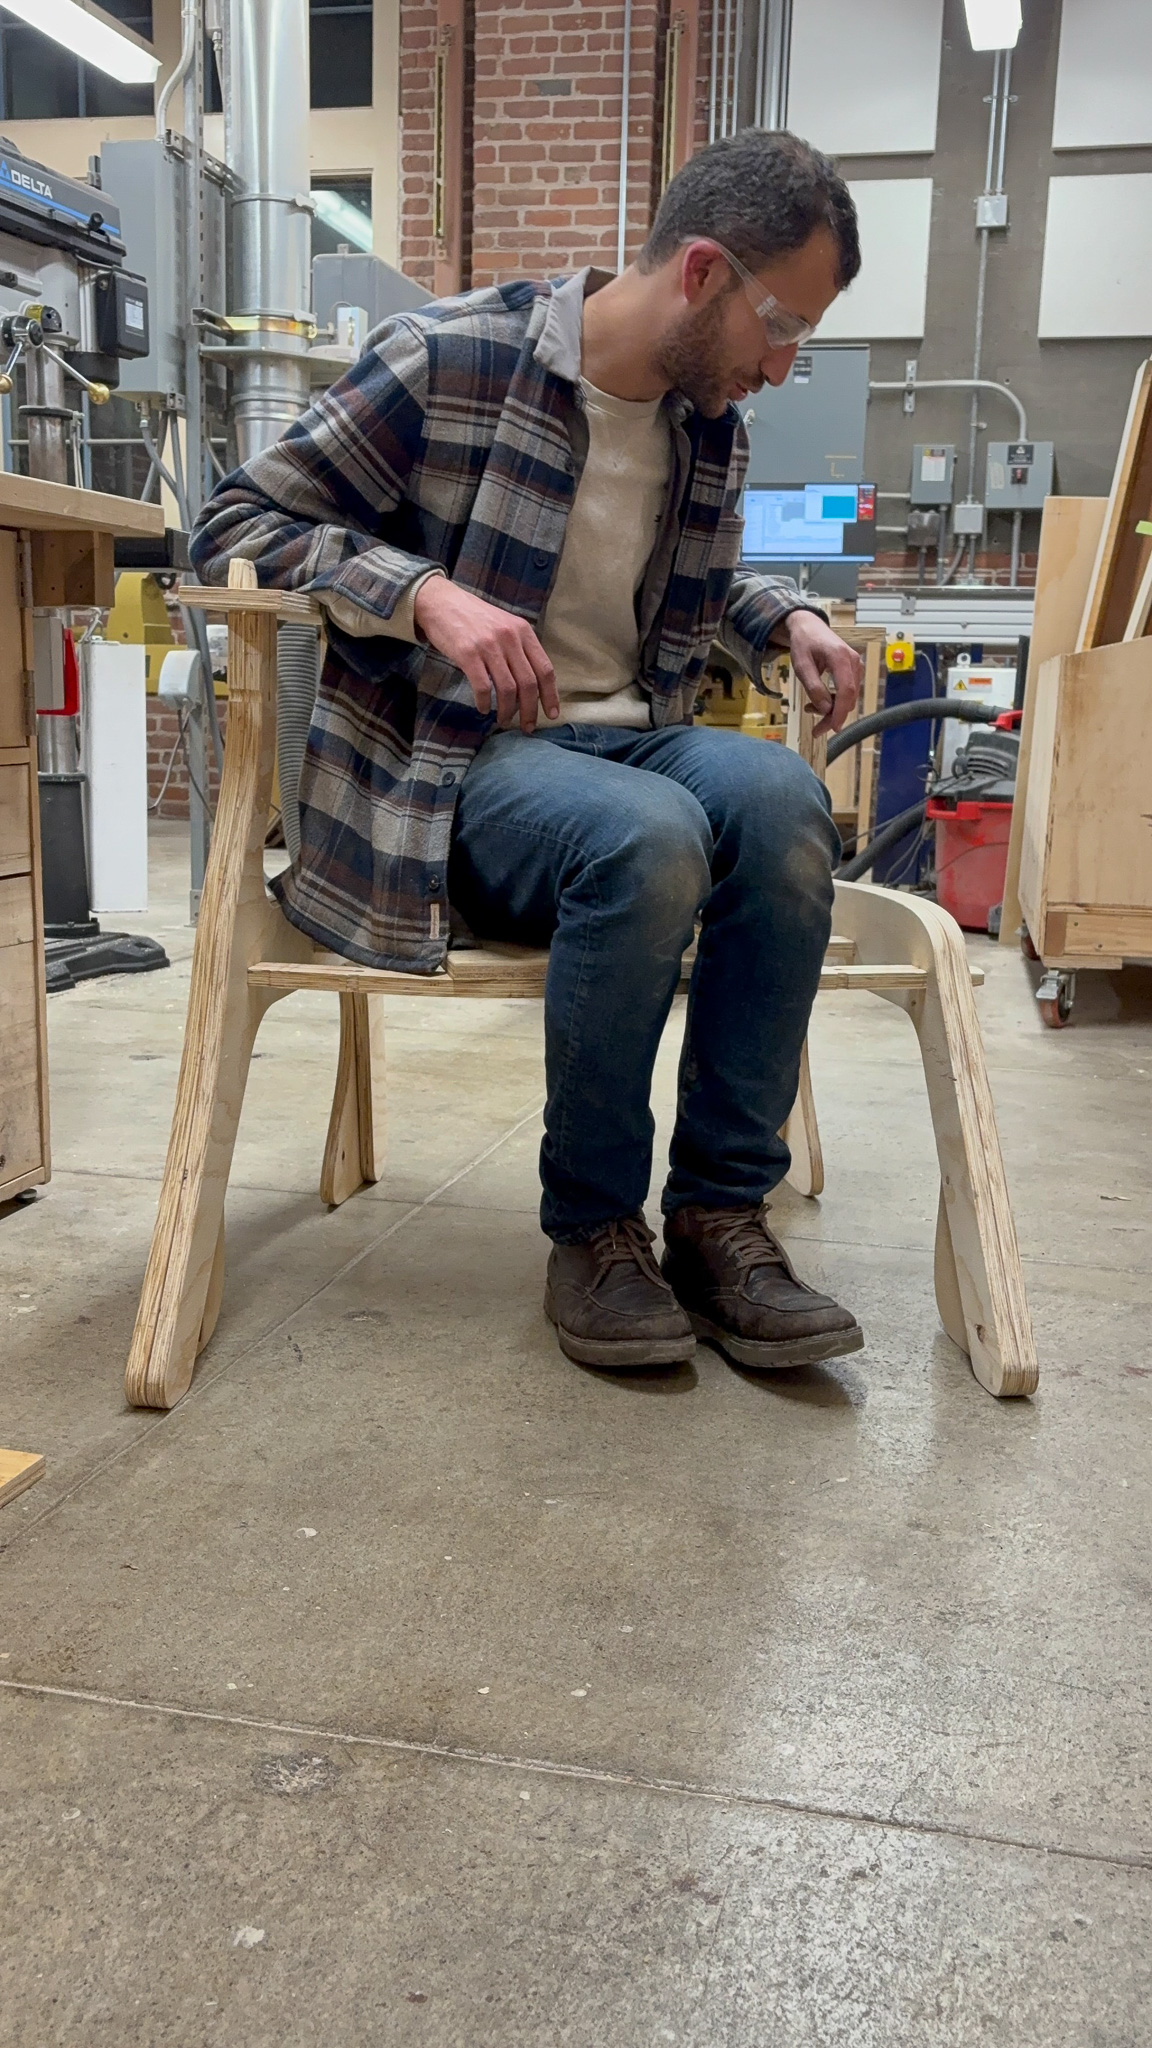
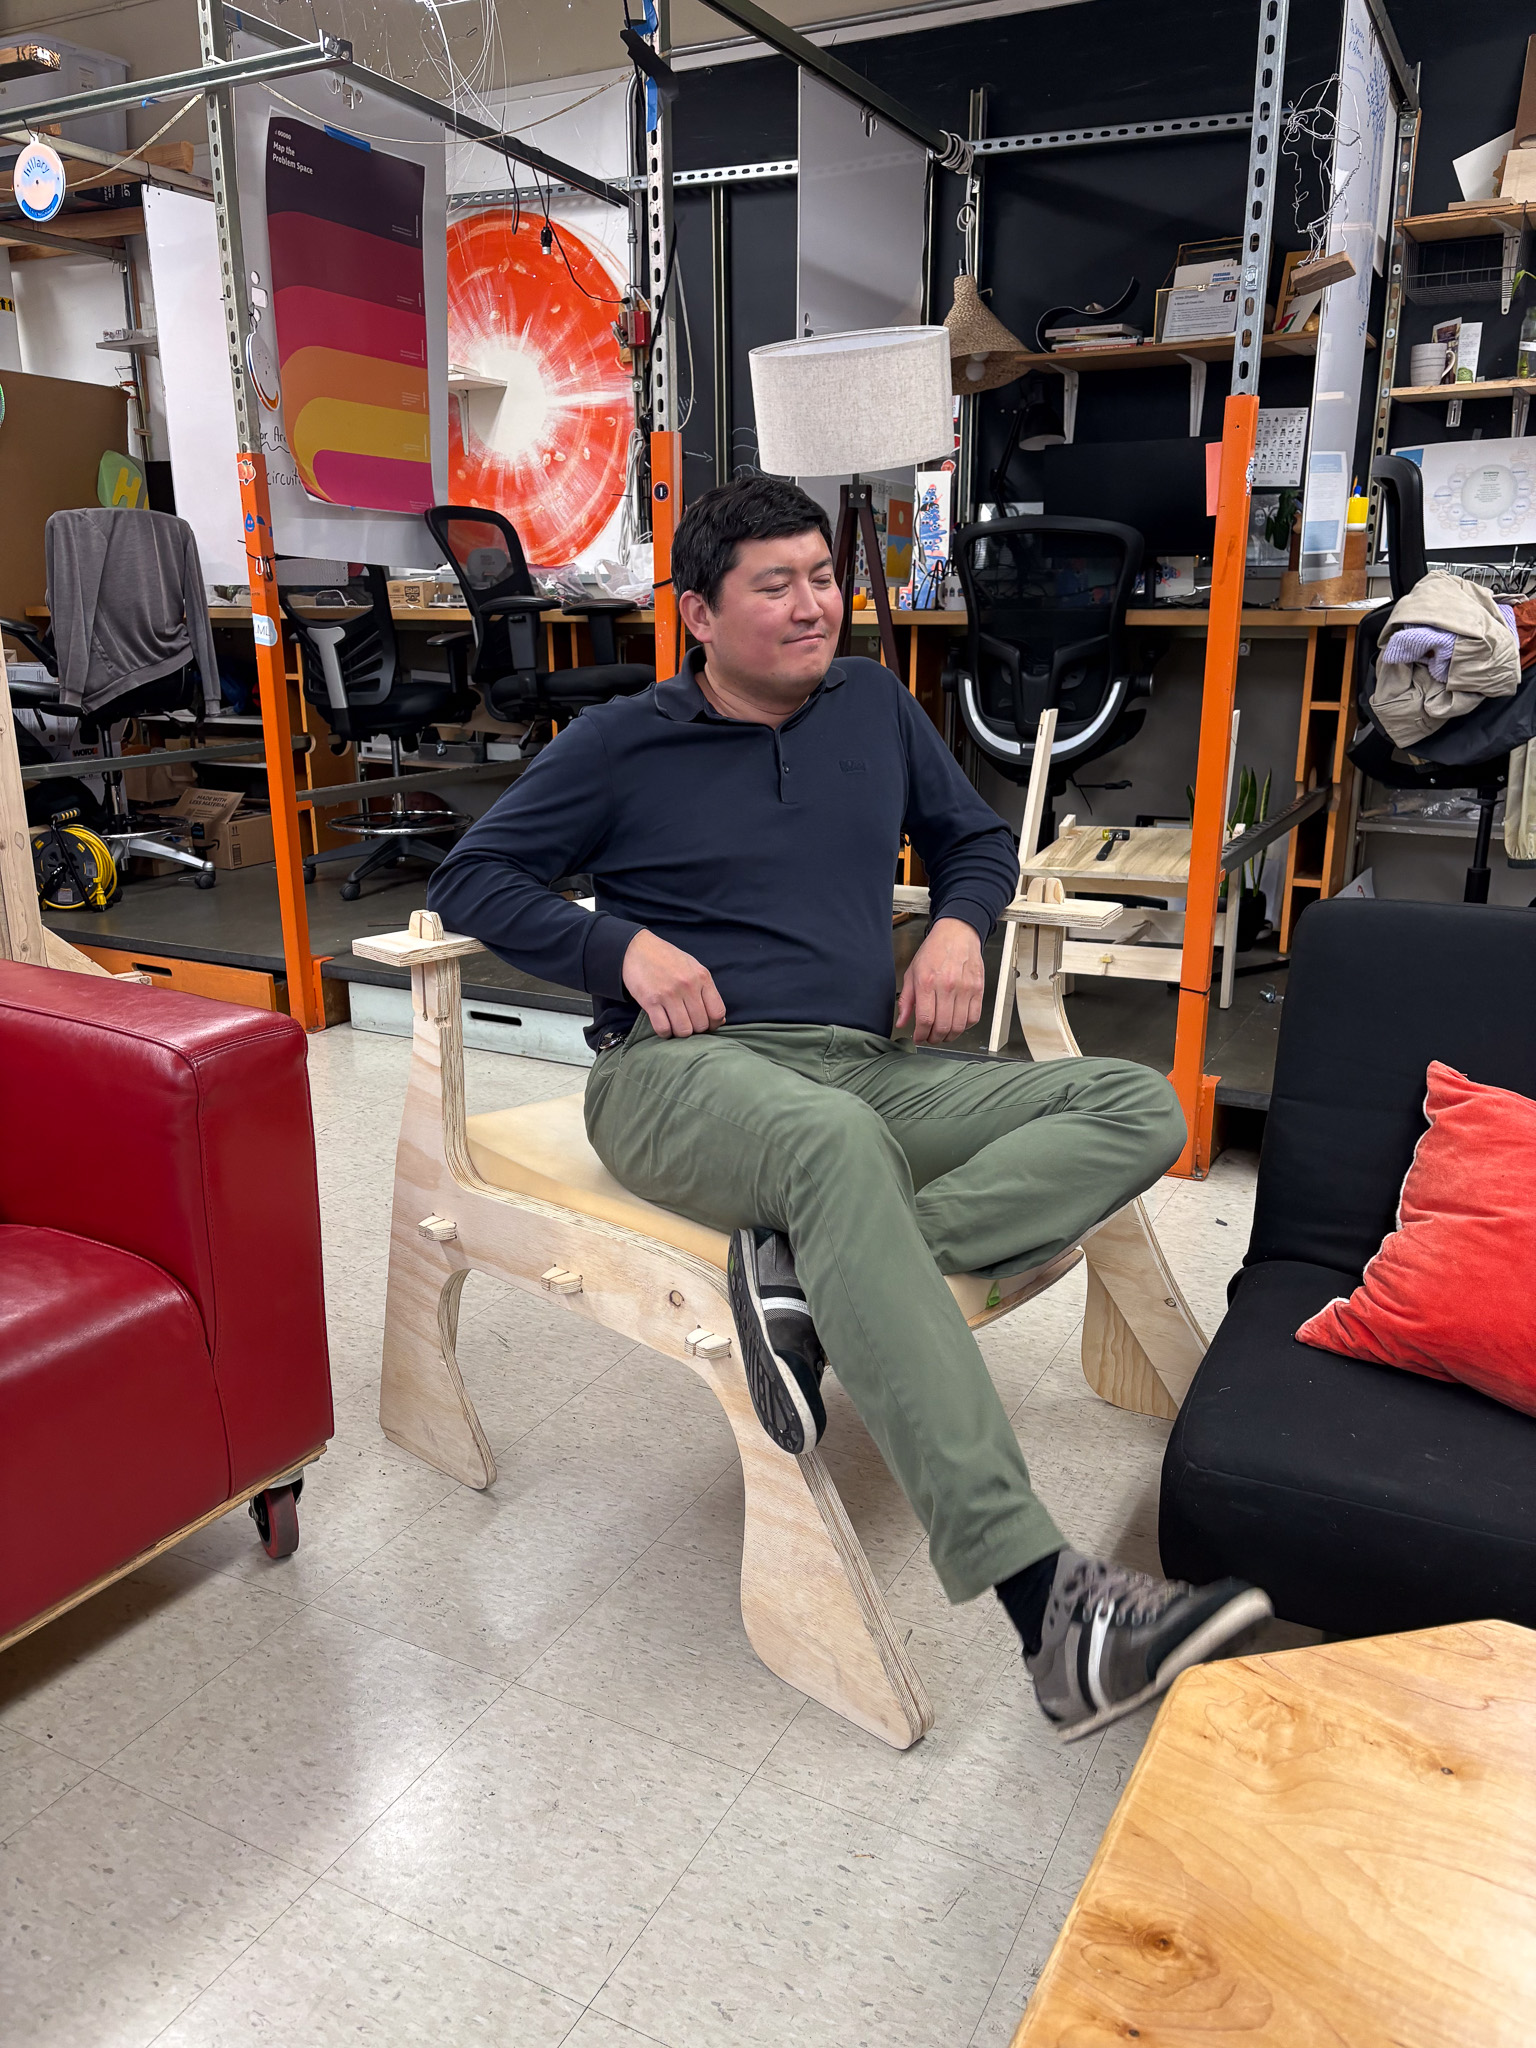
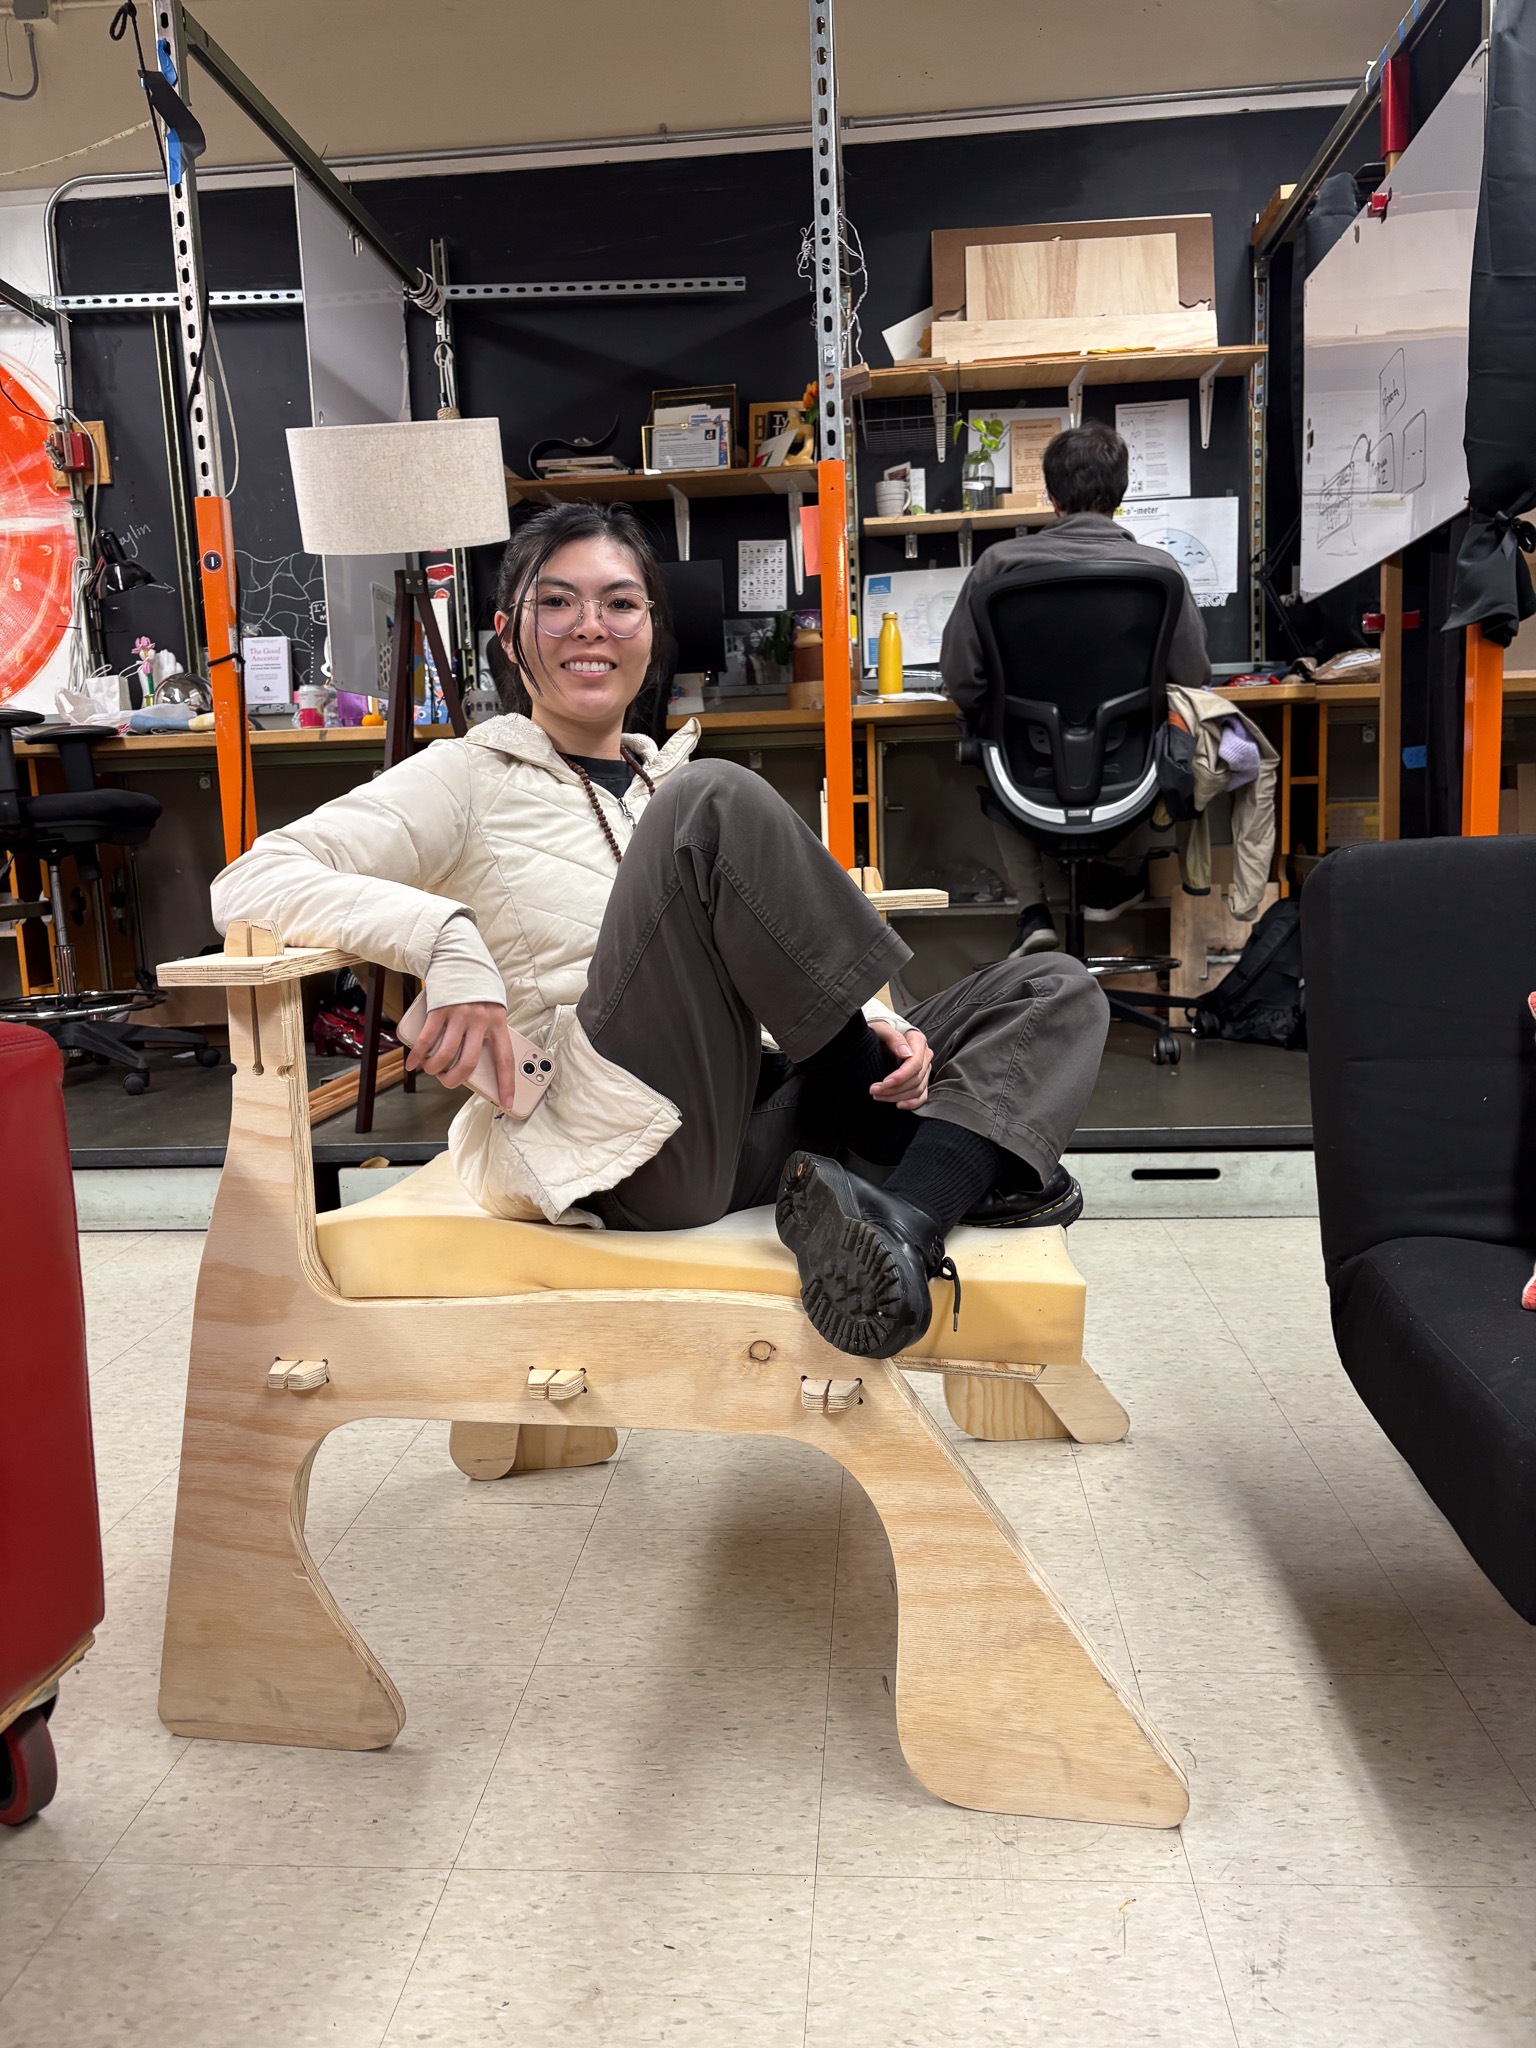
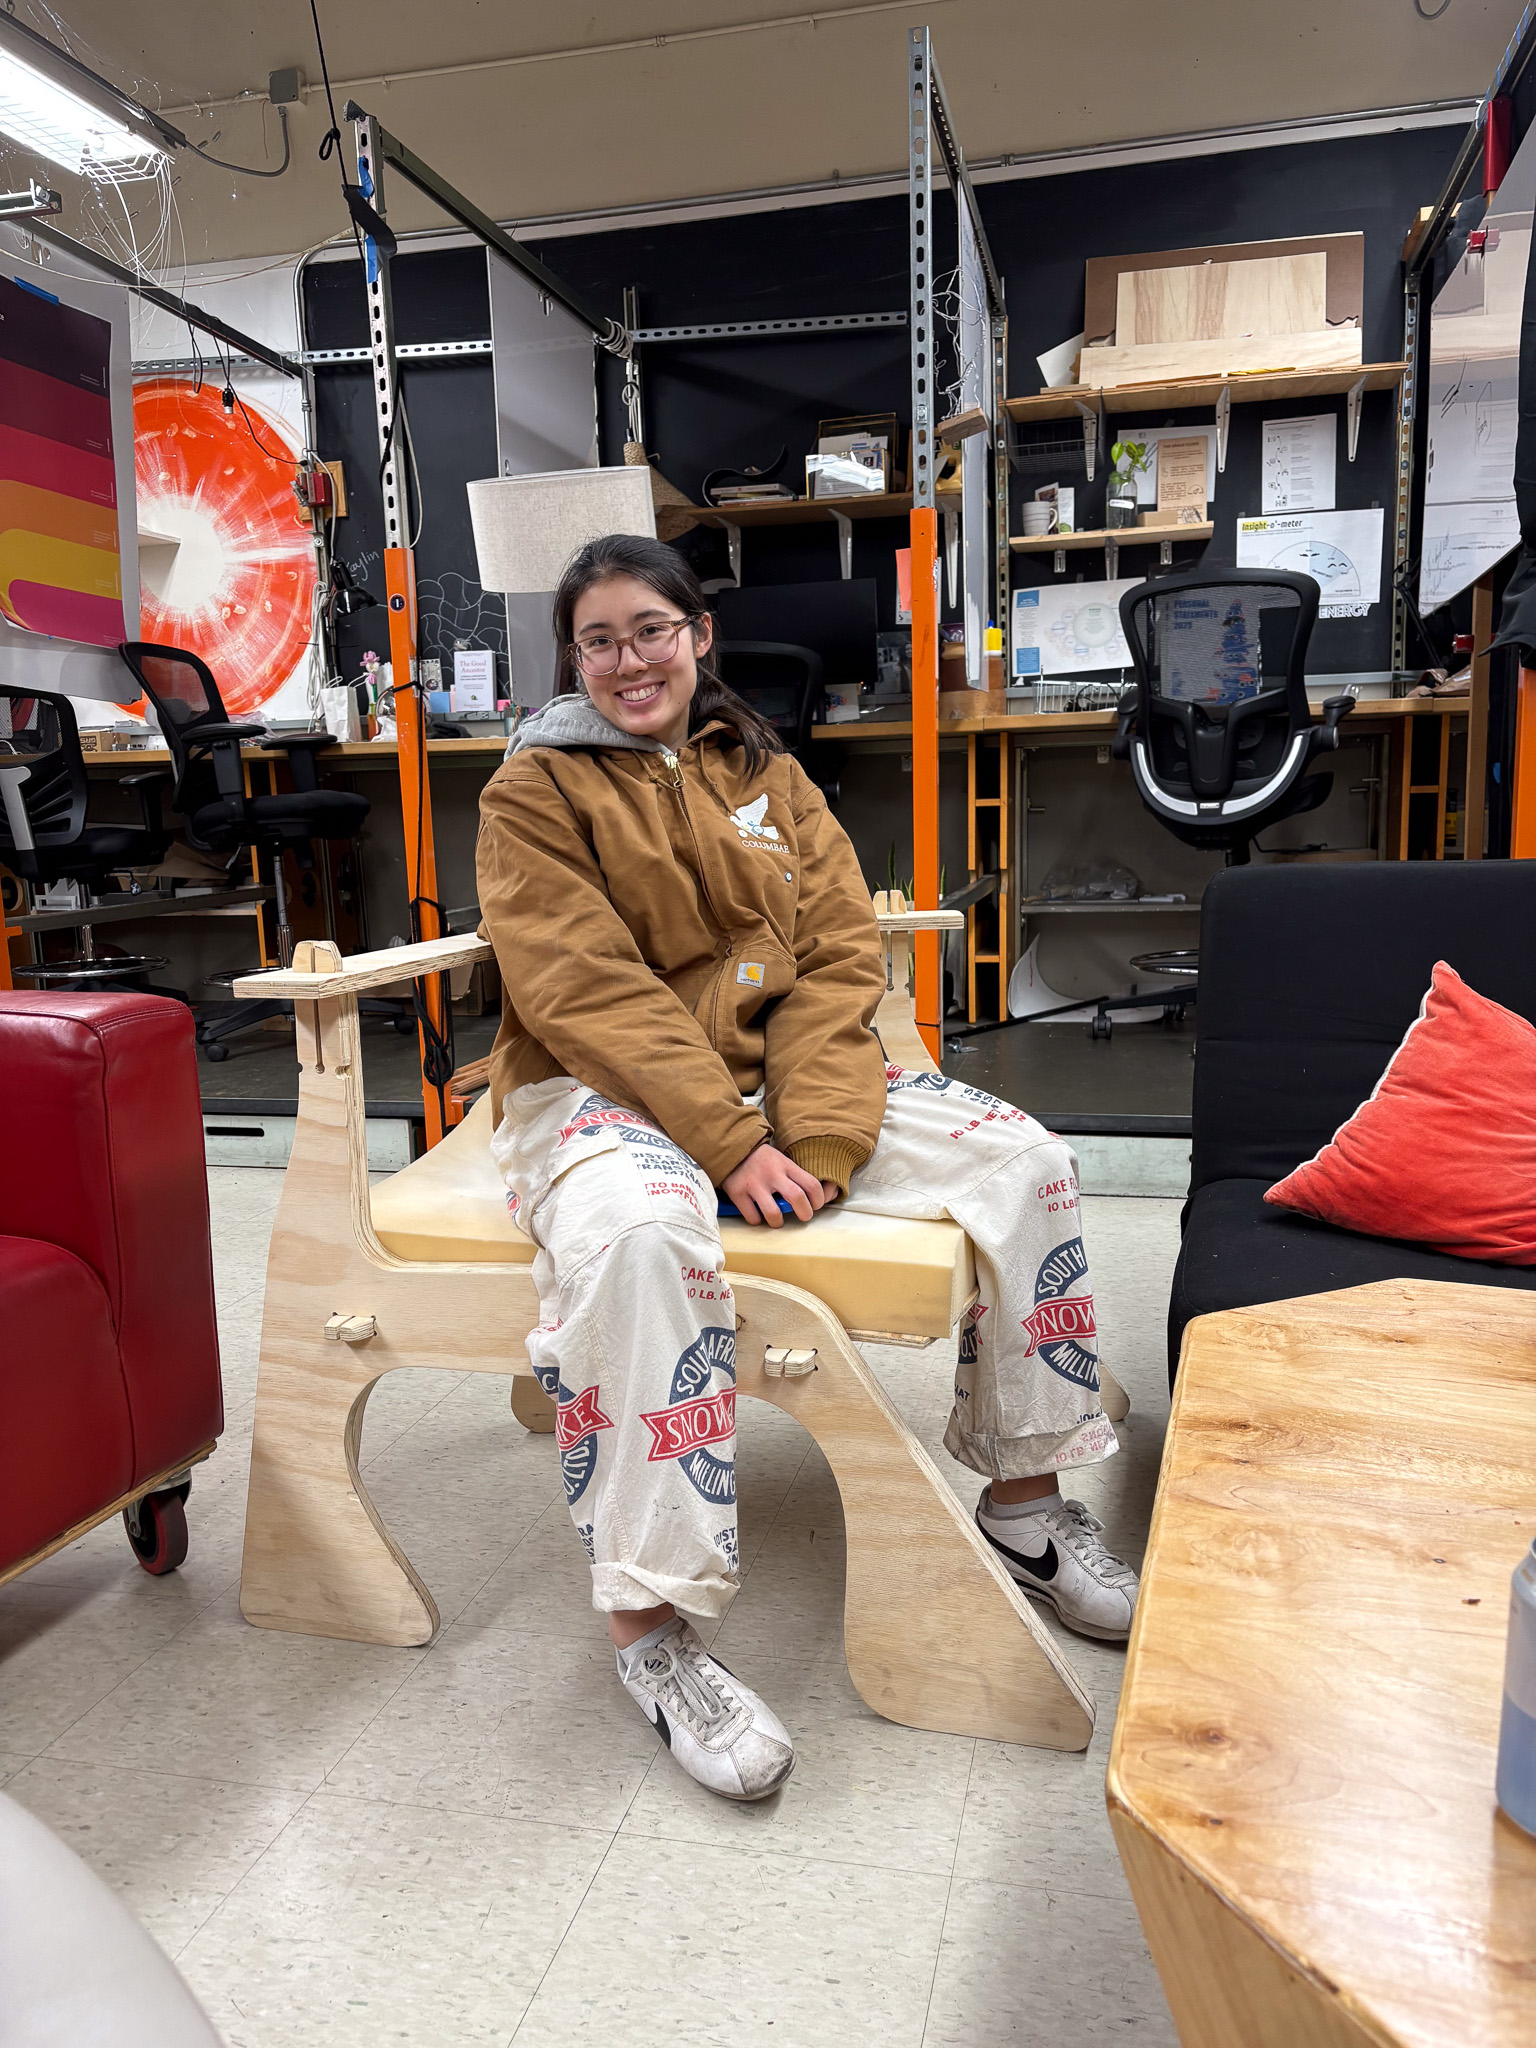
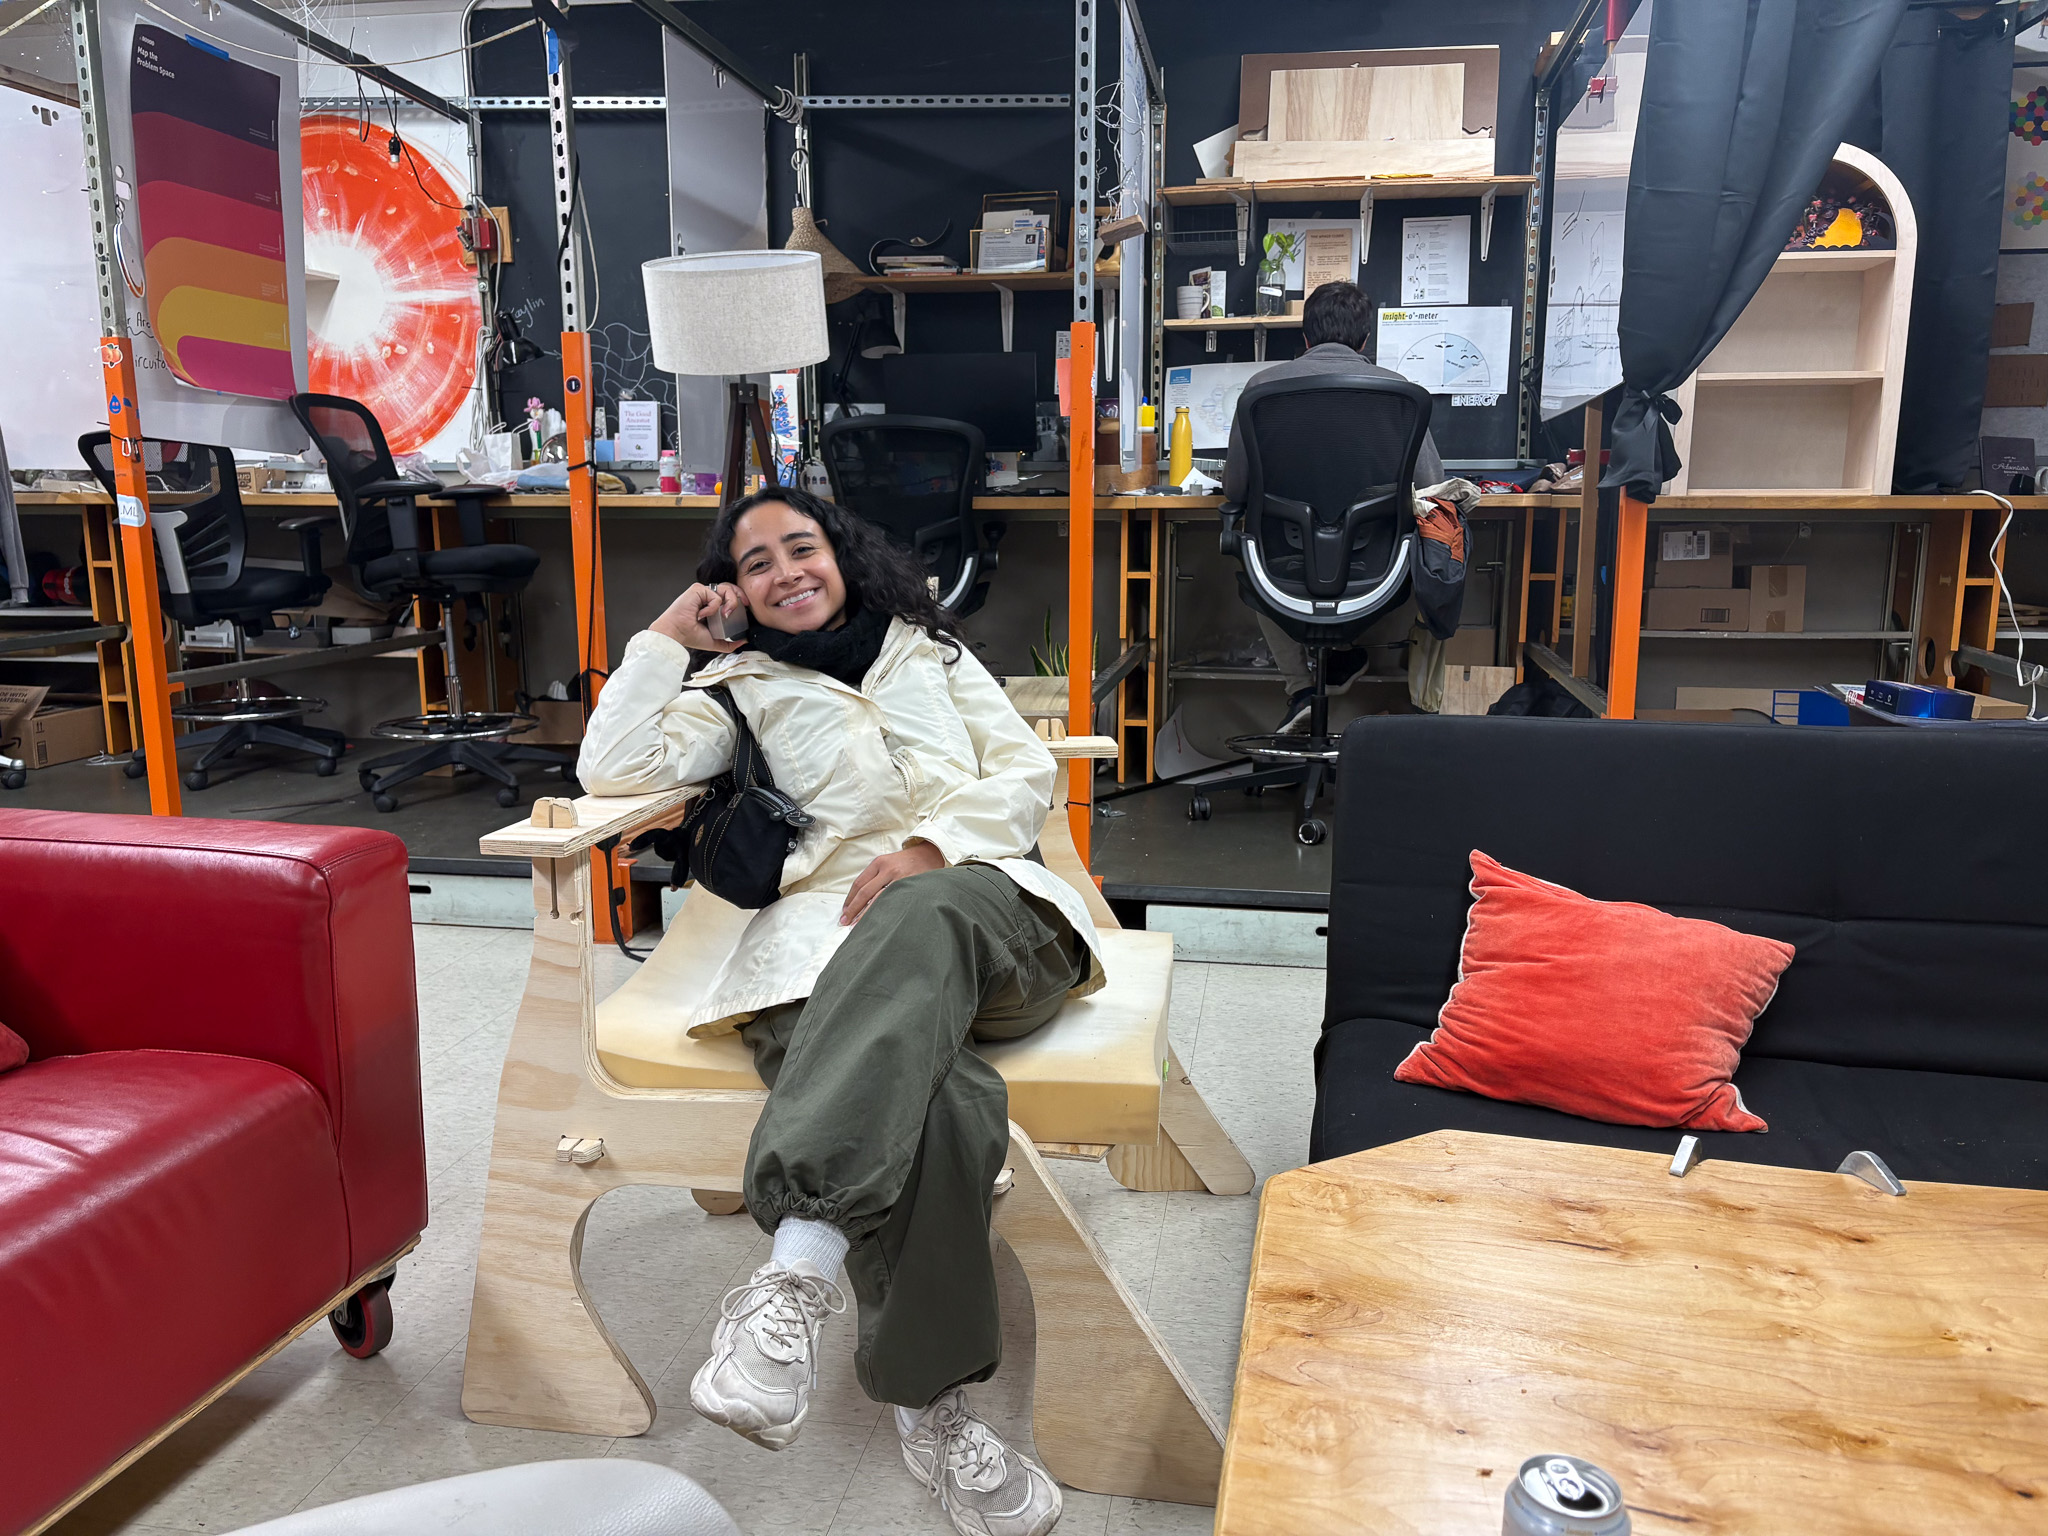
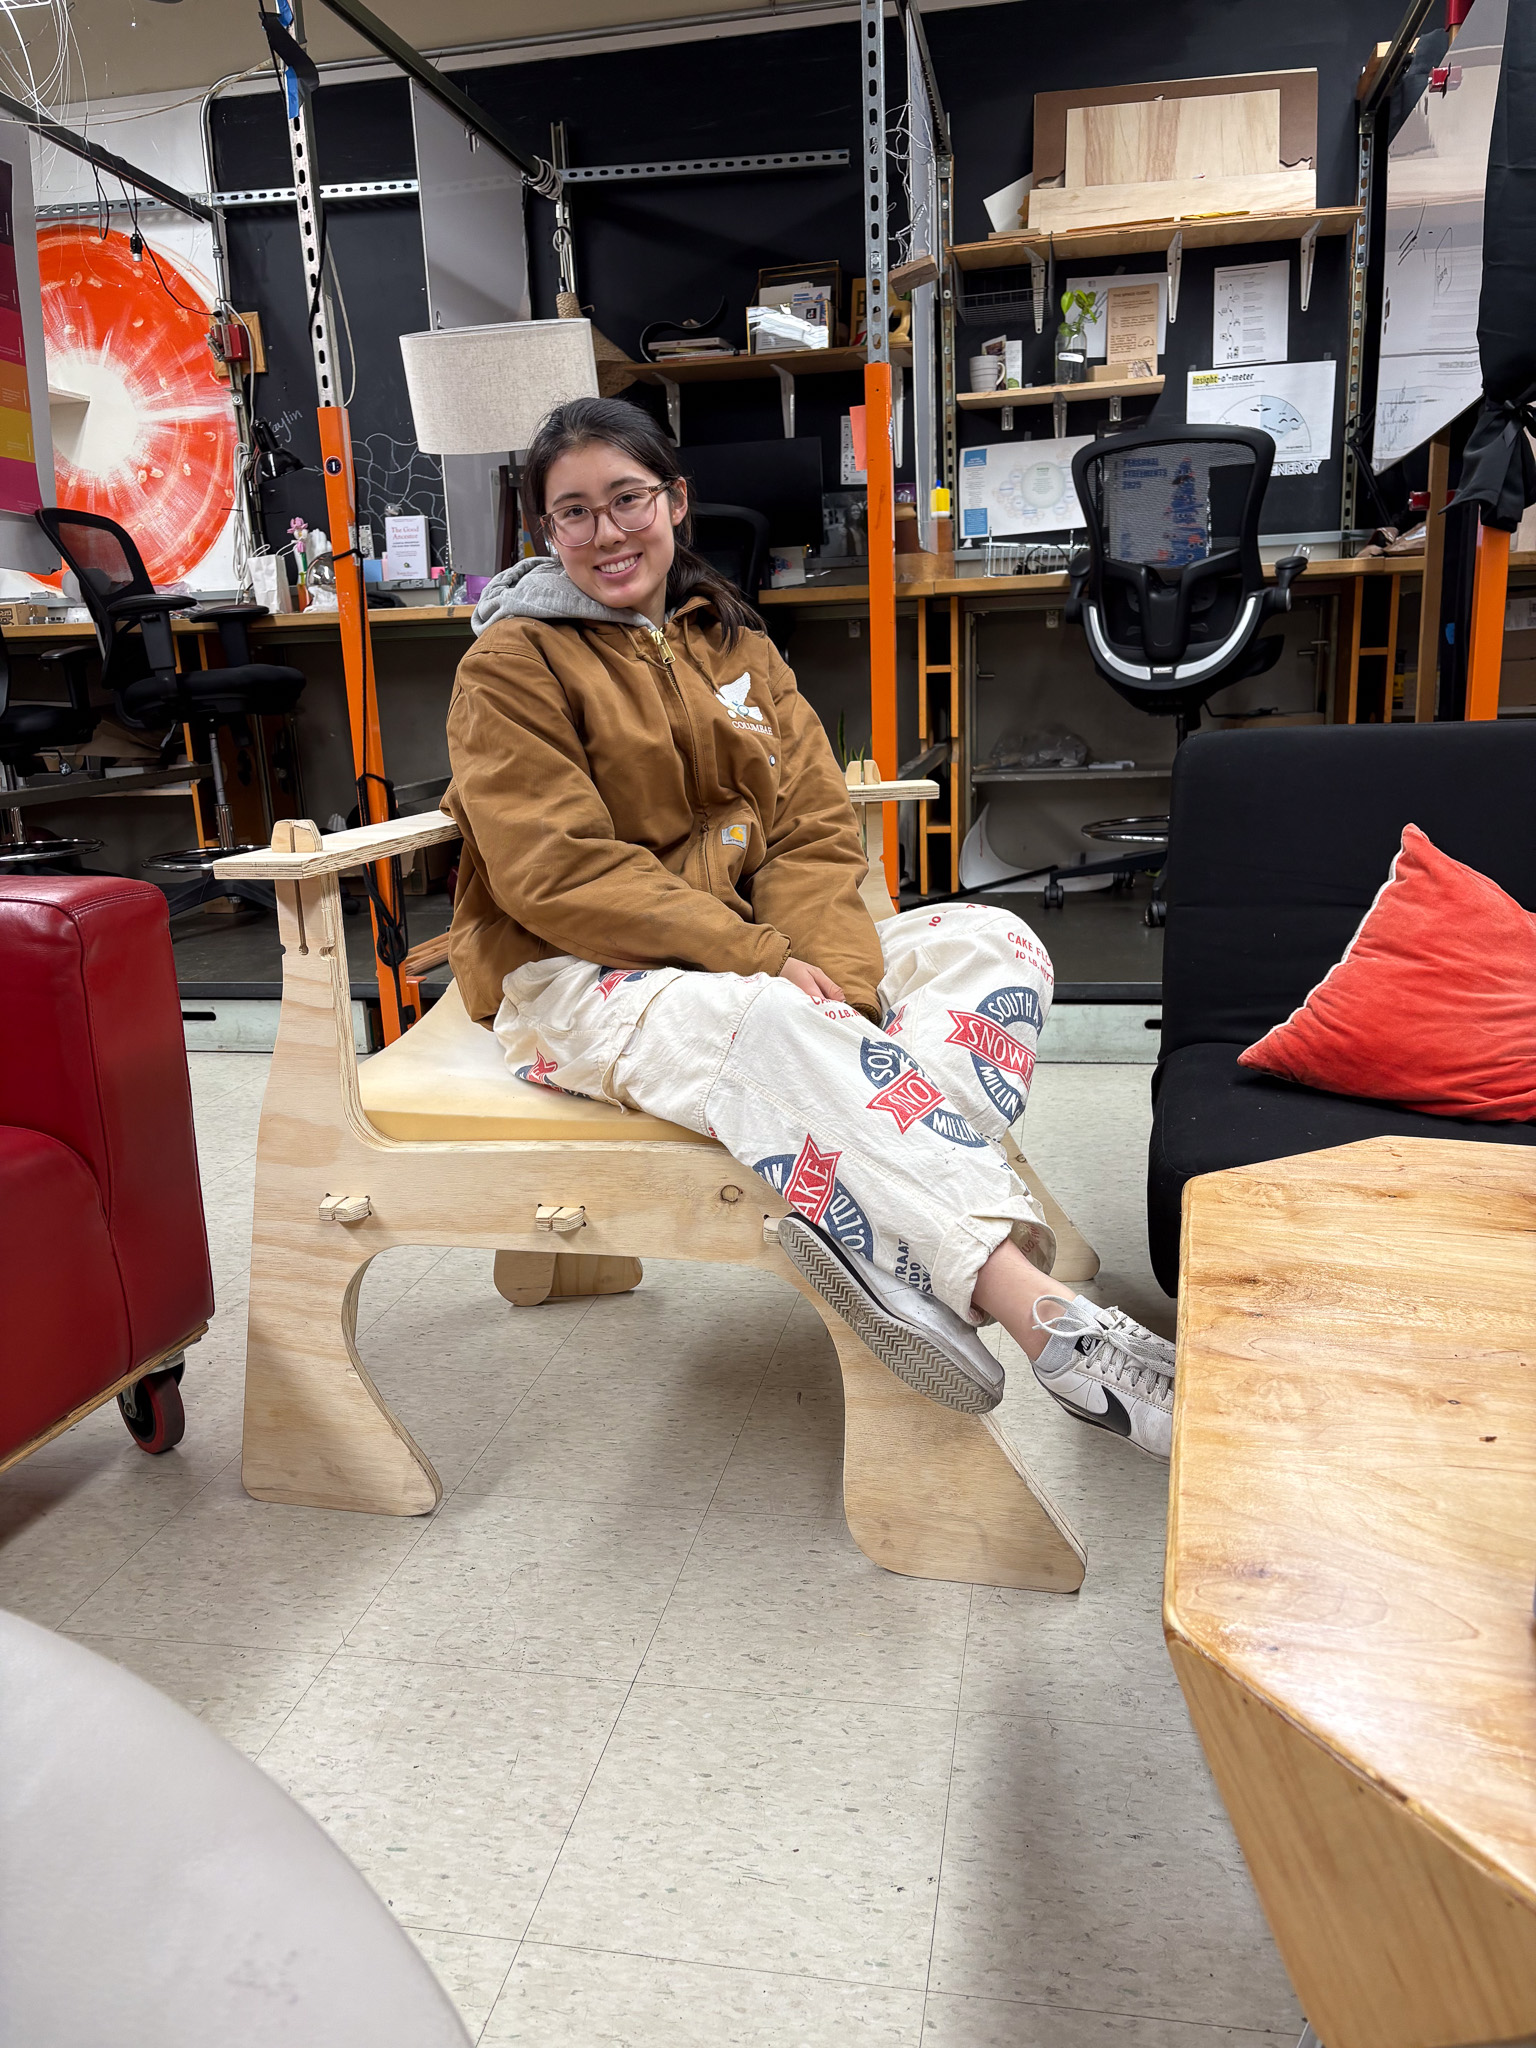
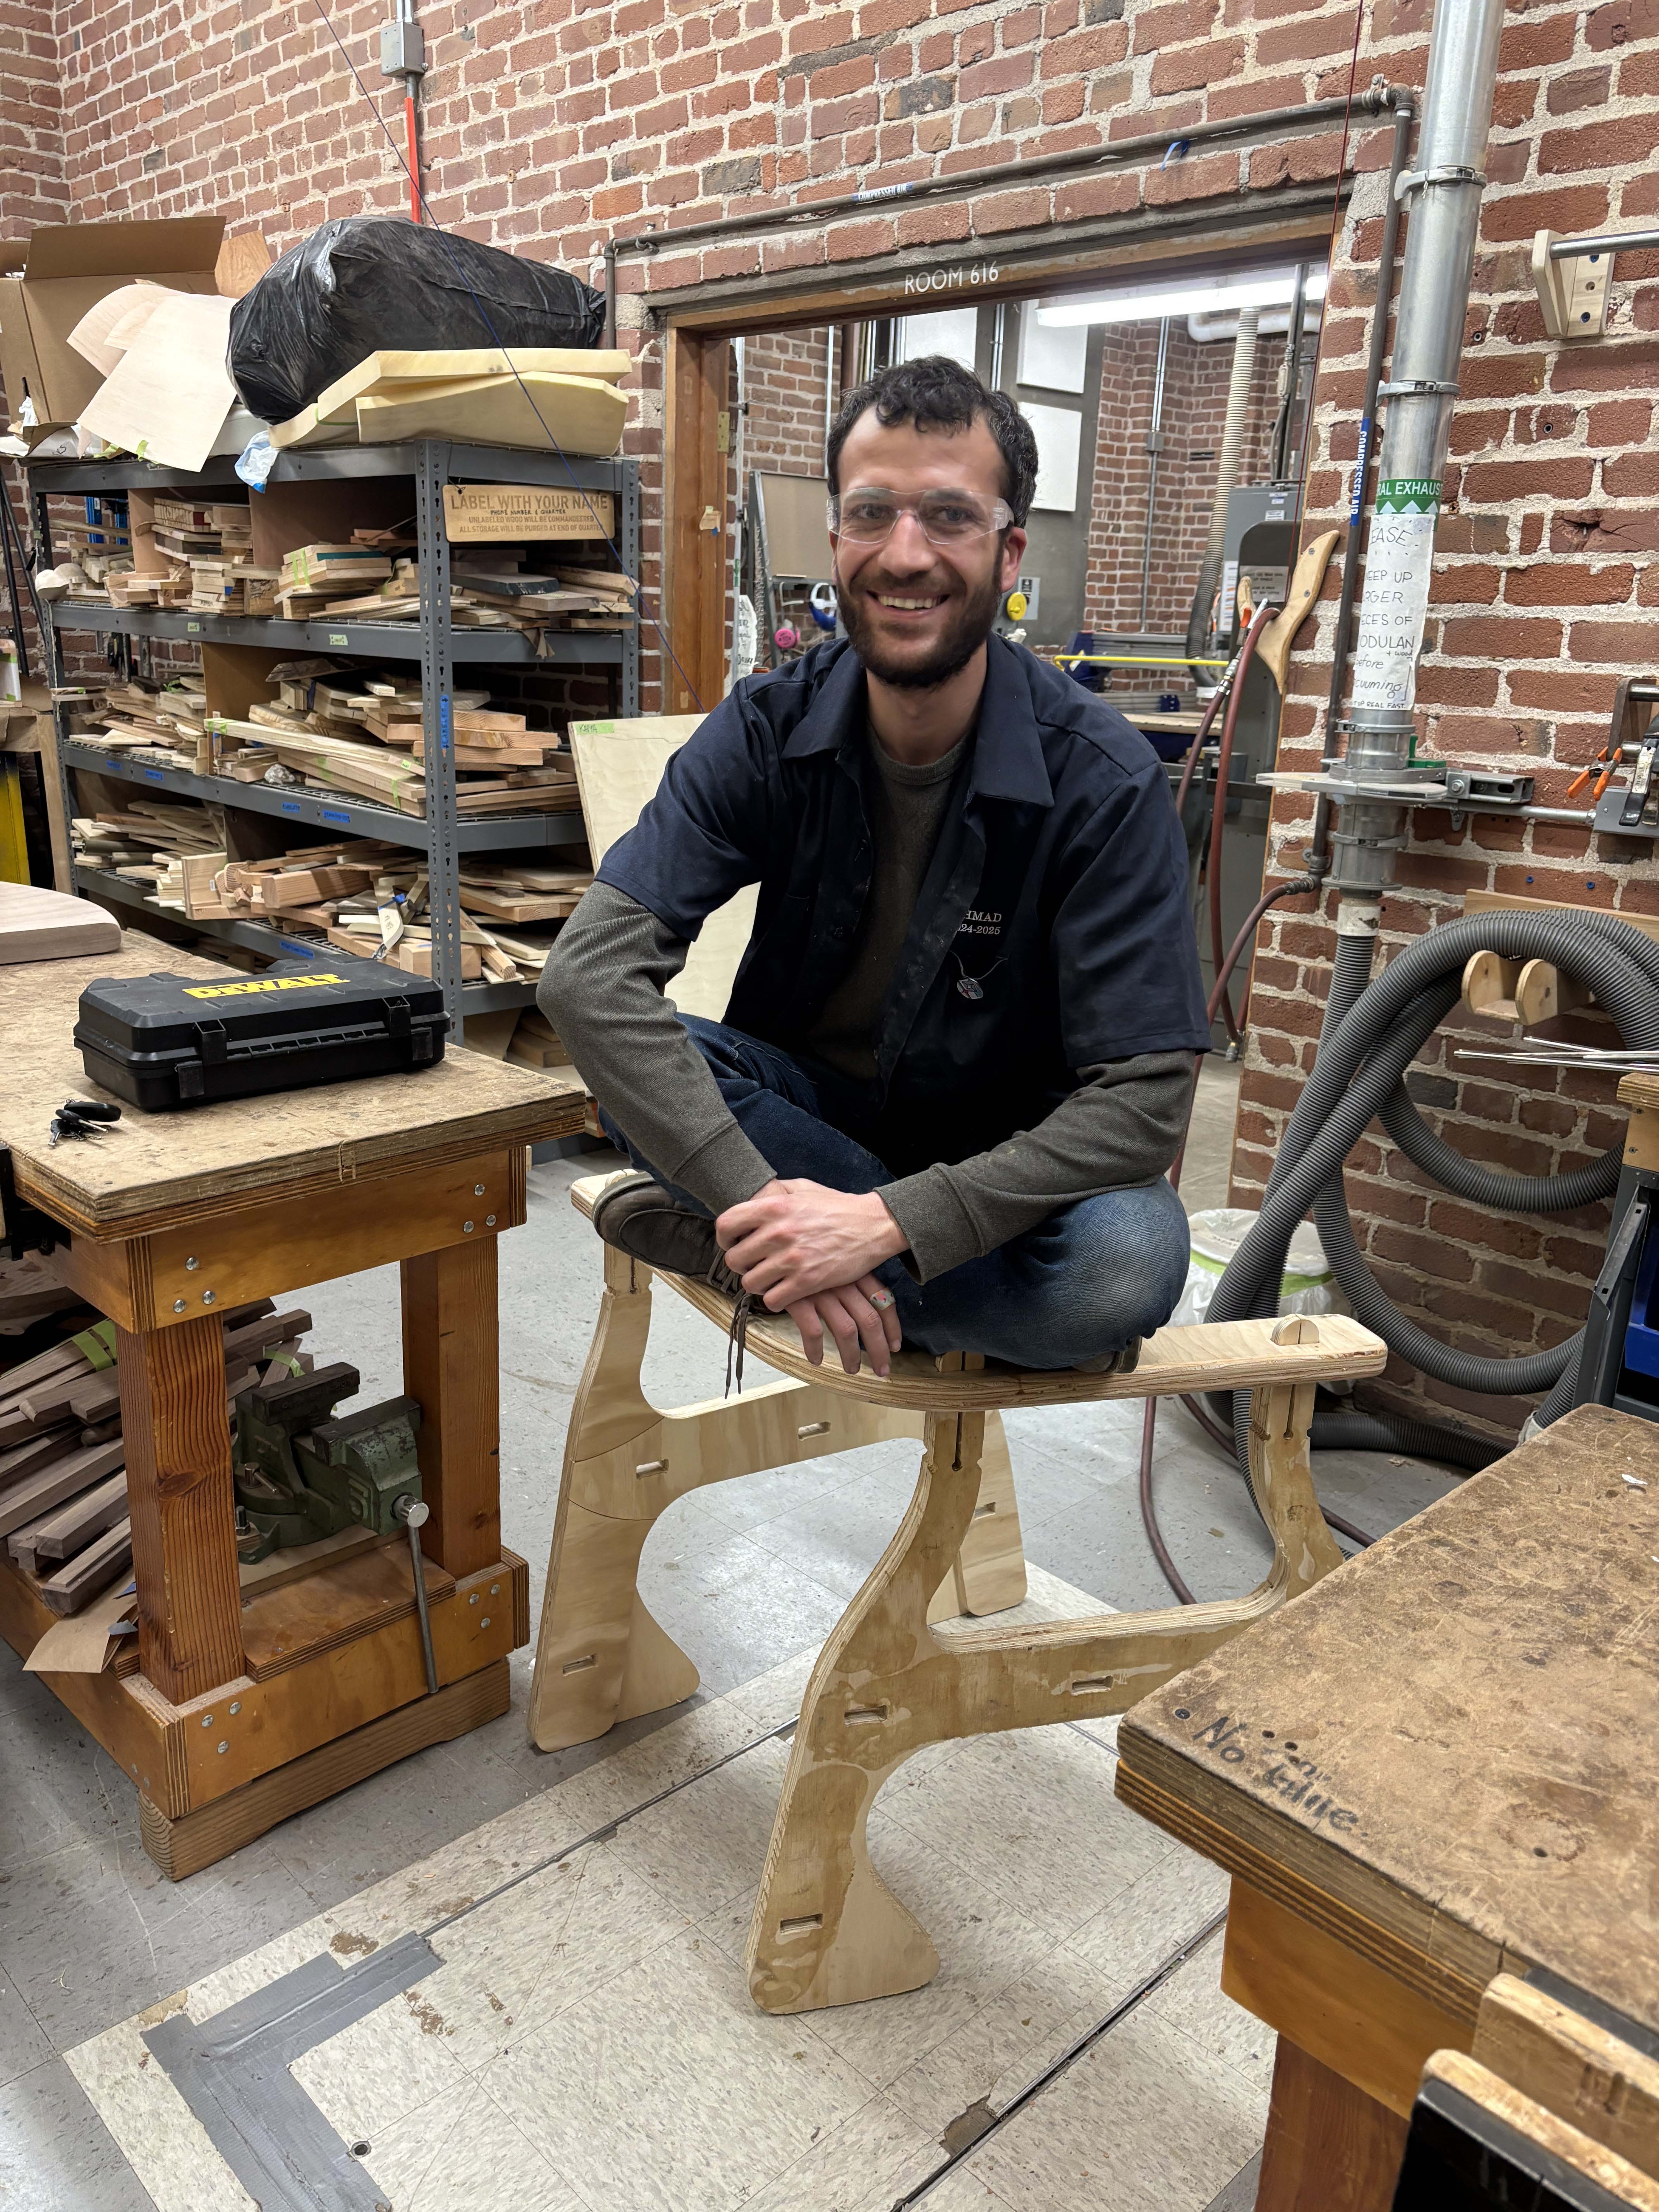
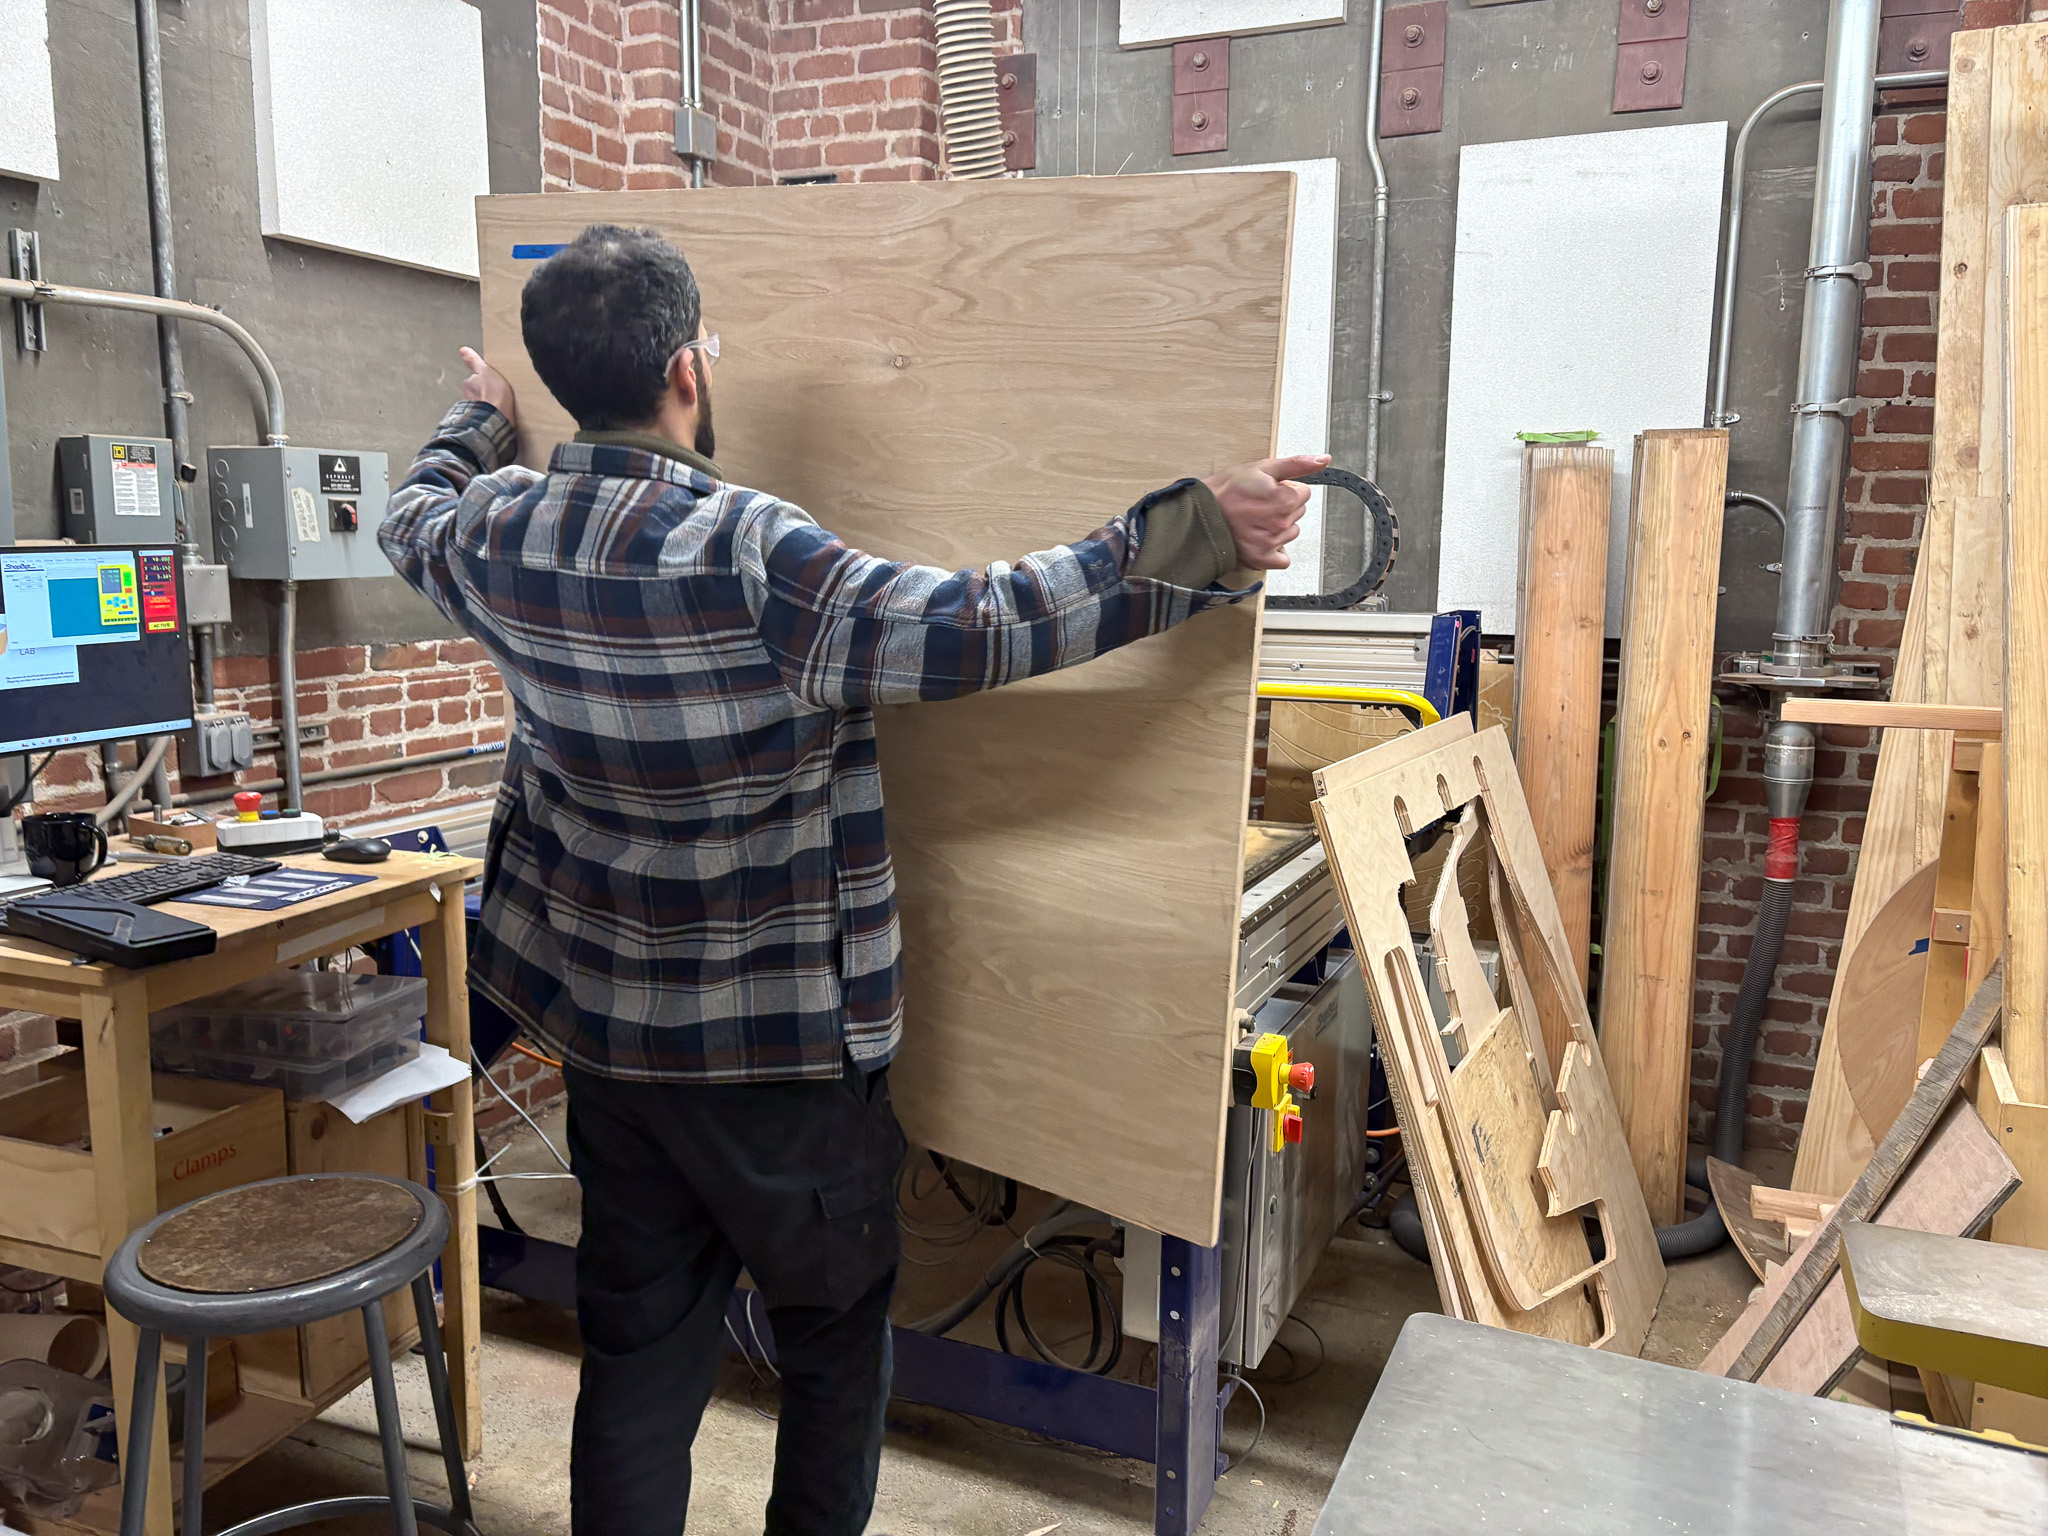
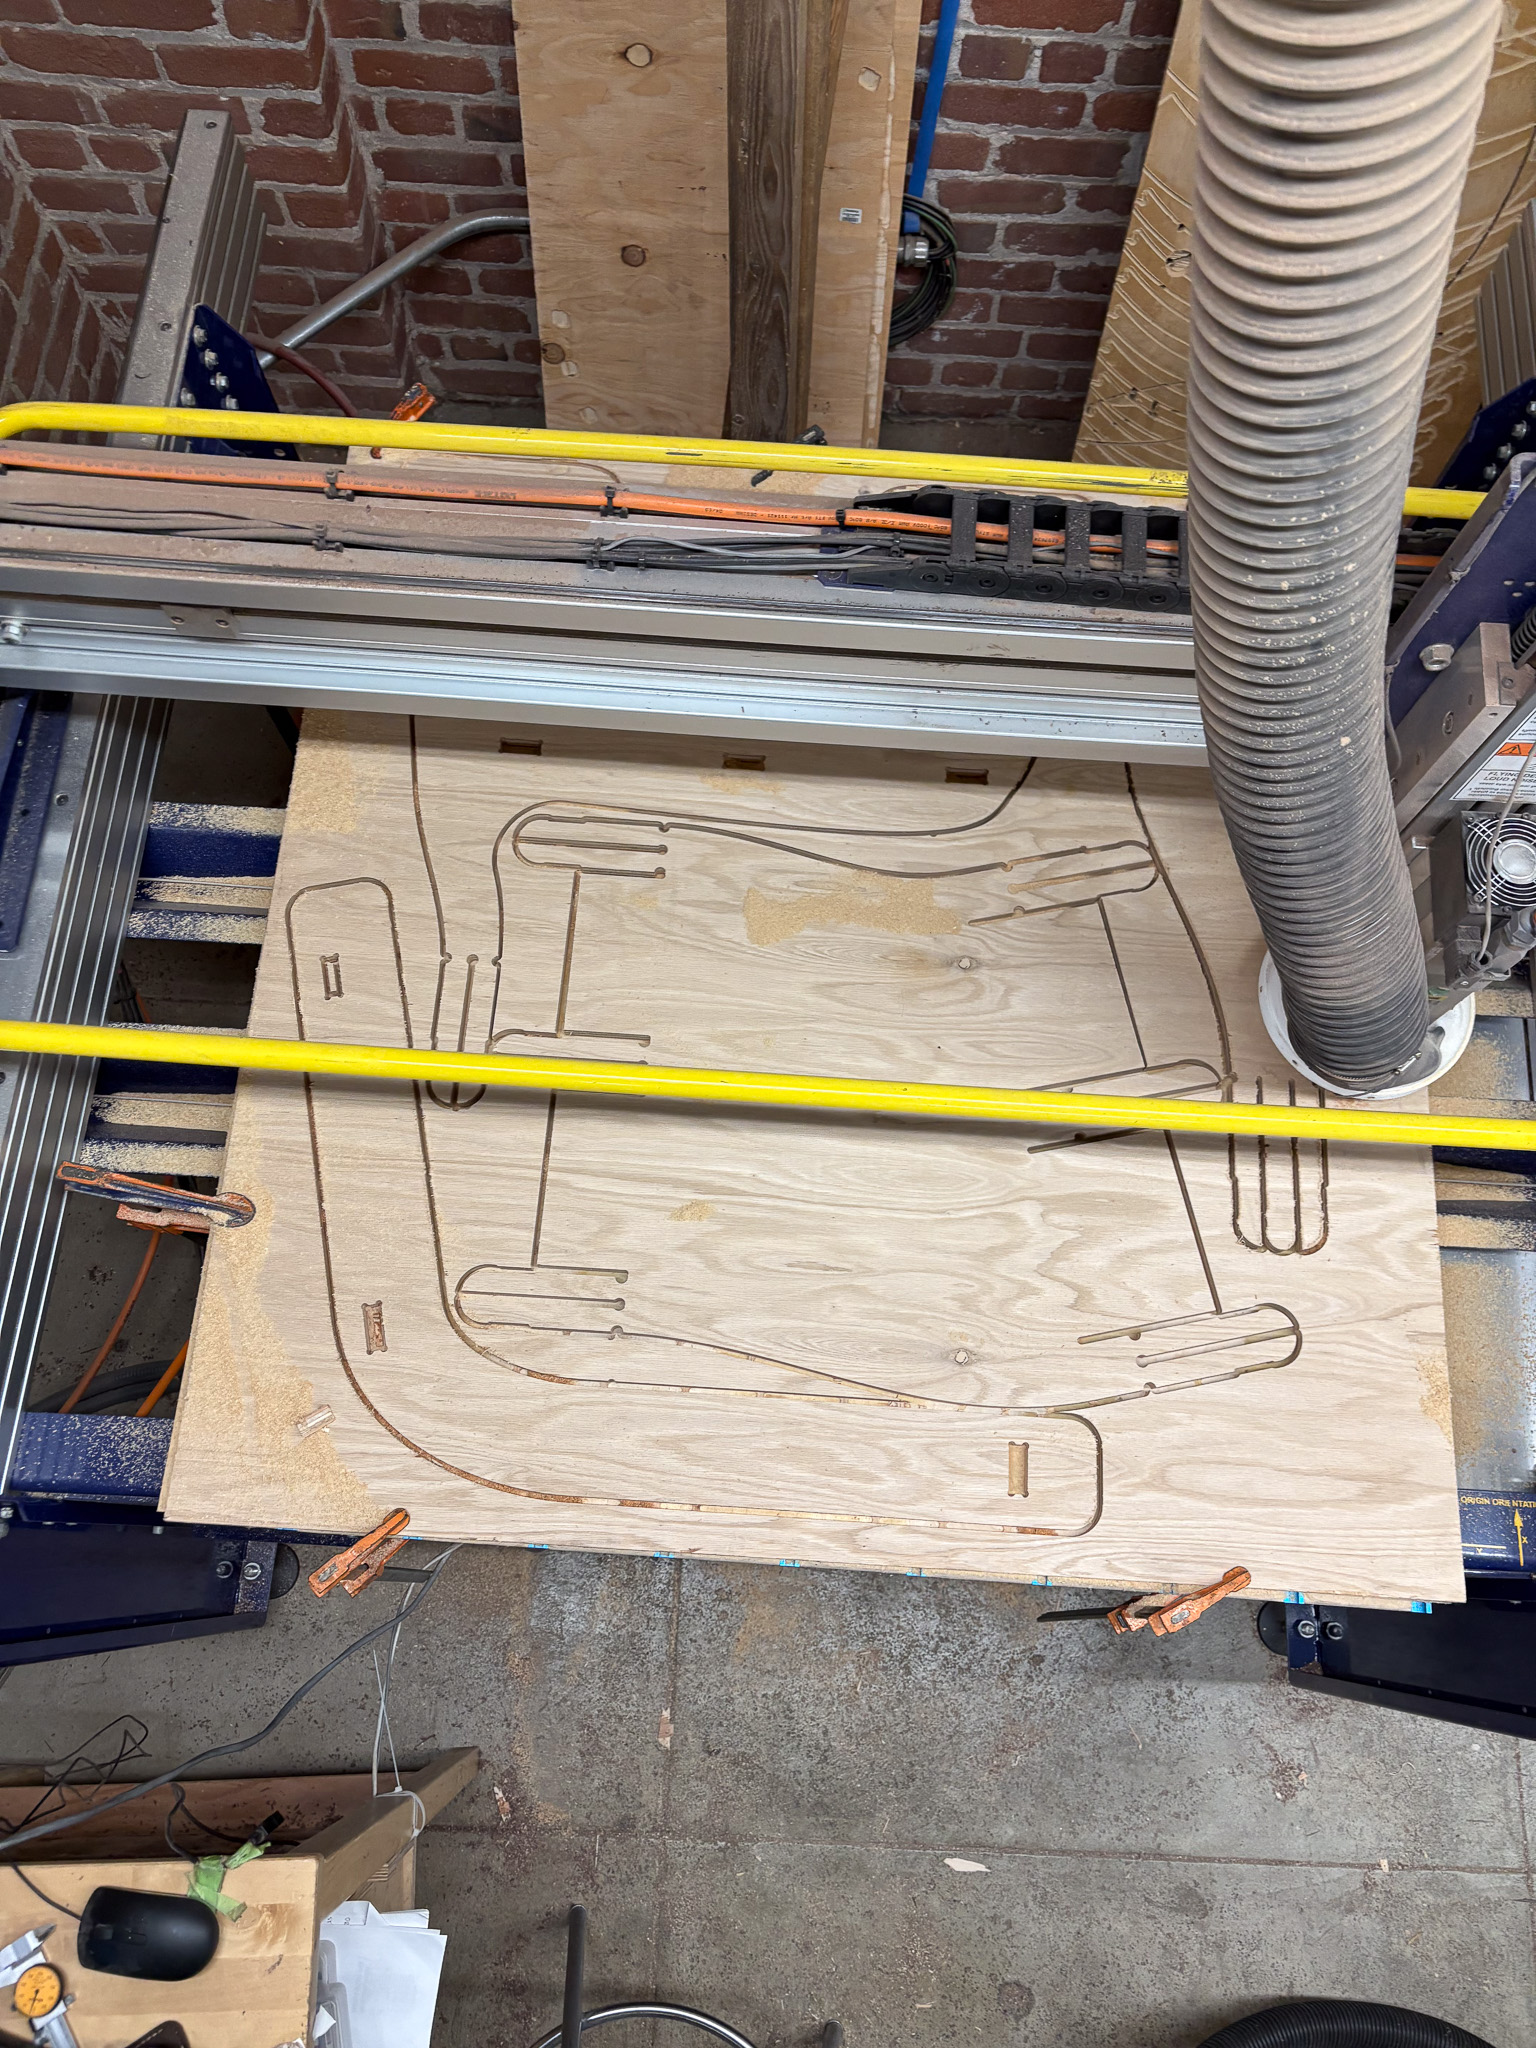
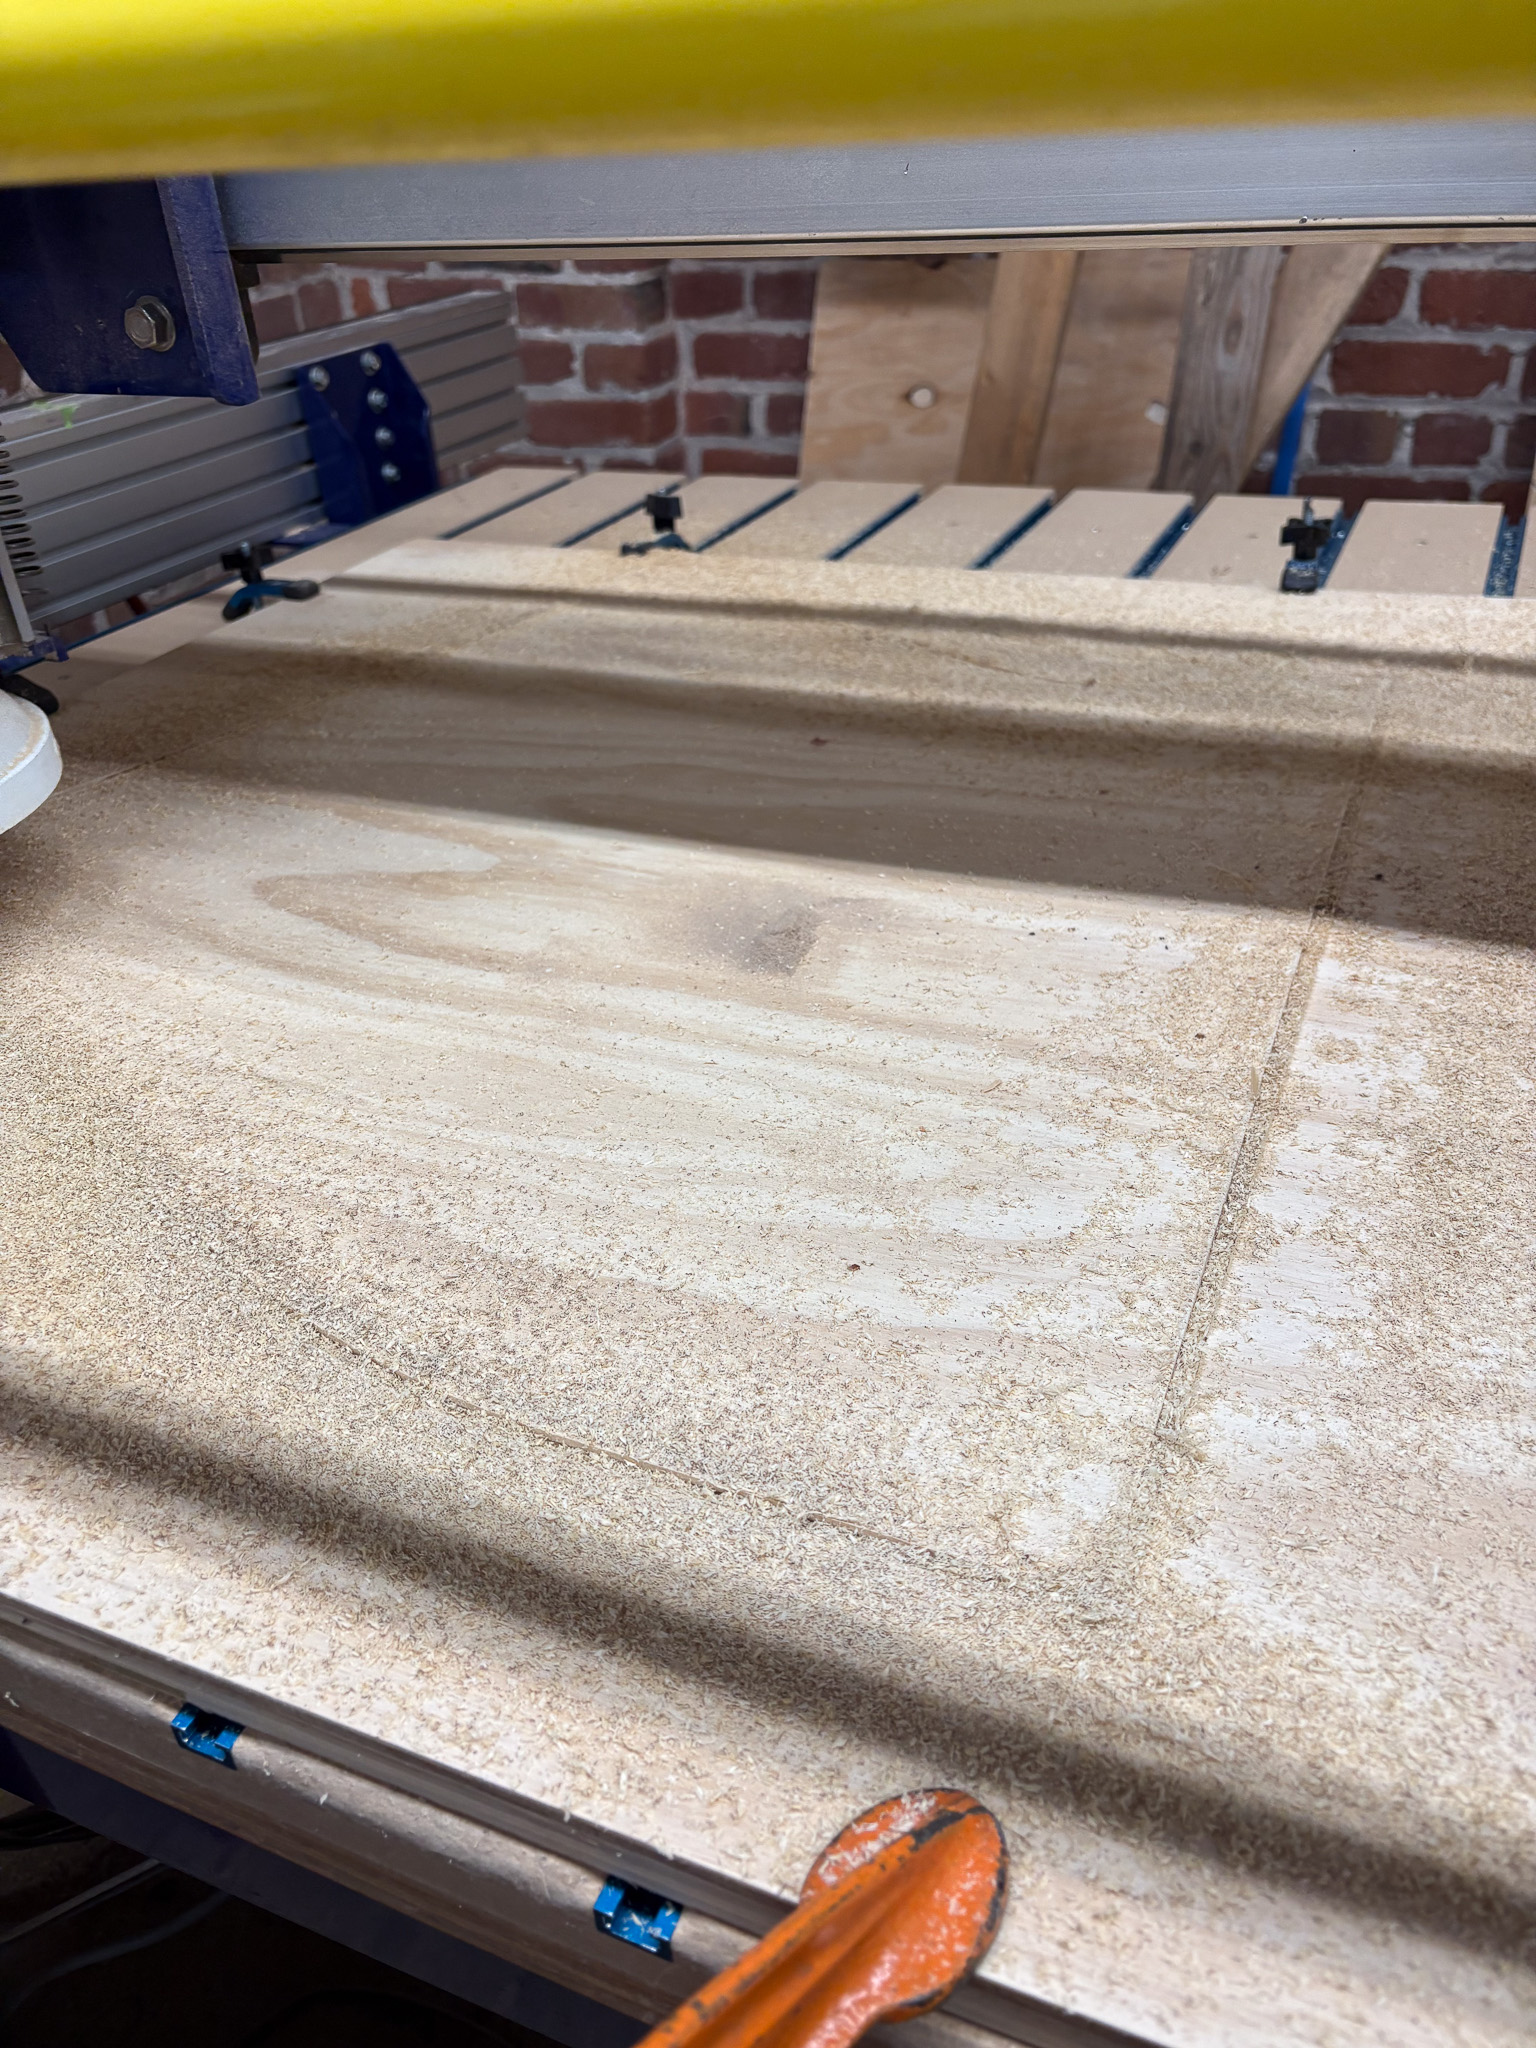
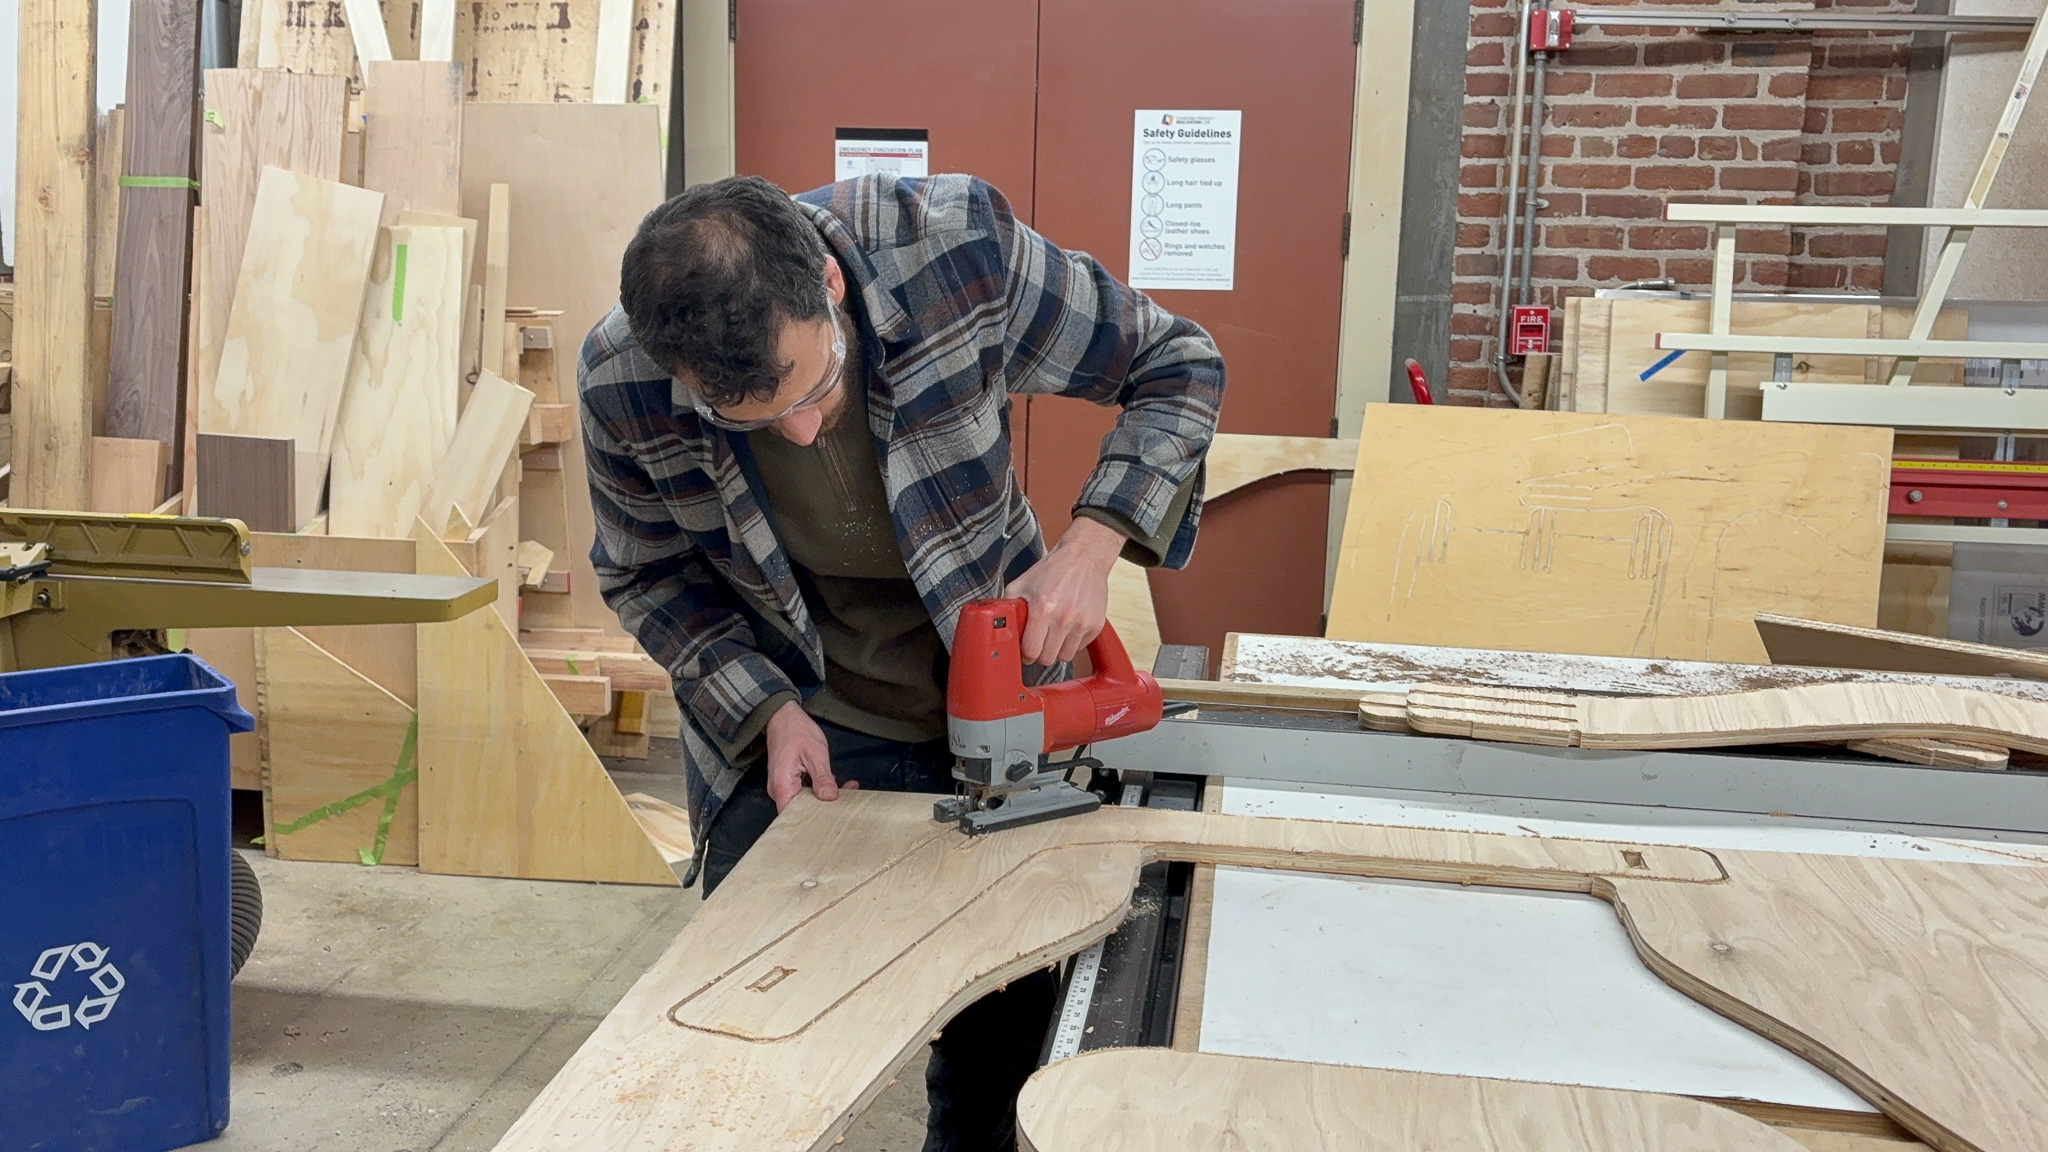
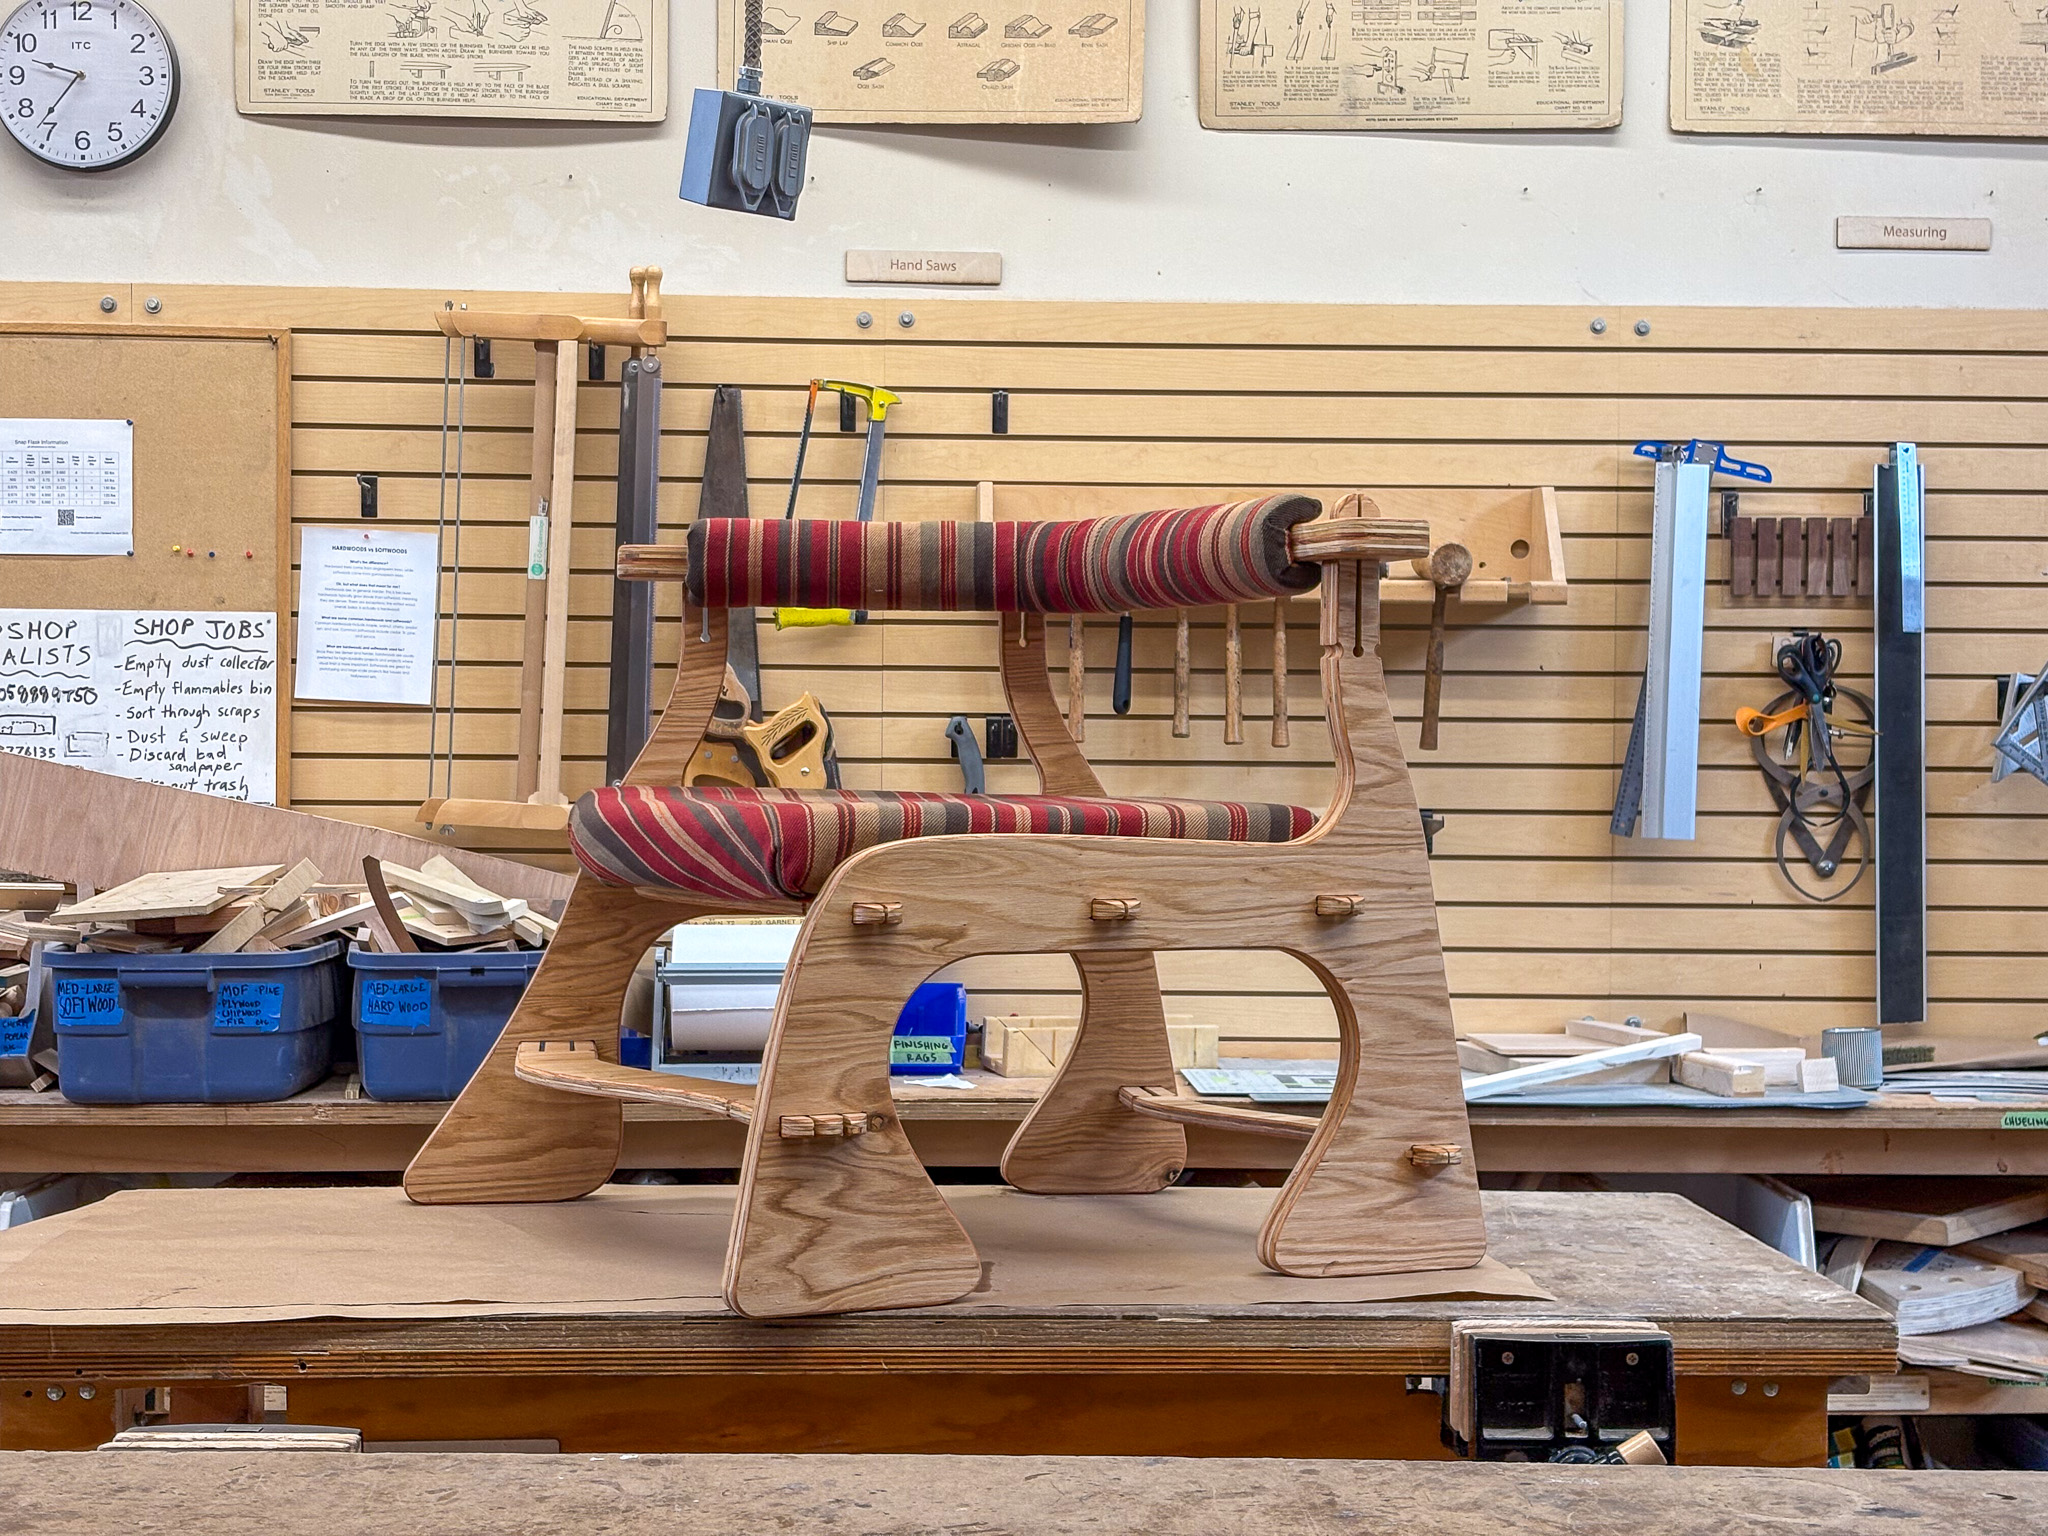
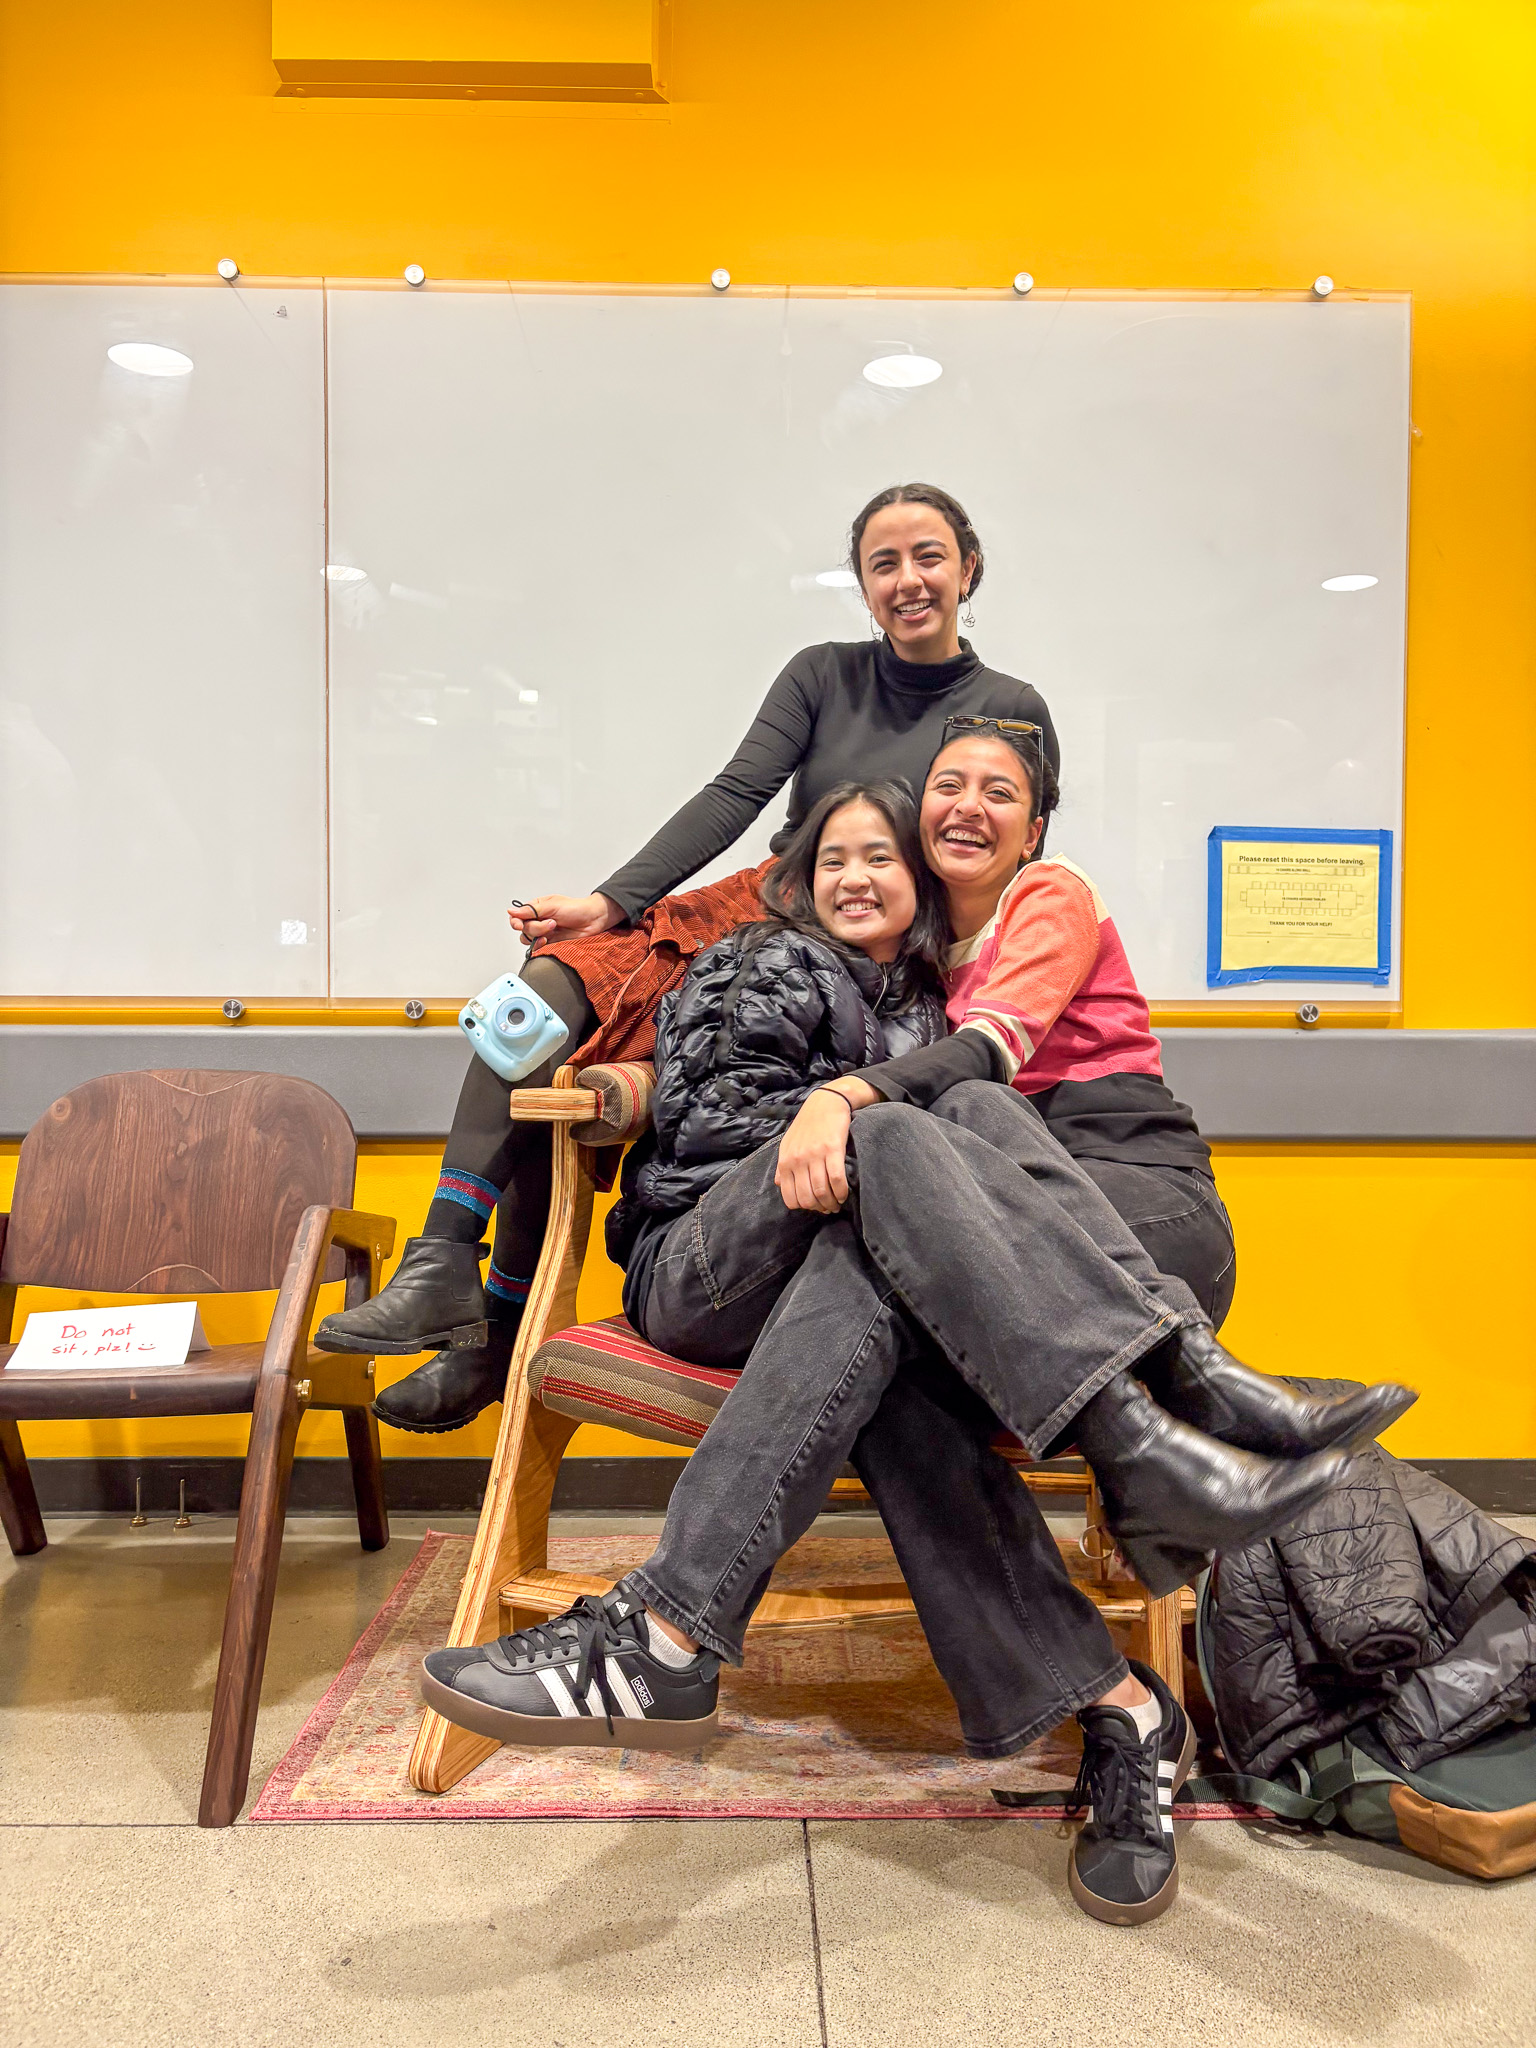
After testing the joint and feeling confident the design can hold the weight, I moved to making my first full scale model on the wood CNC. I was eager to test the concept with people!
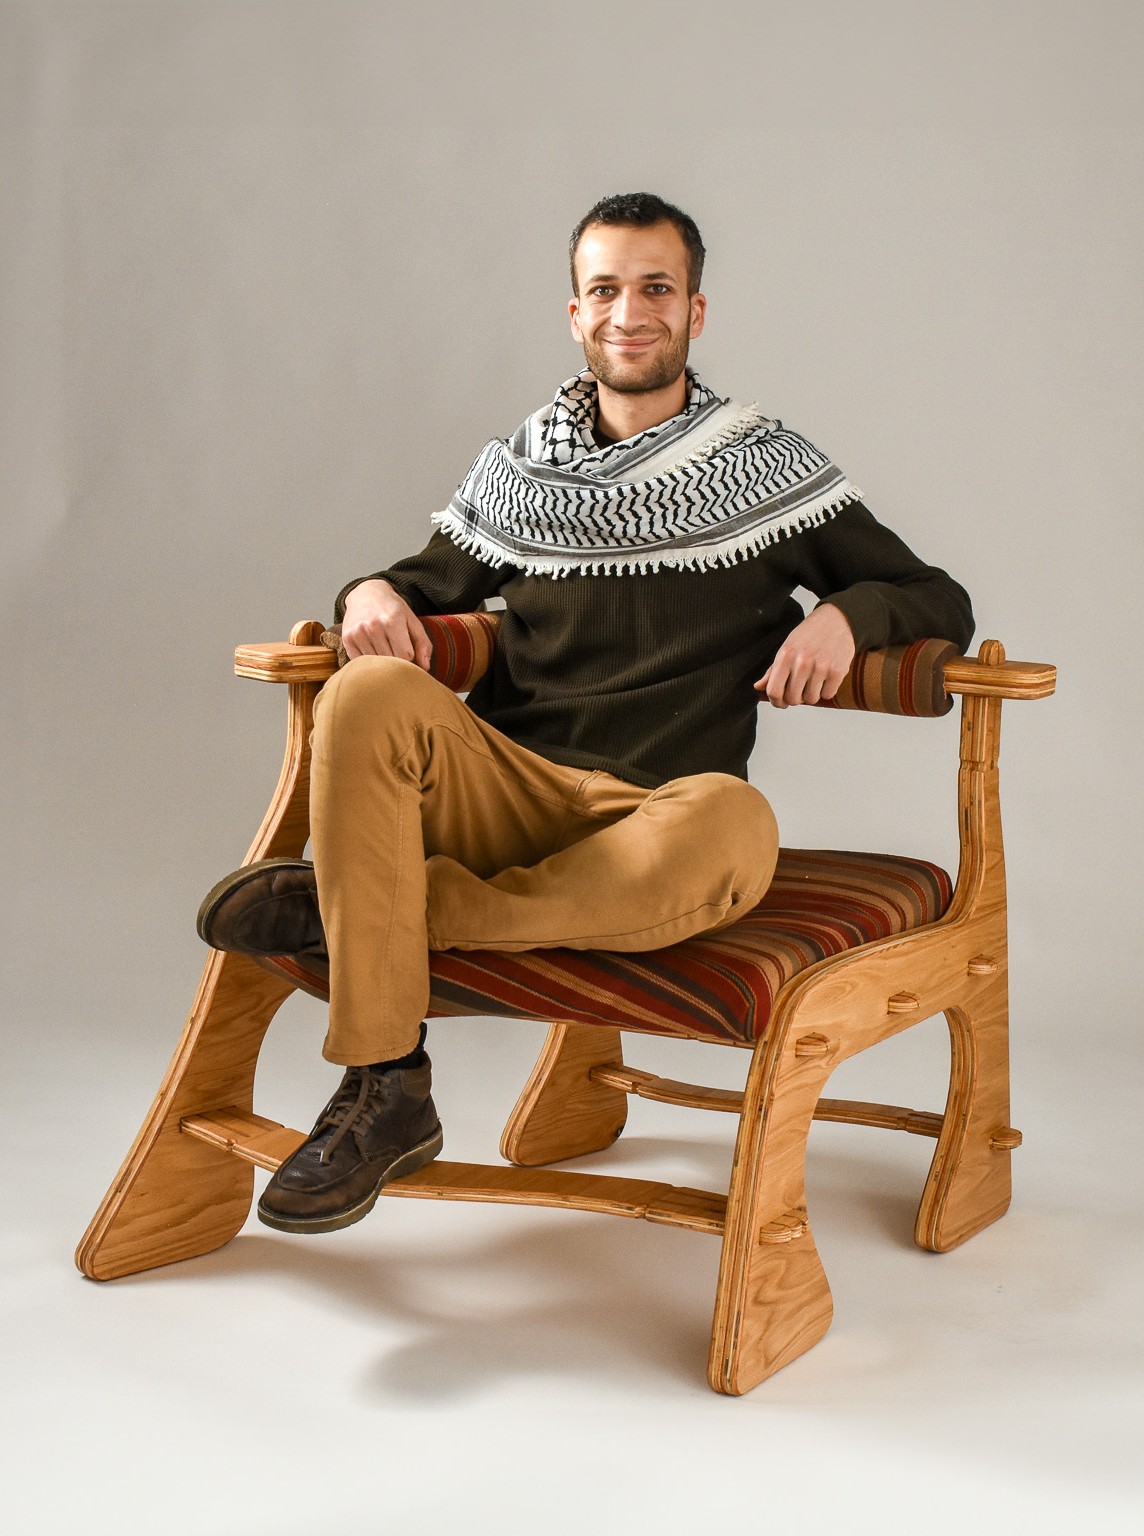
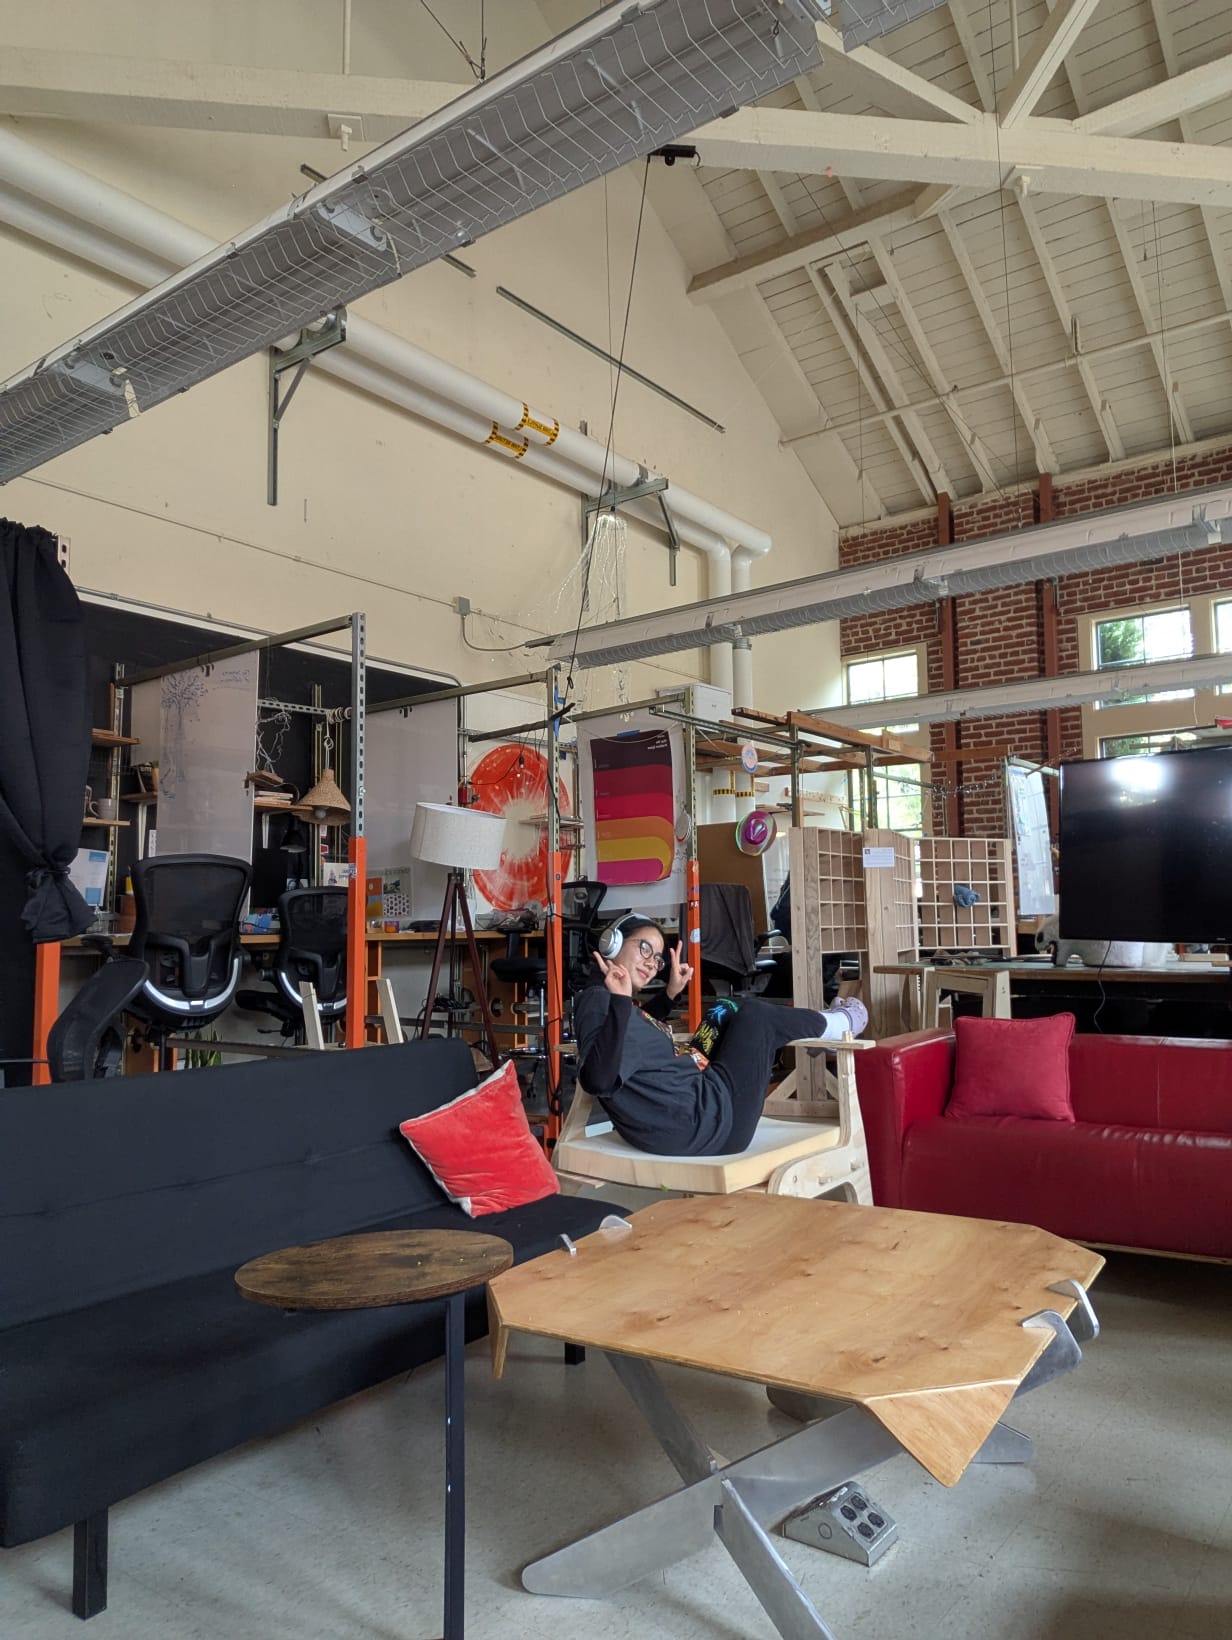
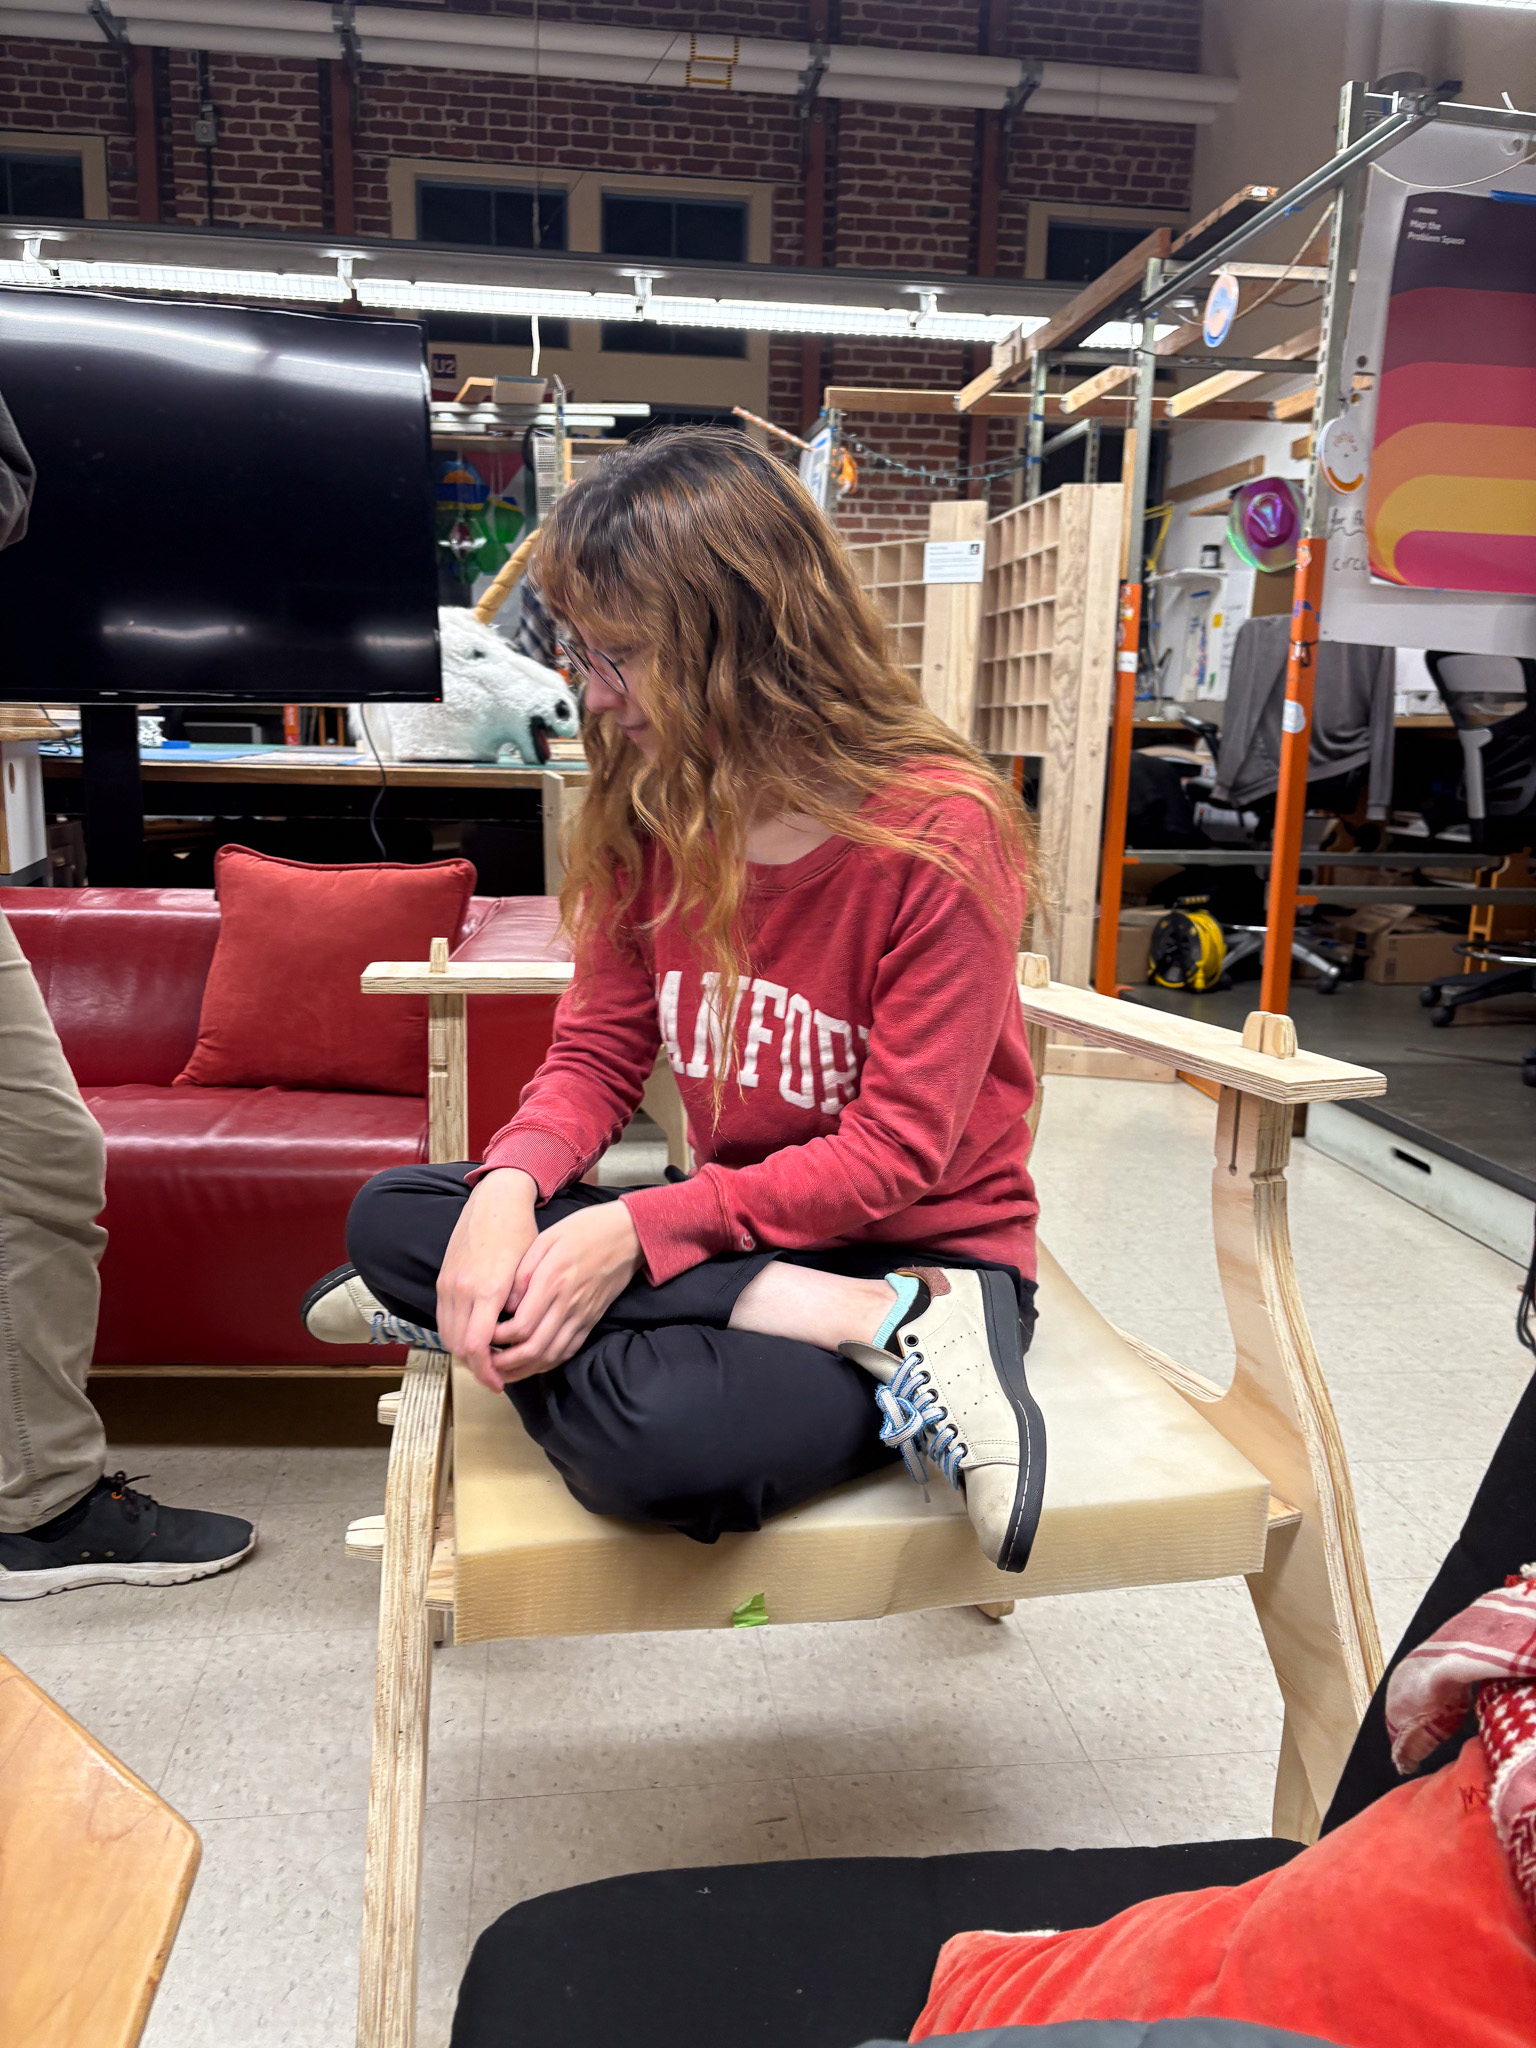
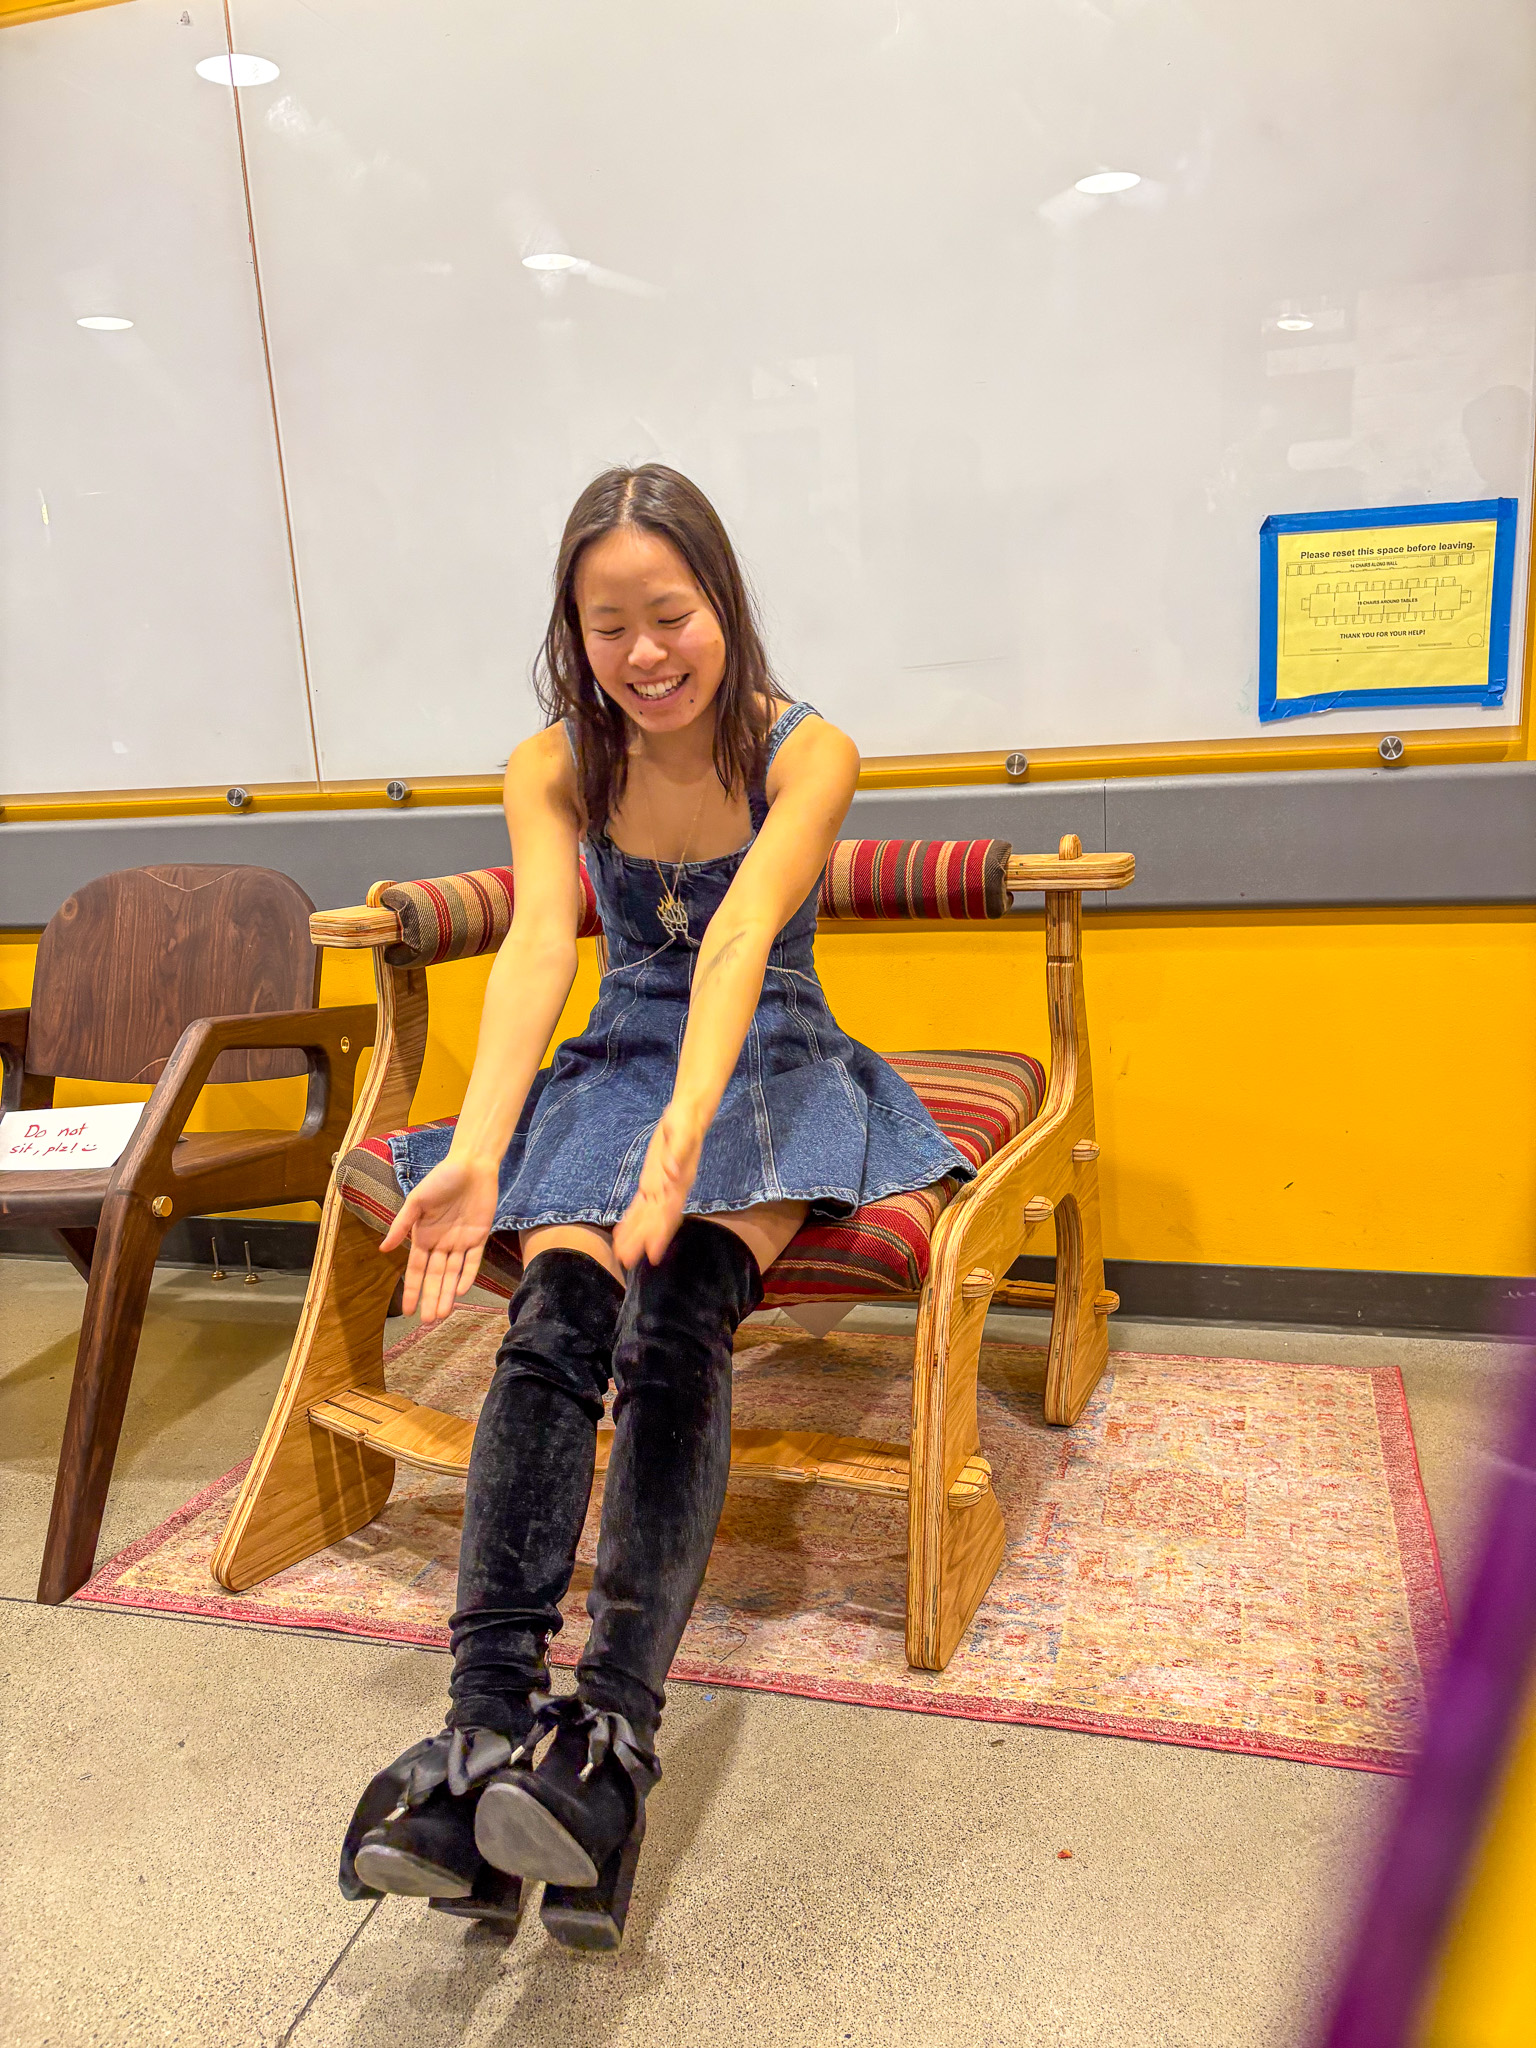
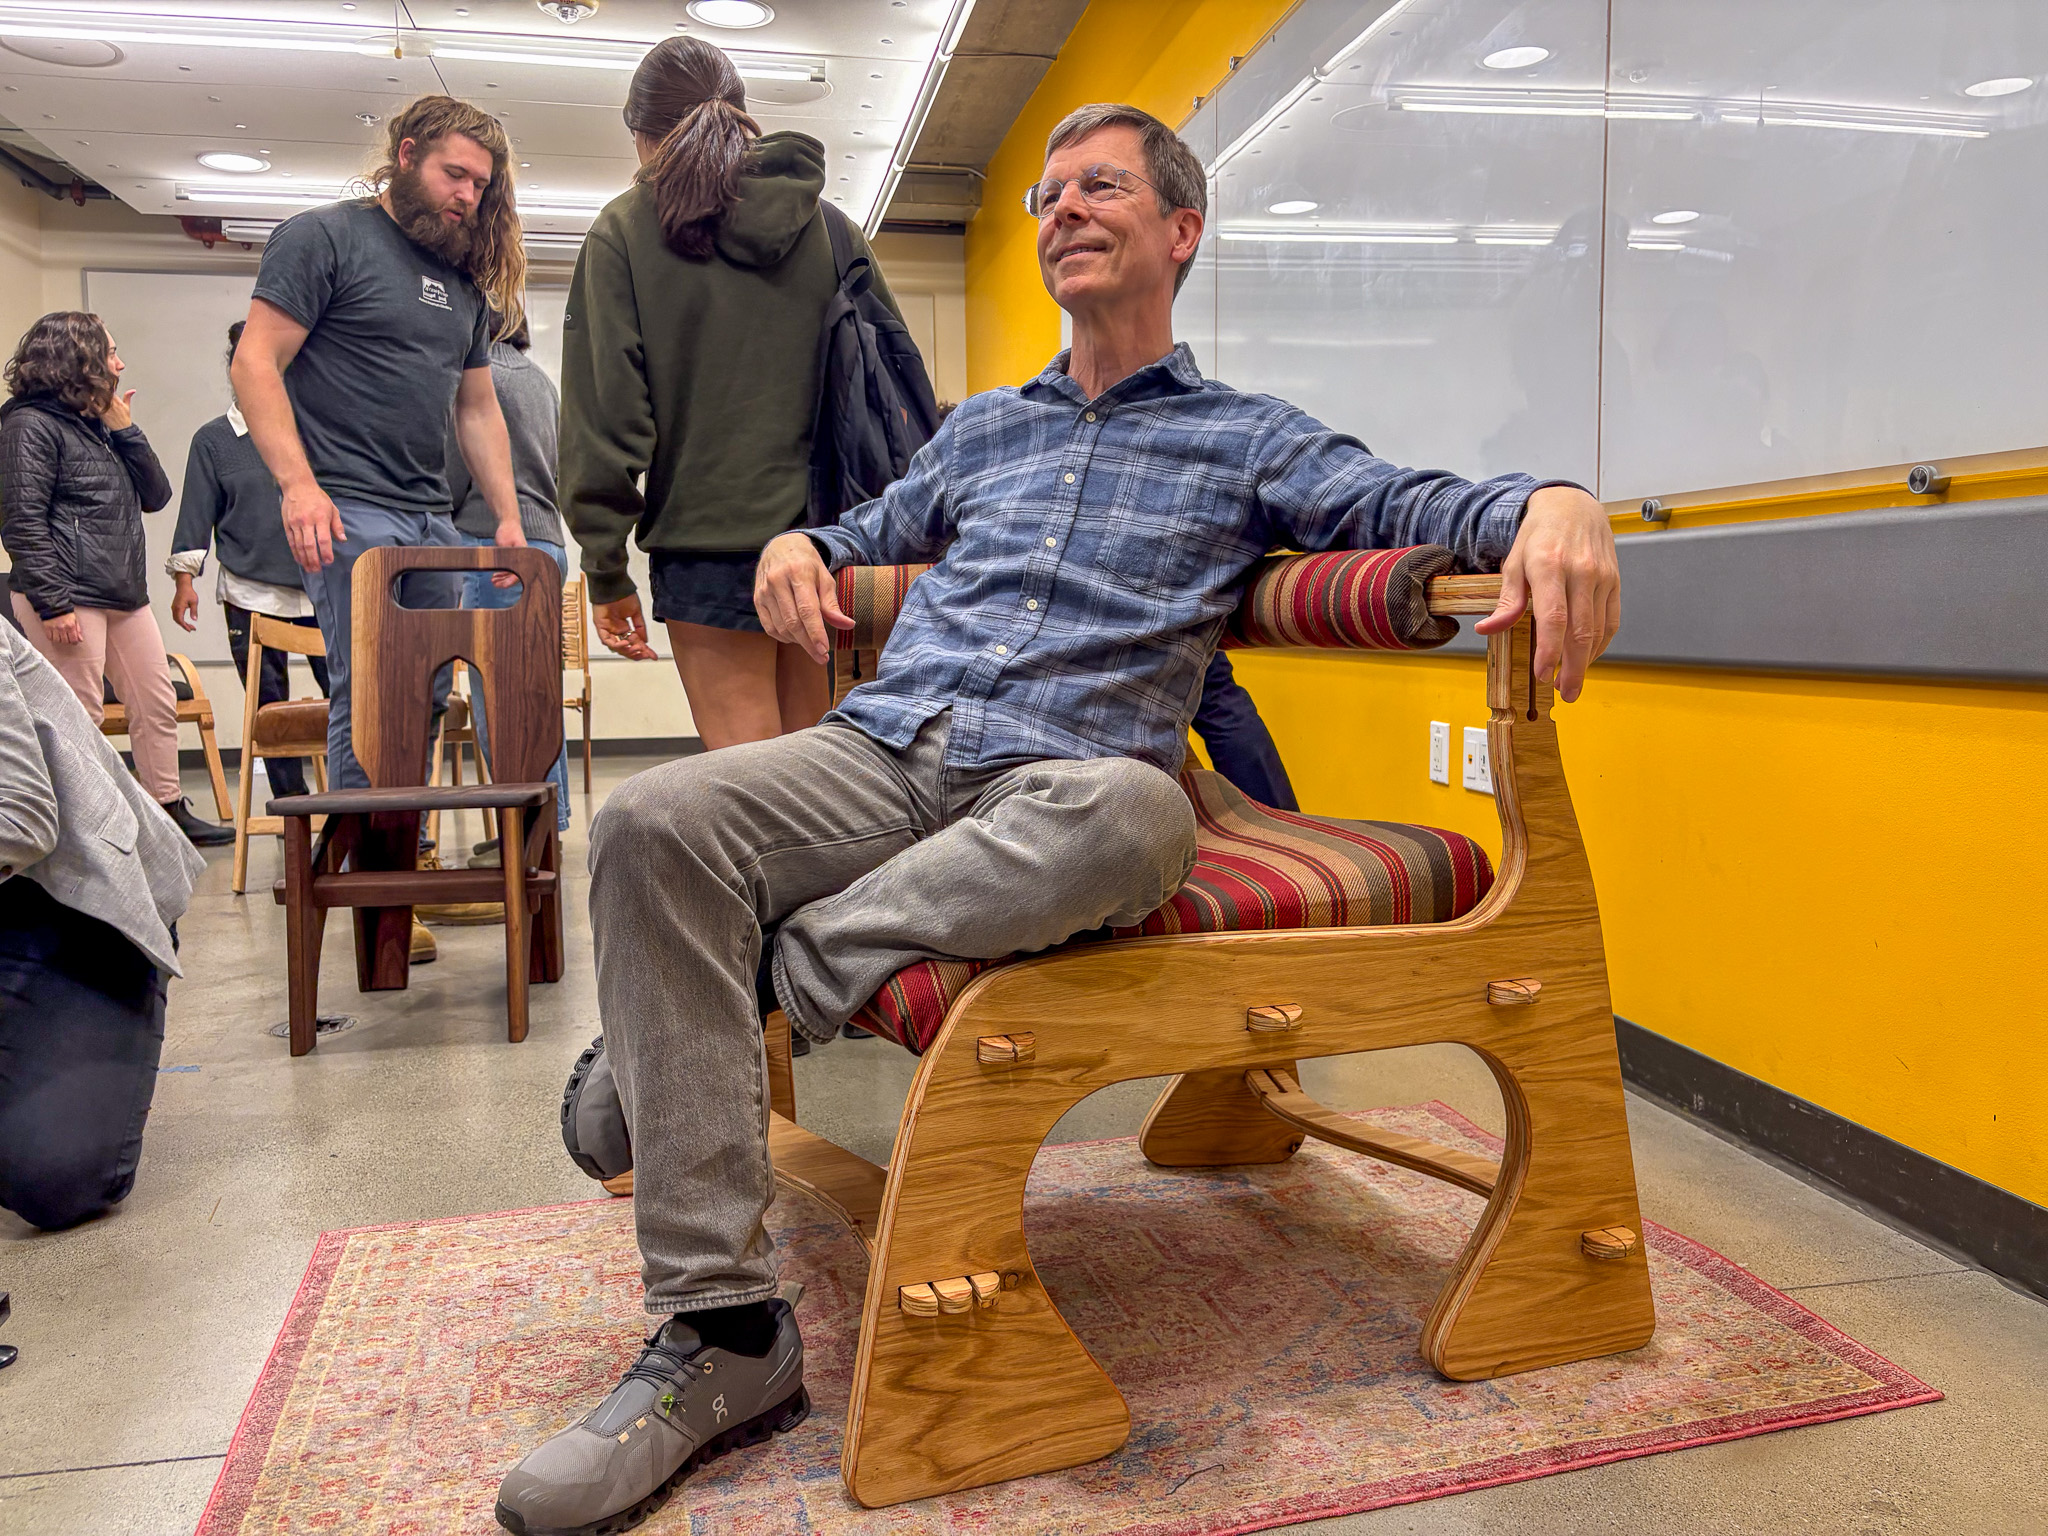
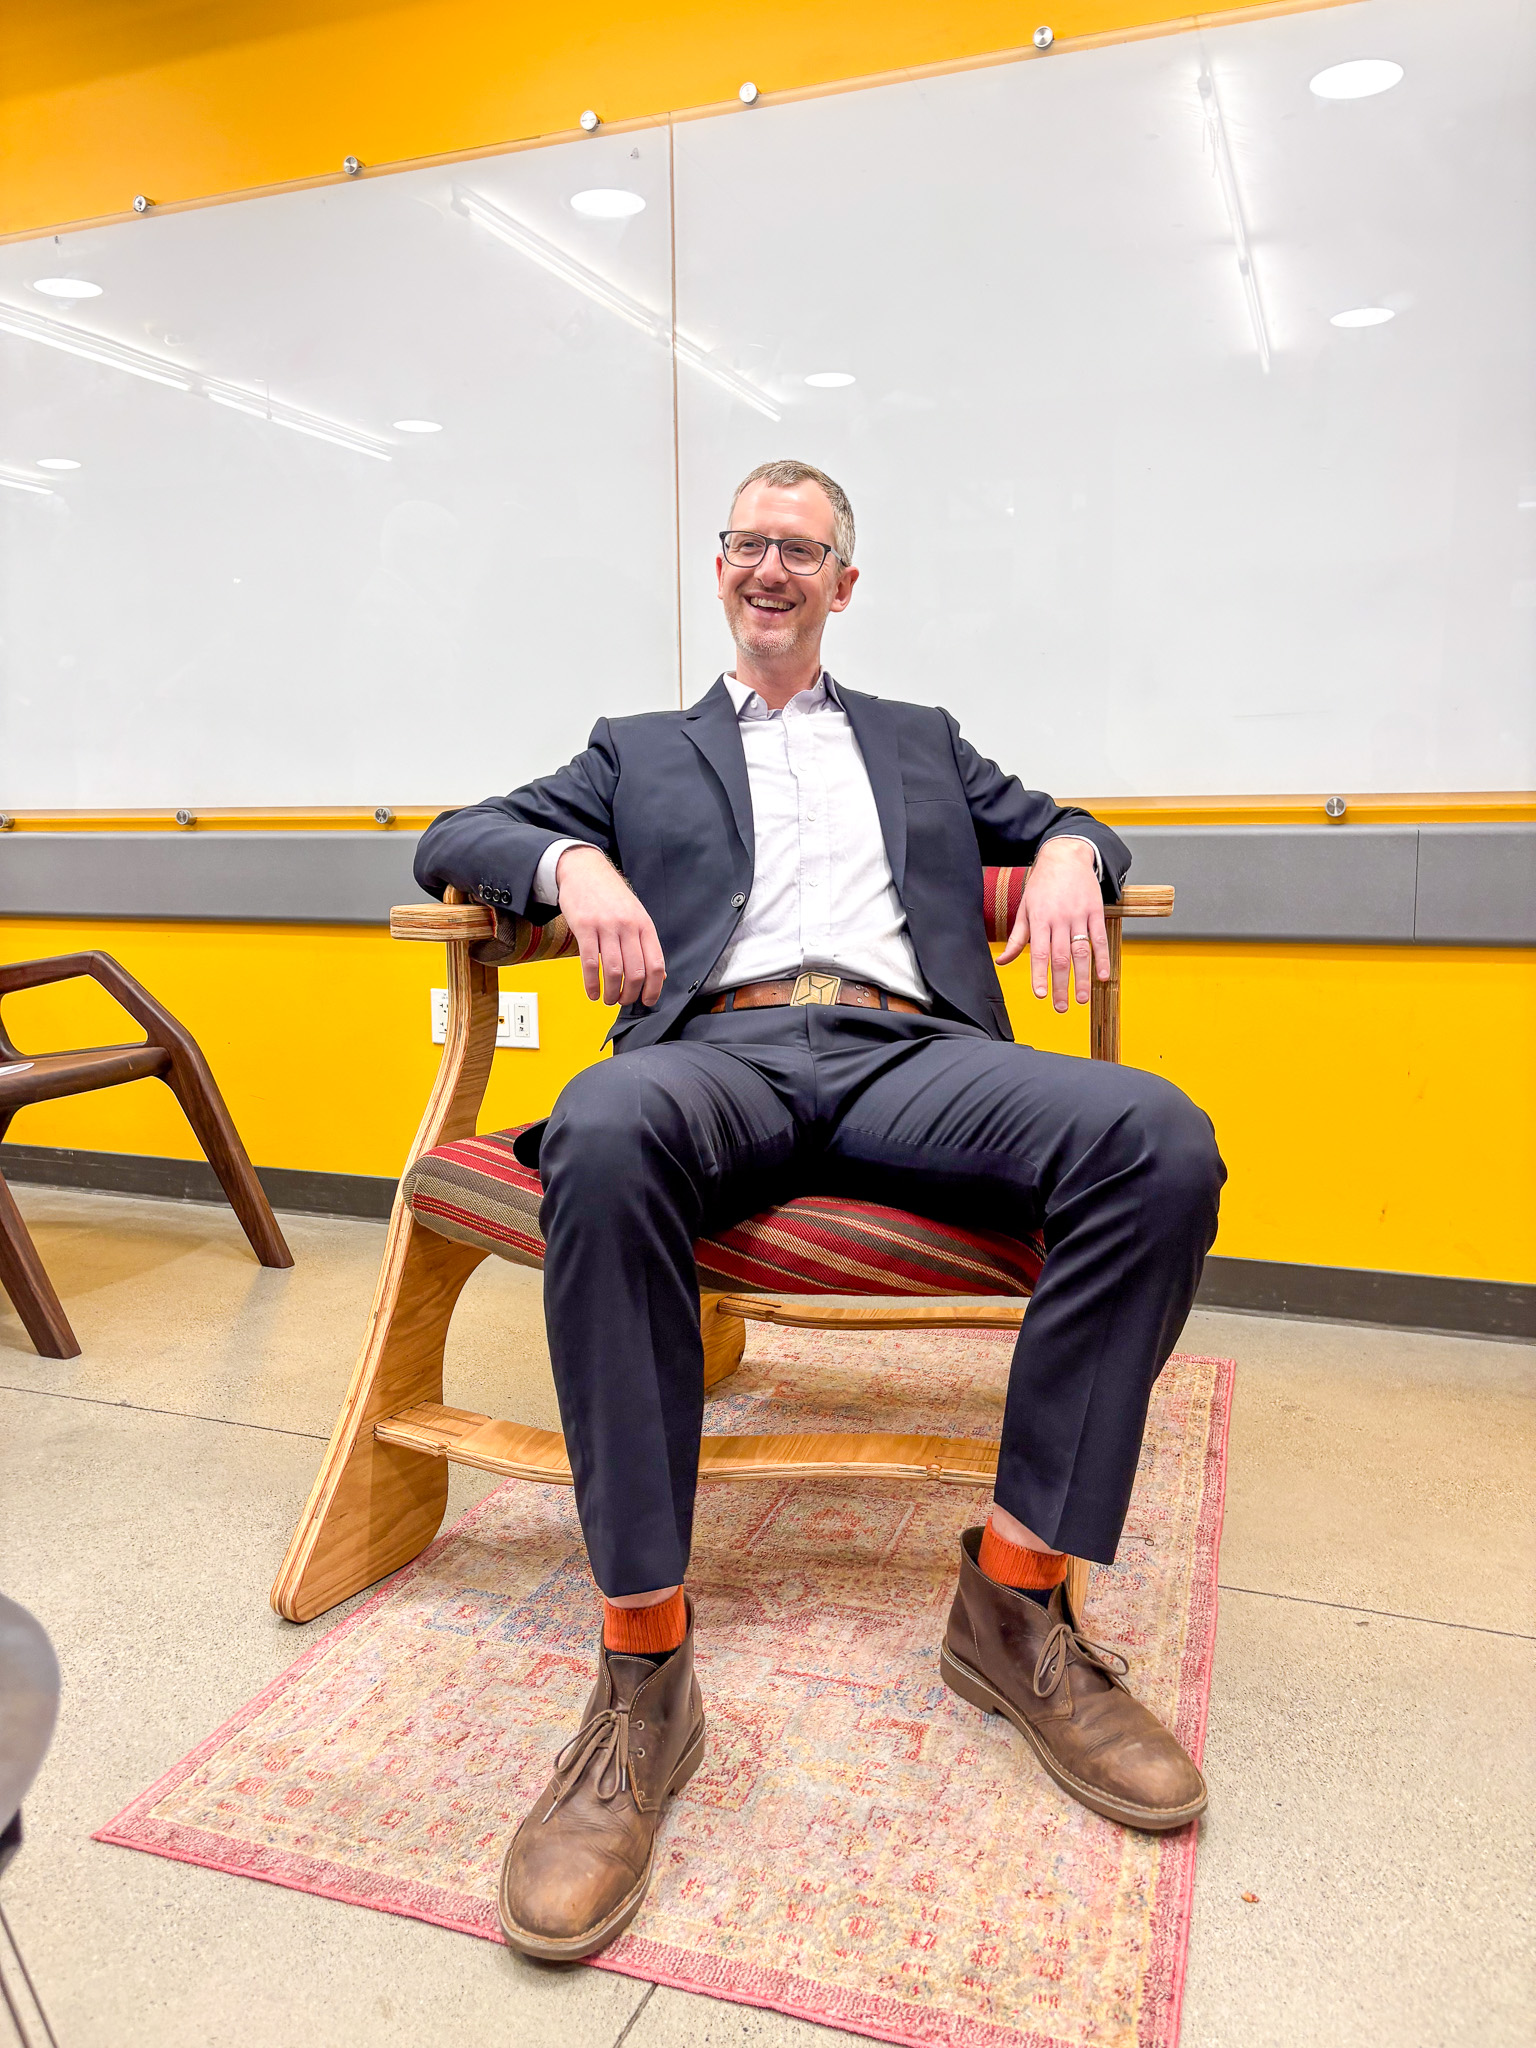
I was glad people enjoyed the chair and experimented with multiple seating positions on it. This helped me narrow down what to focus on for the next iteration.
Issues I needed to resolve:
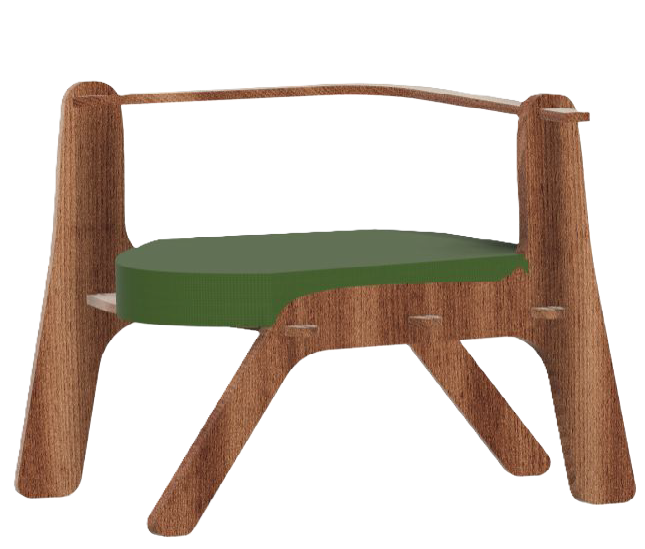
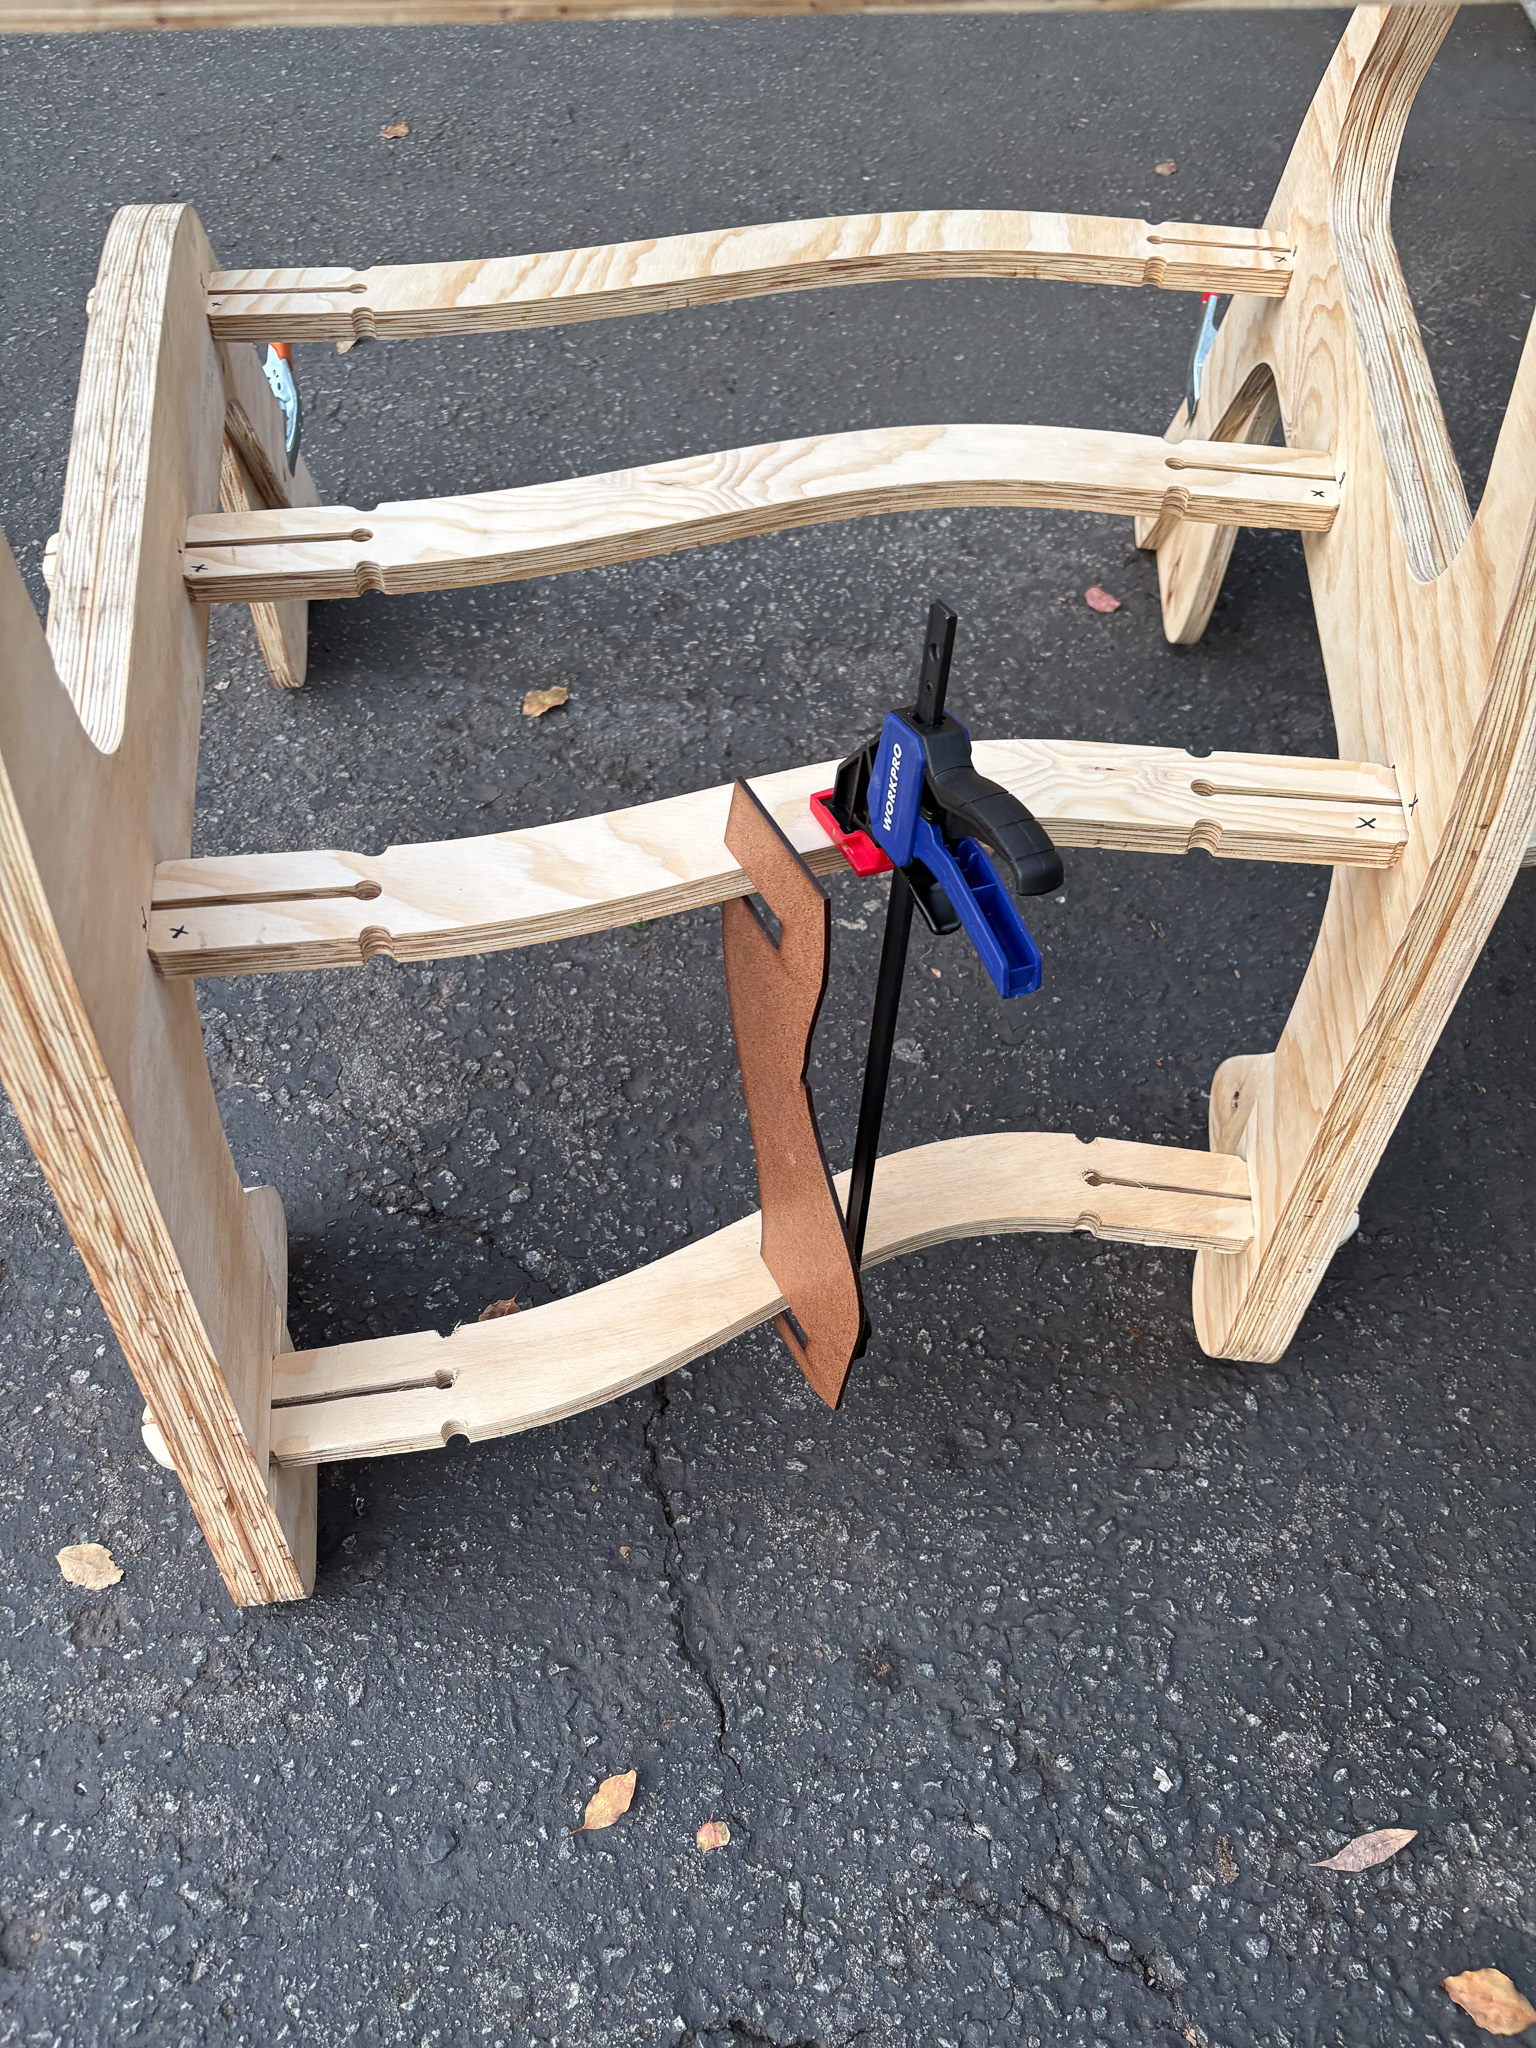
Before cutting the second prototype, I experimented with adding a foot rest using a clamp and I even added a beam in the back to reduce racking.
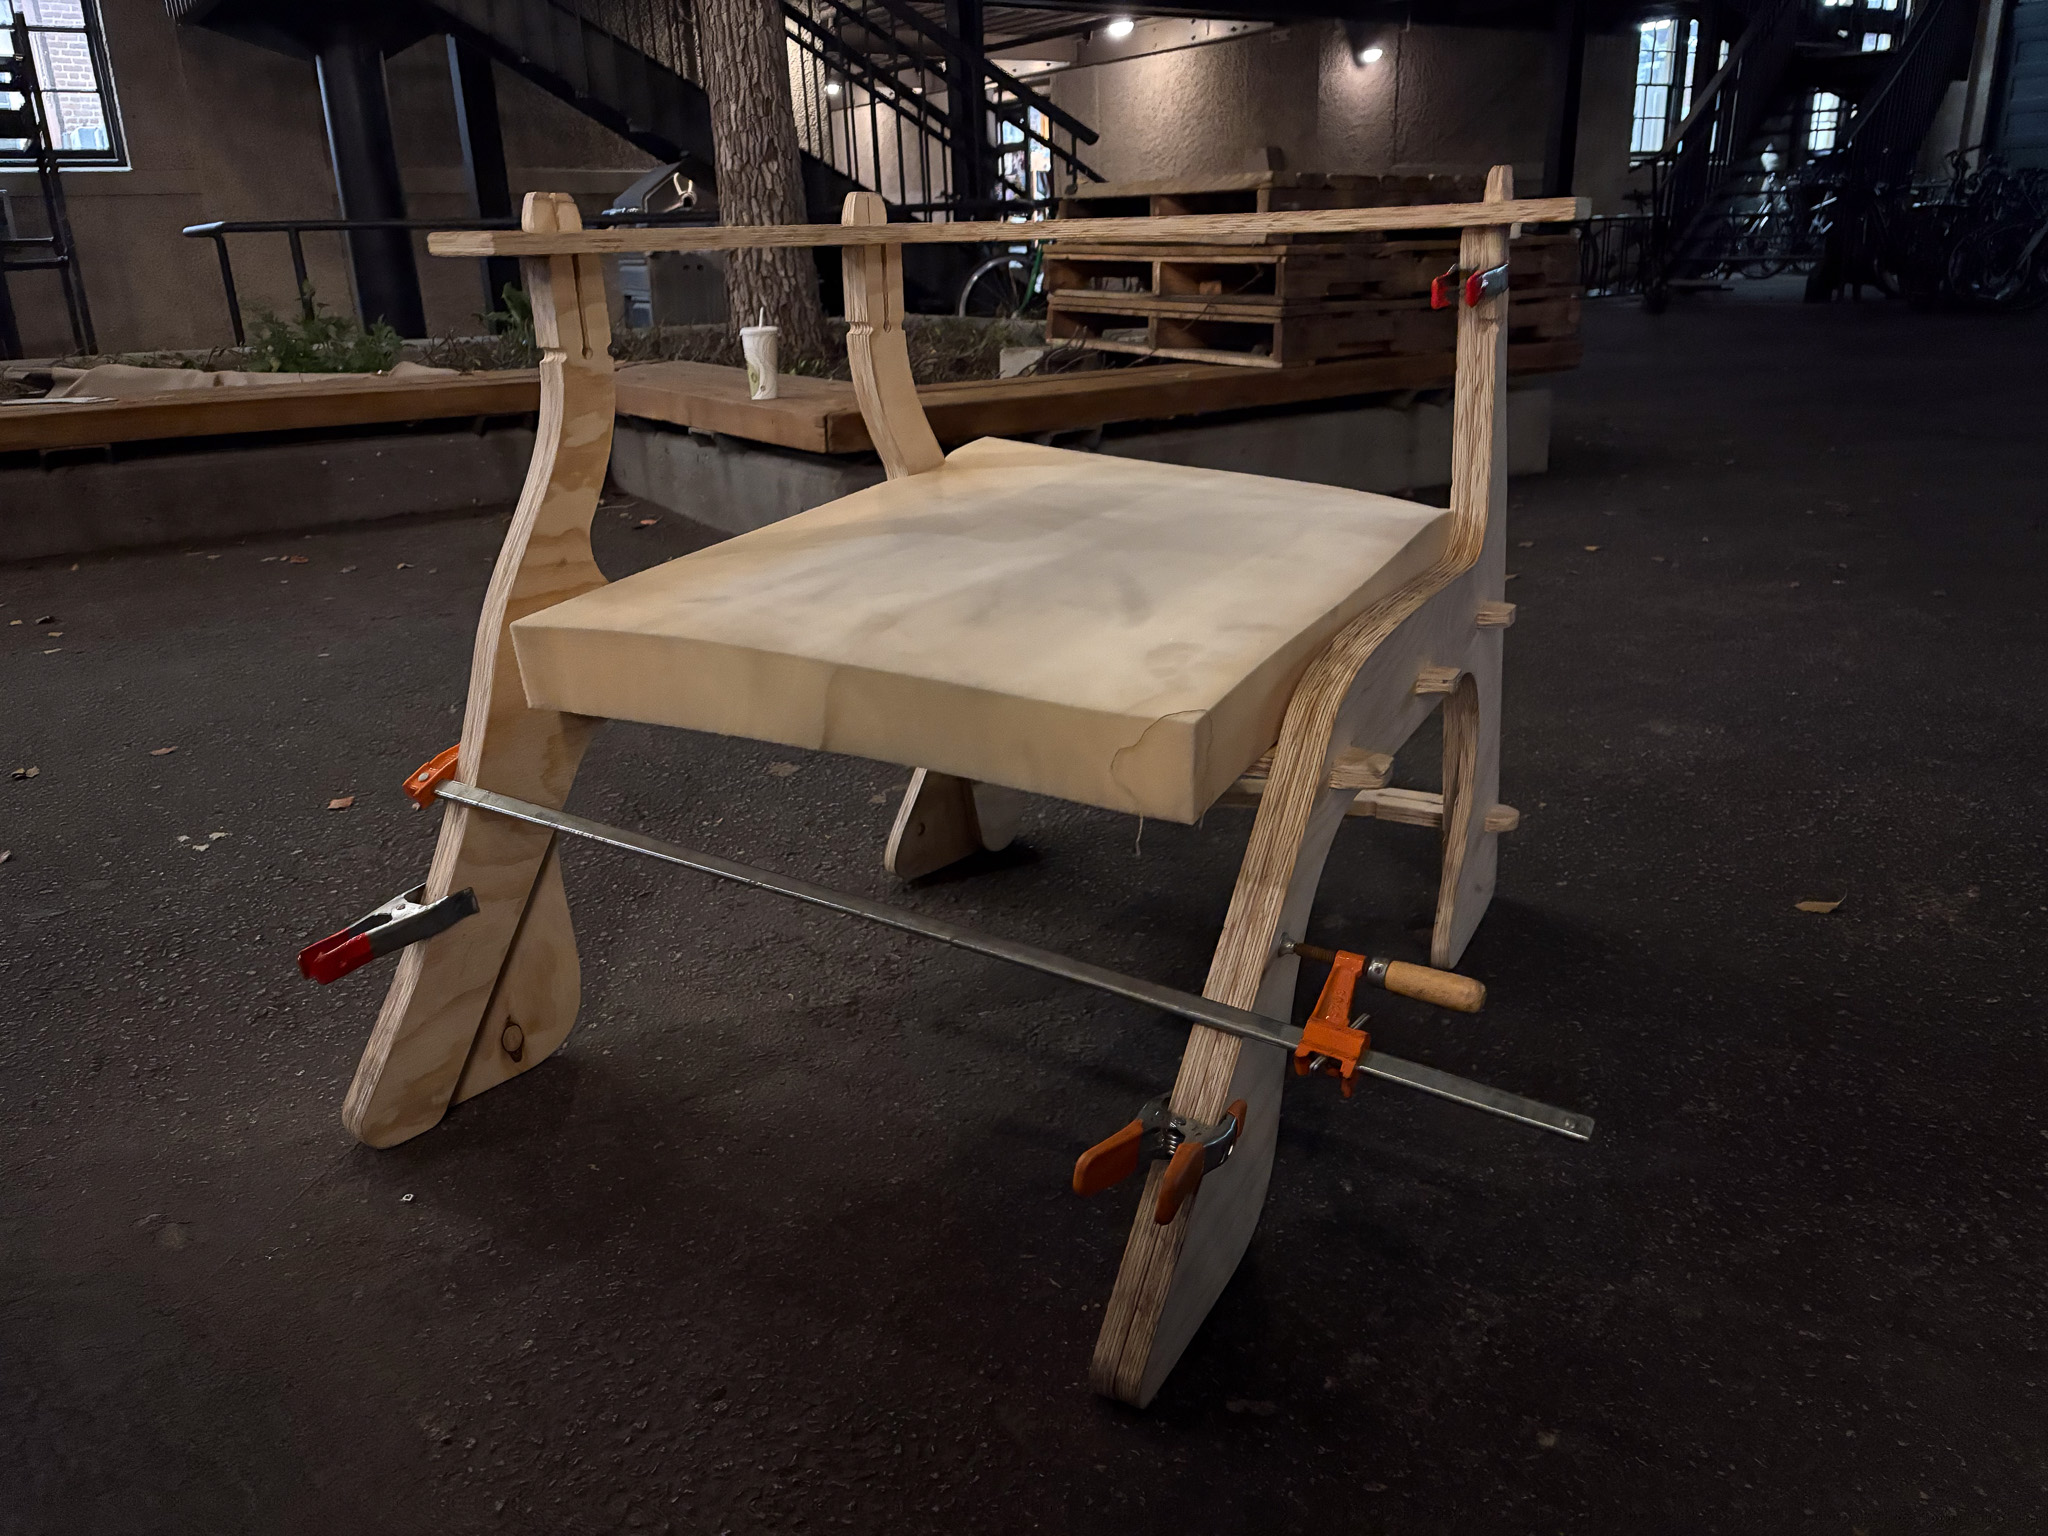
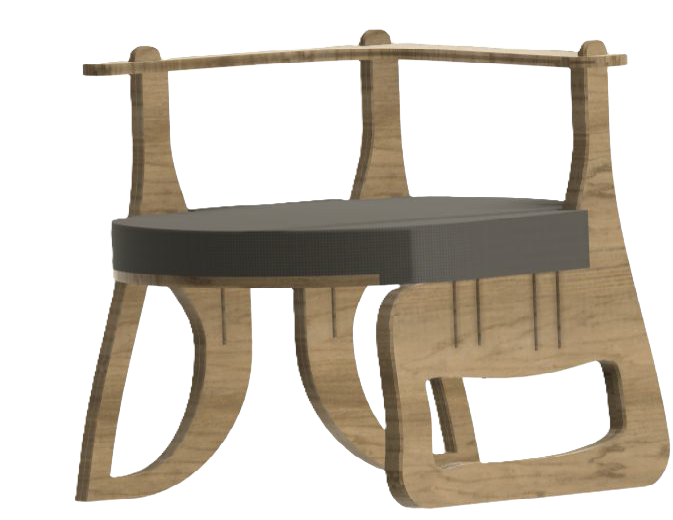
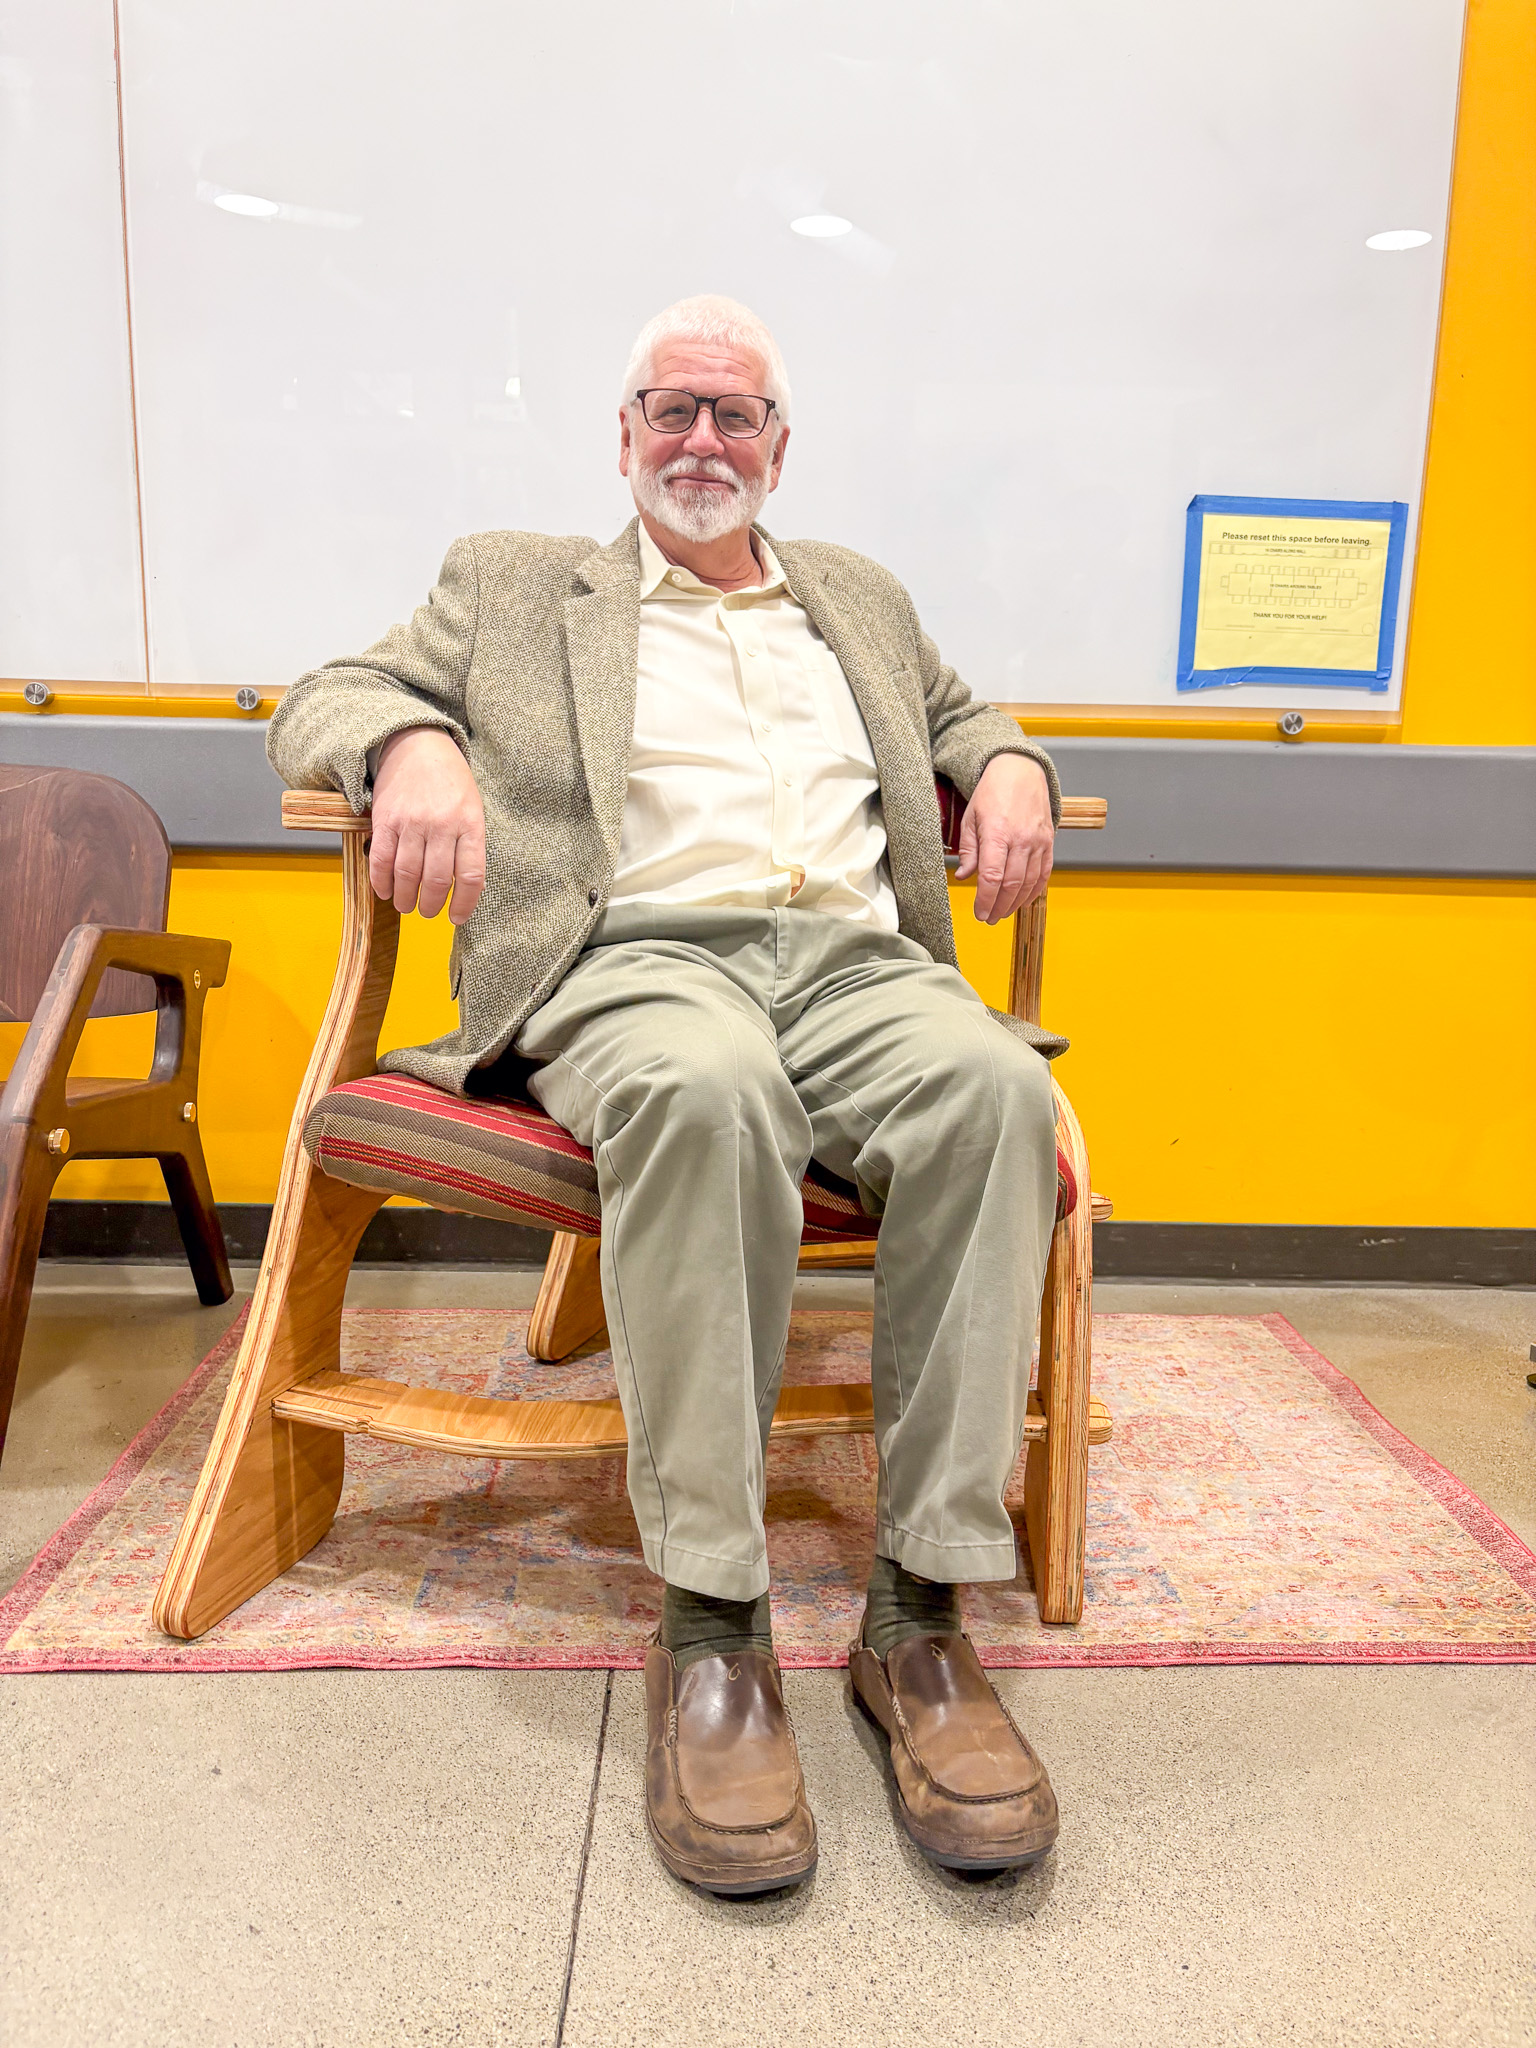
Changes between the second model and final chair:


Finally, I'd like to pay respect to the ideas that didn't make it!