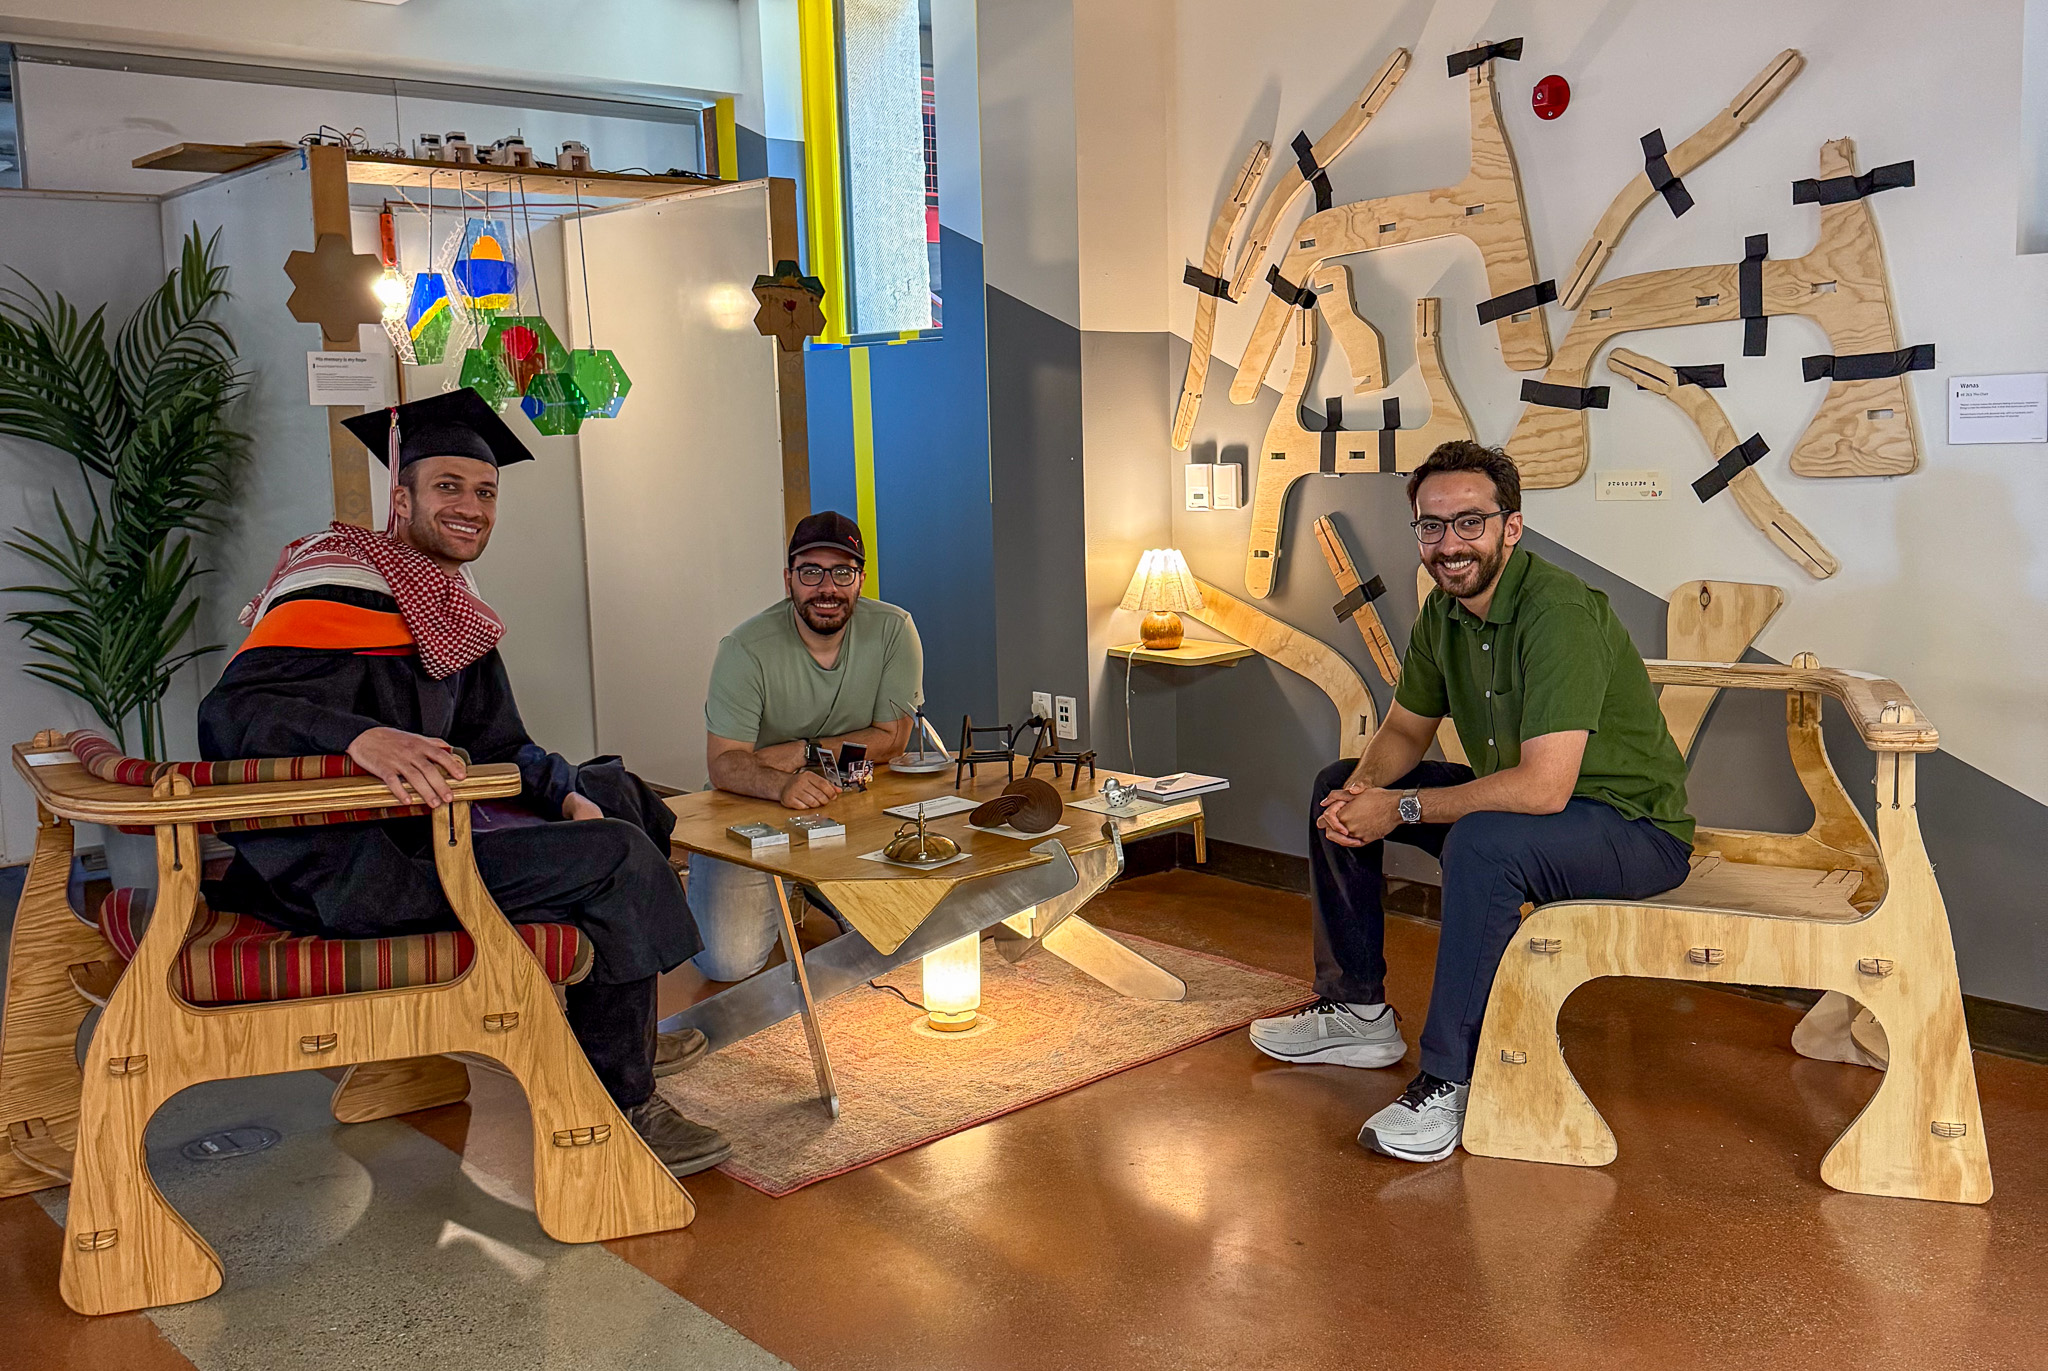
5 Weeks
Fall 2024
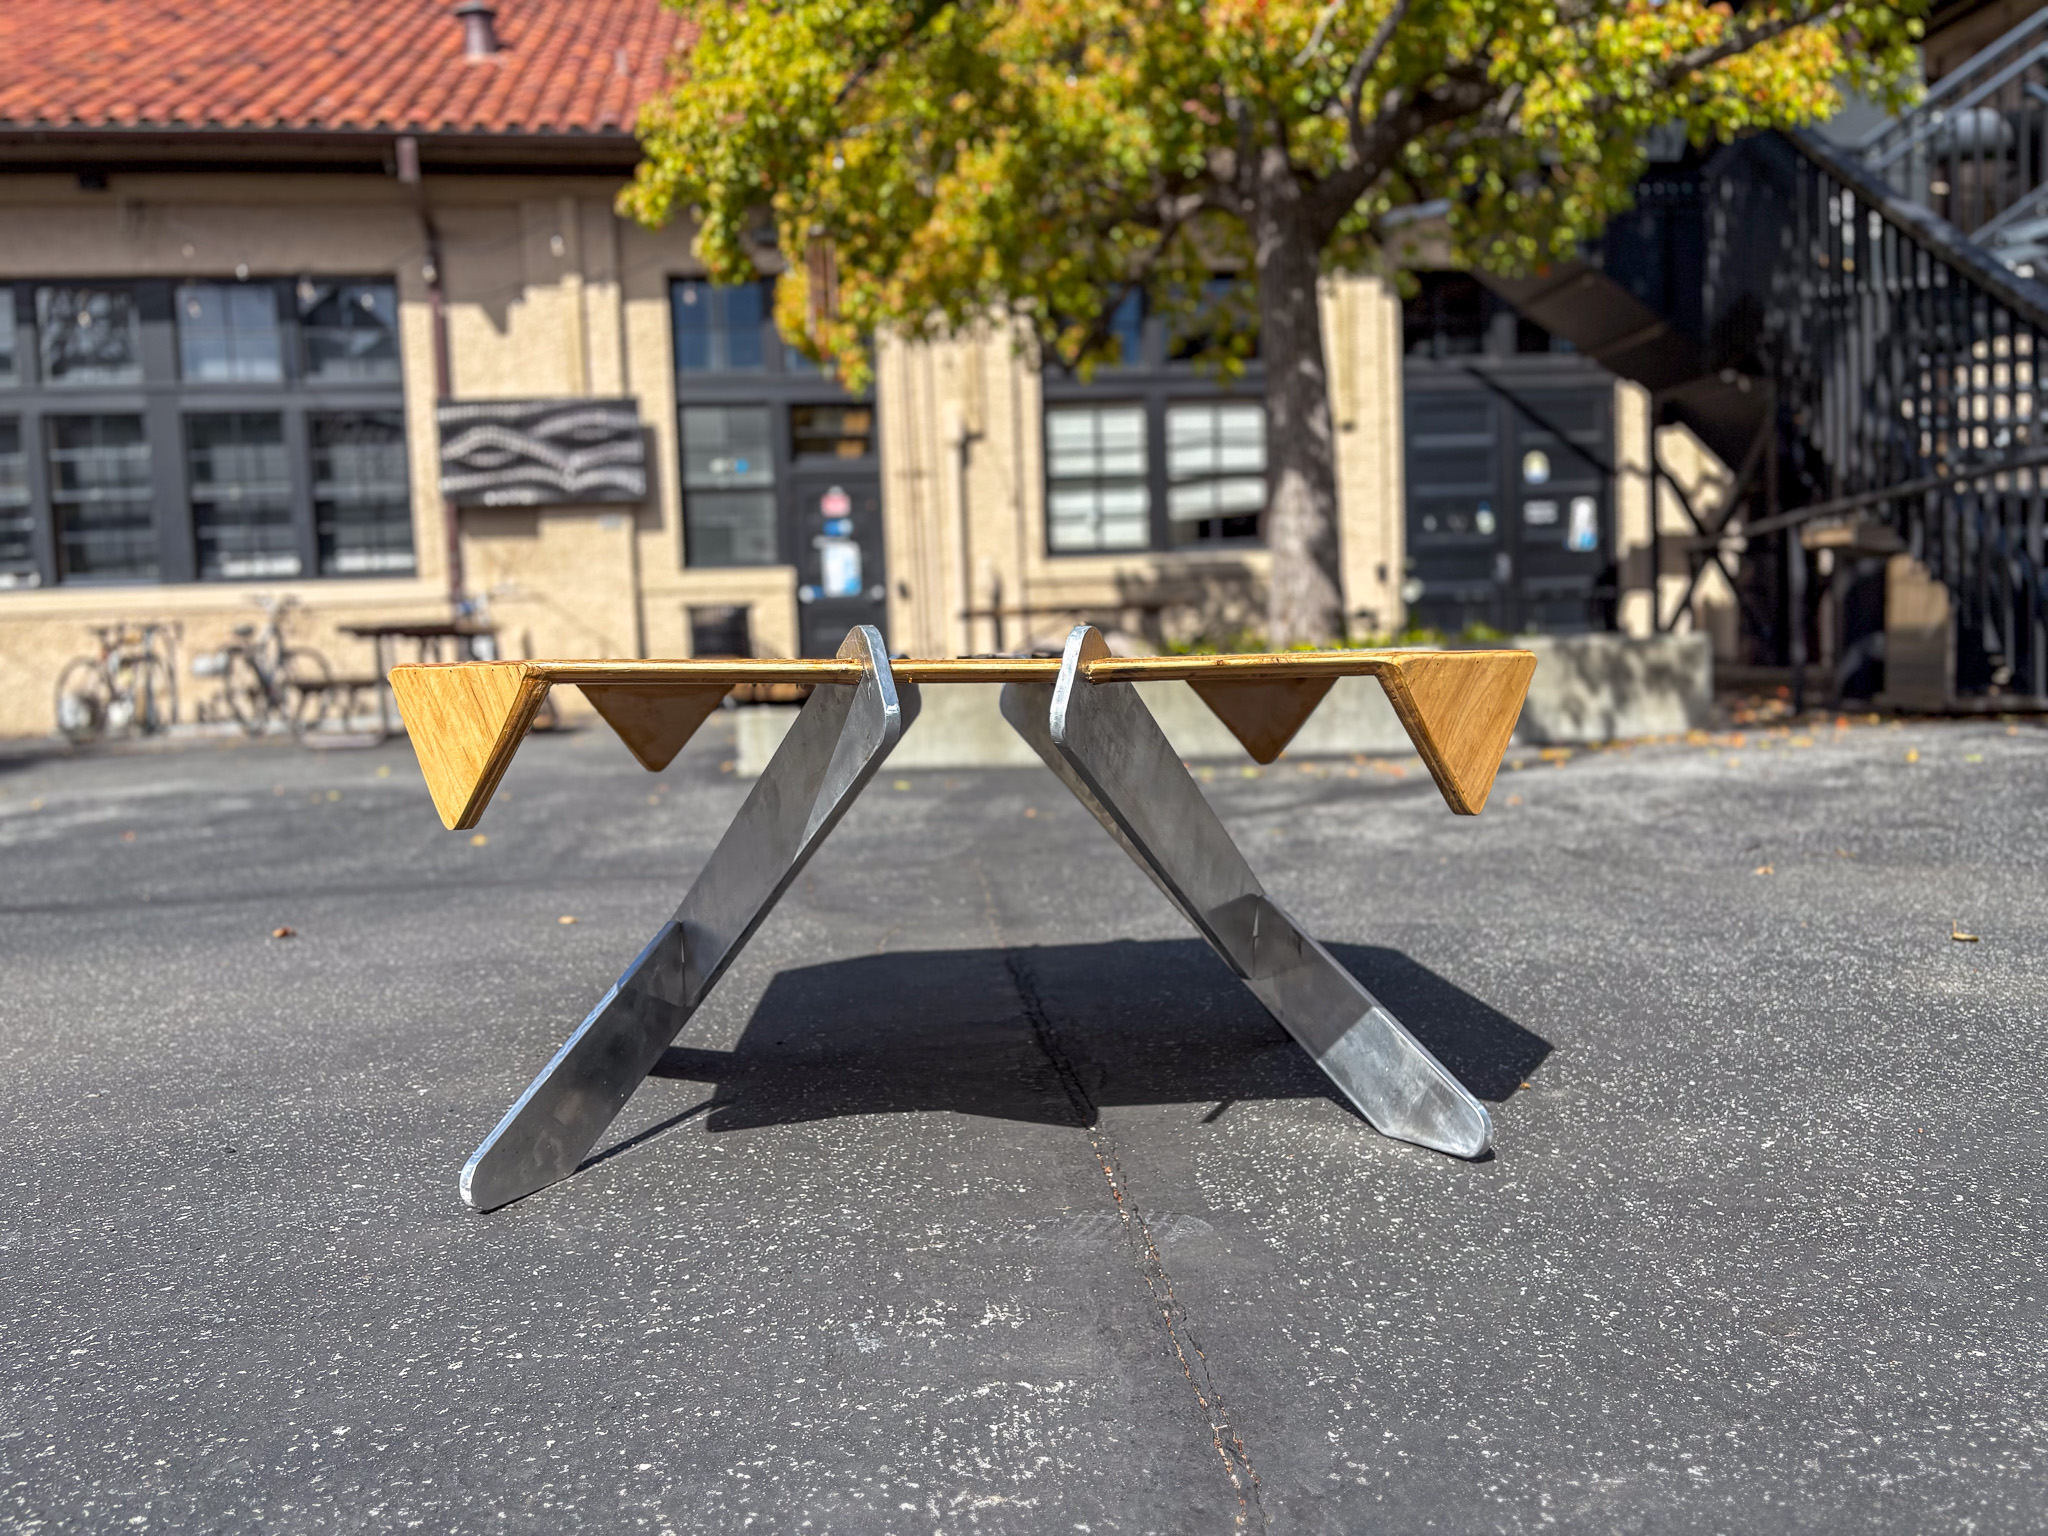
Aluminum 6061
Maple Plywood
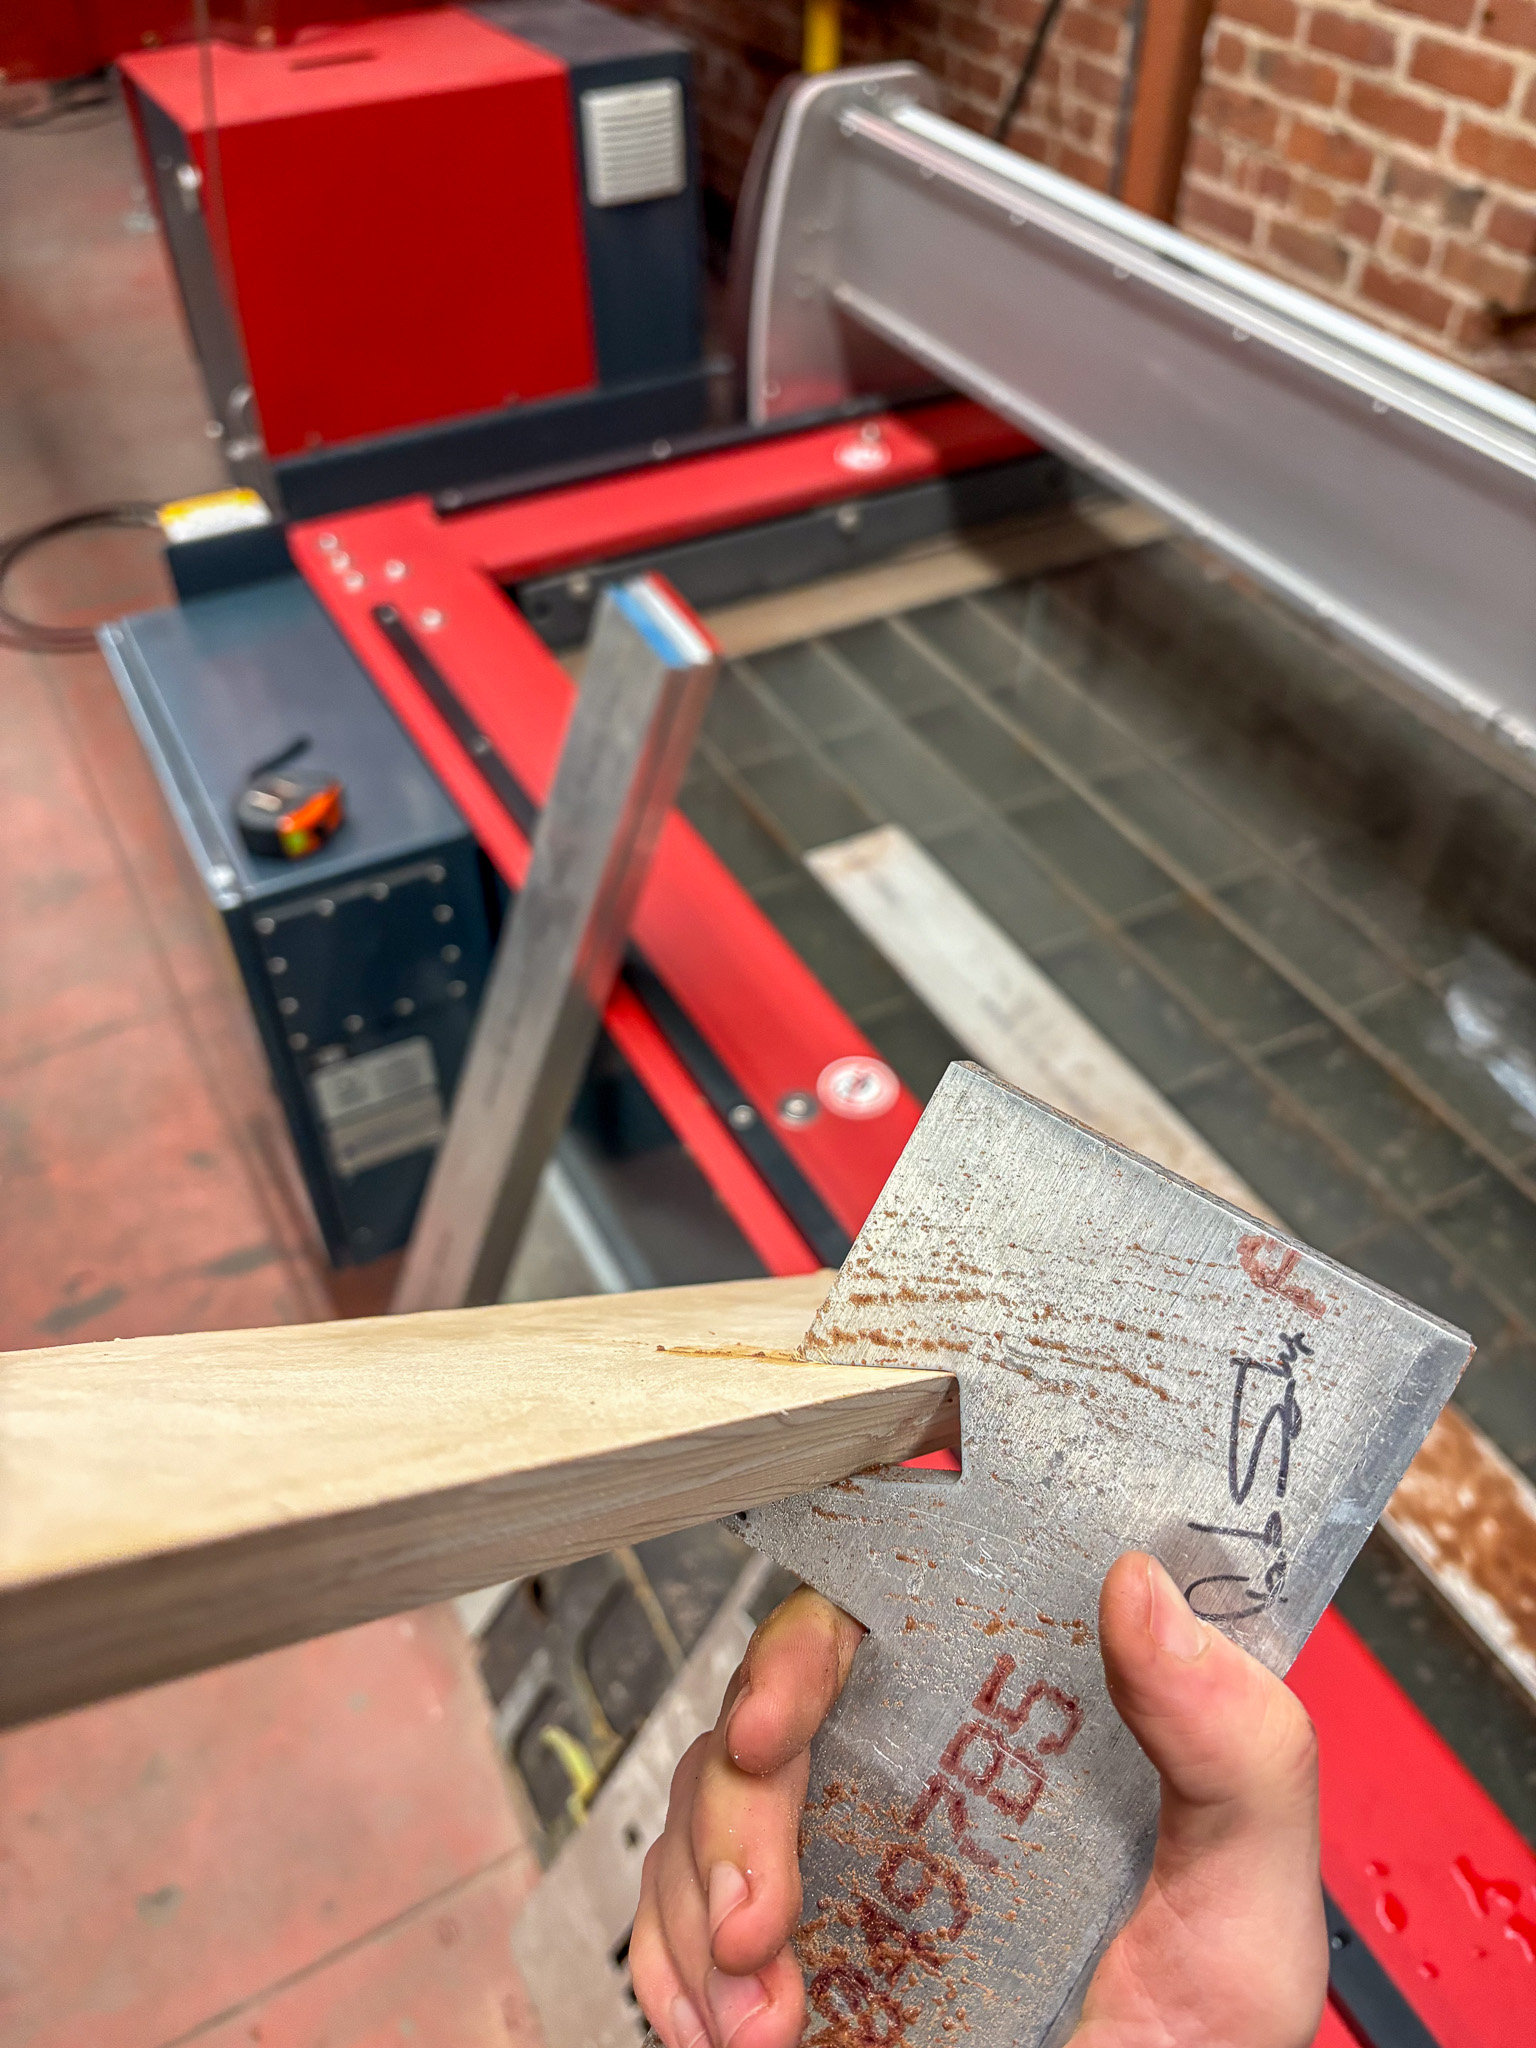
Waterjet Cutting
Woodworking
Laser cutting
Interlocking Design
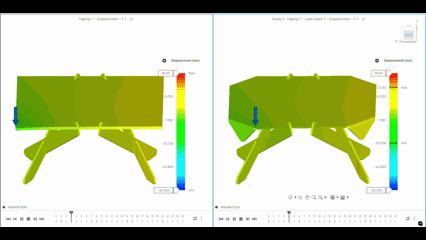
FEA
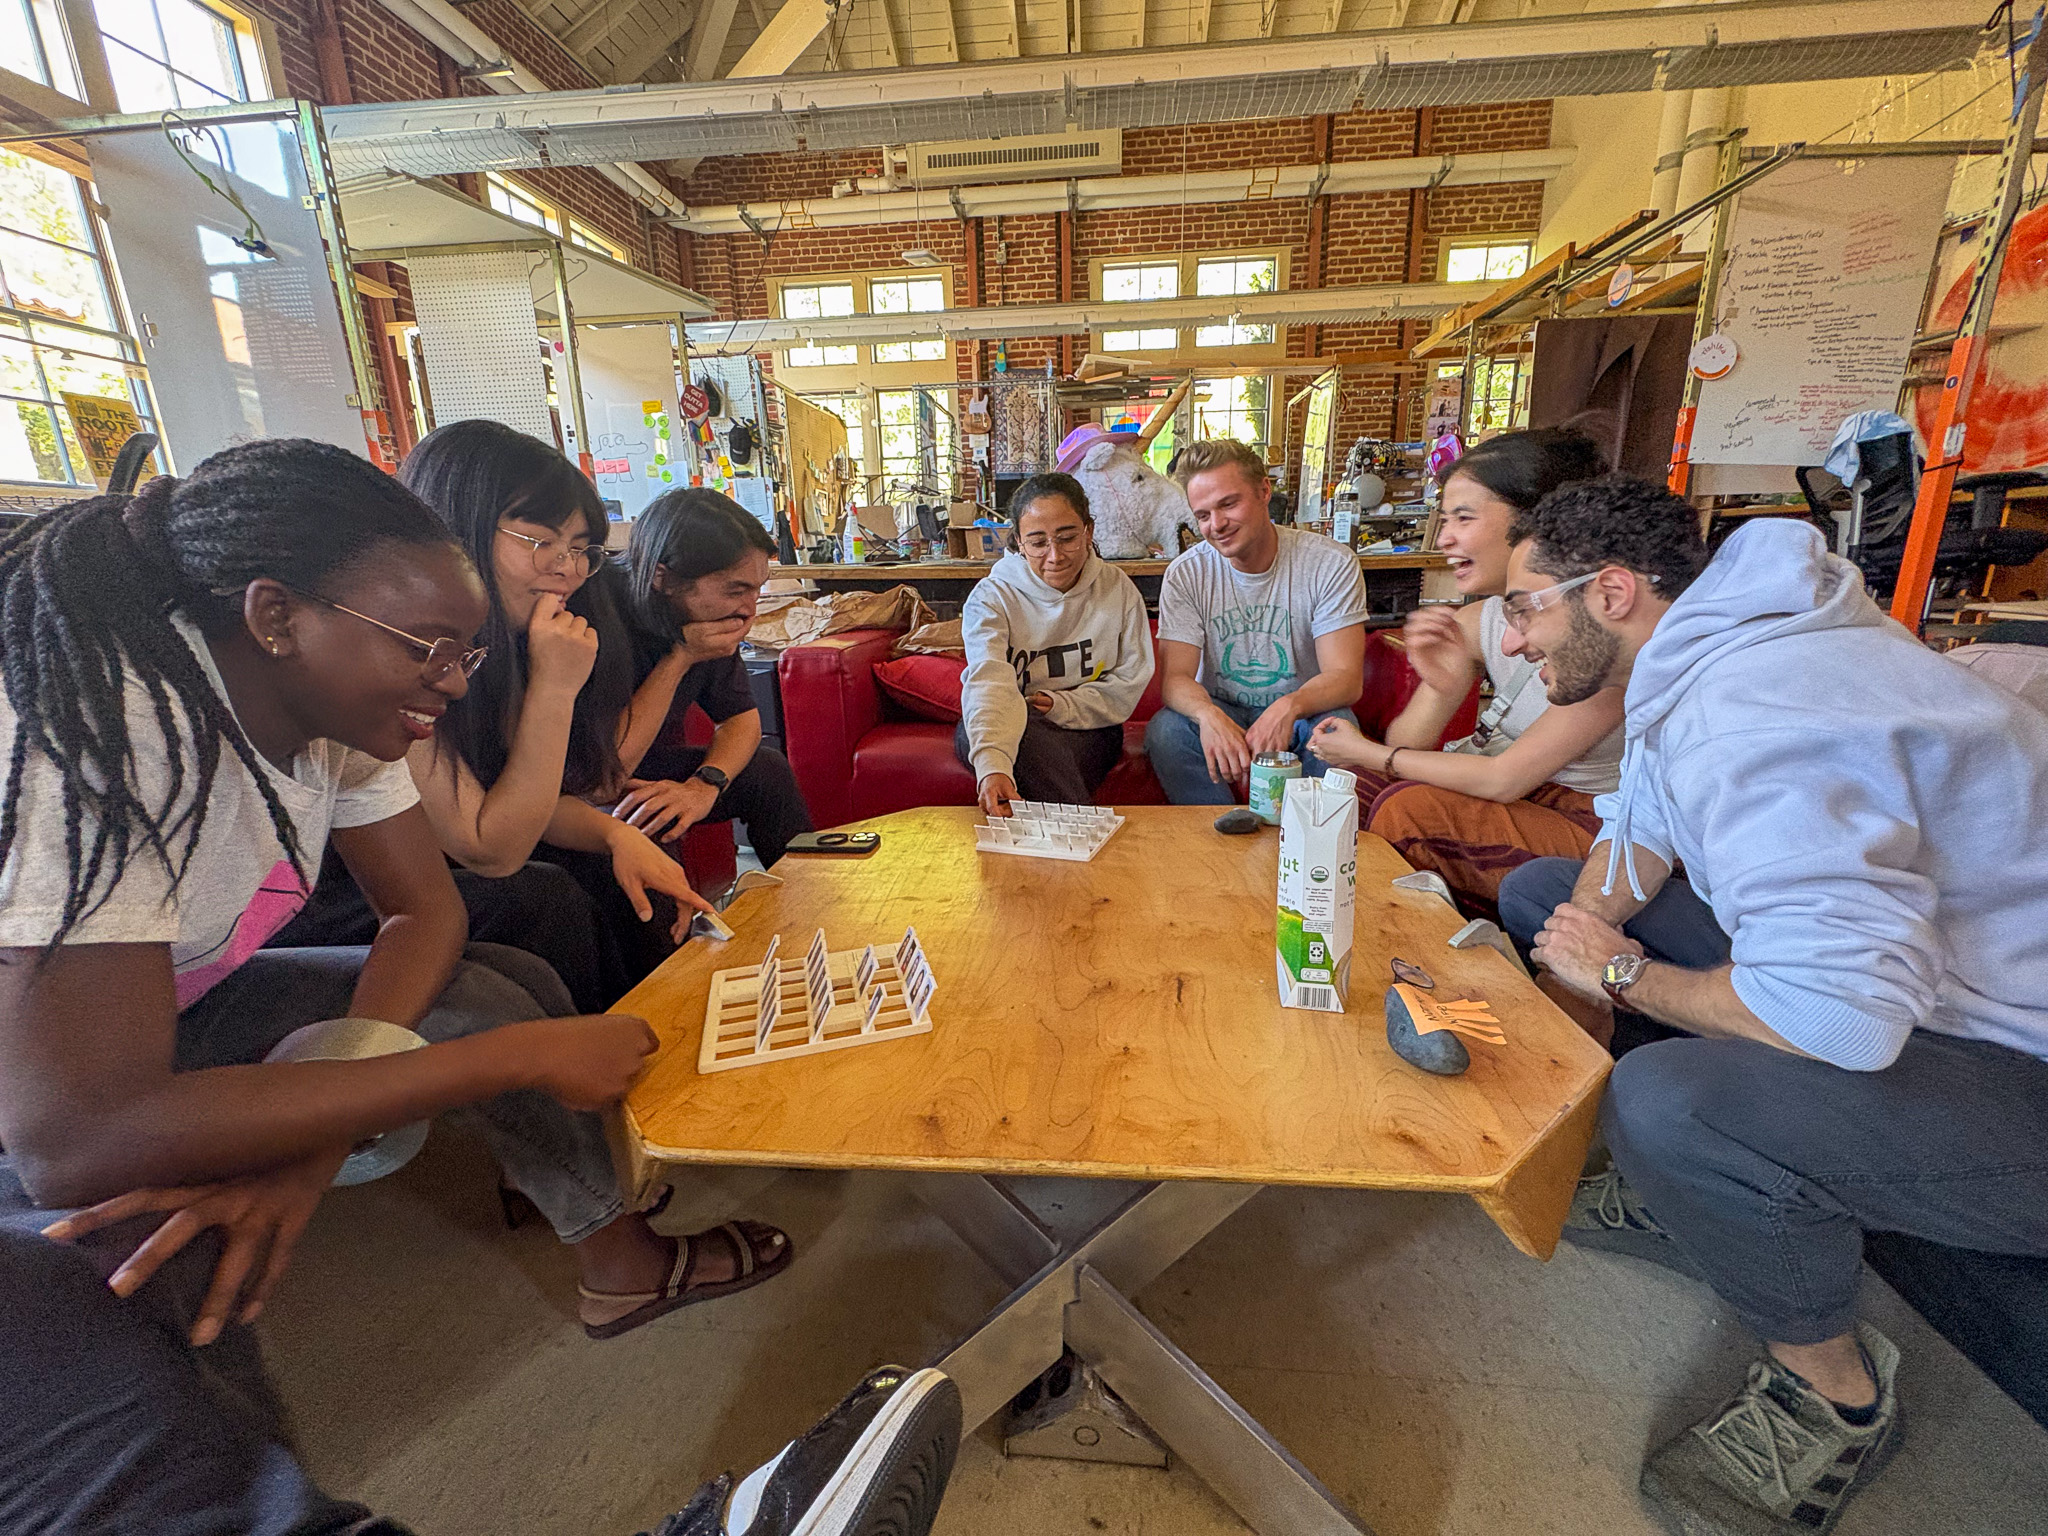
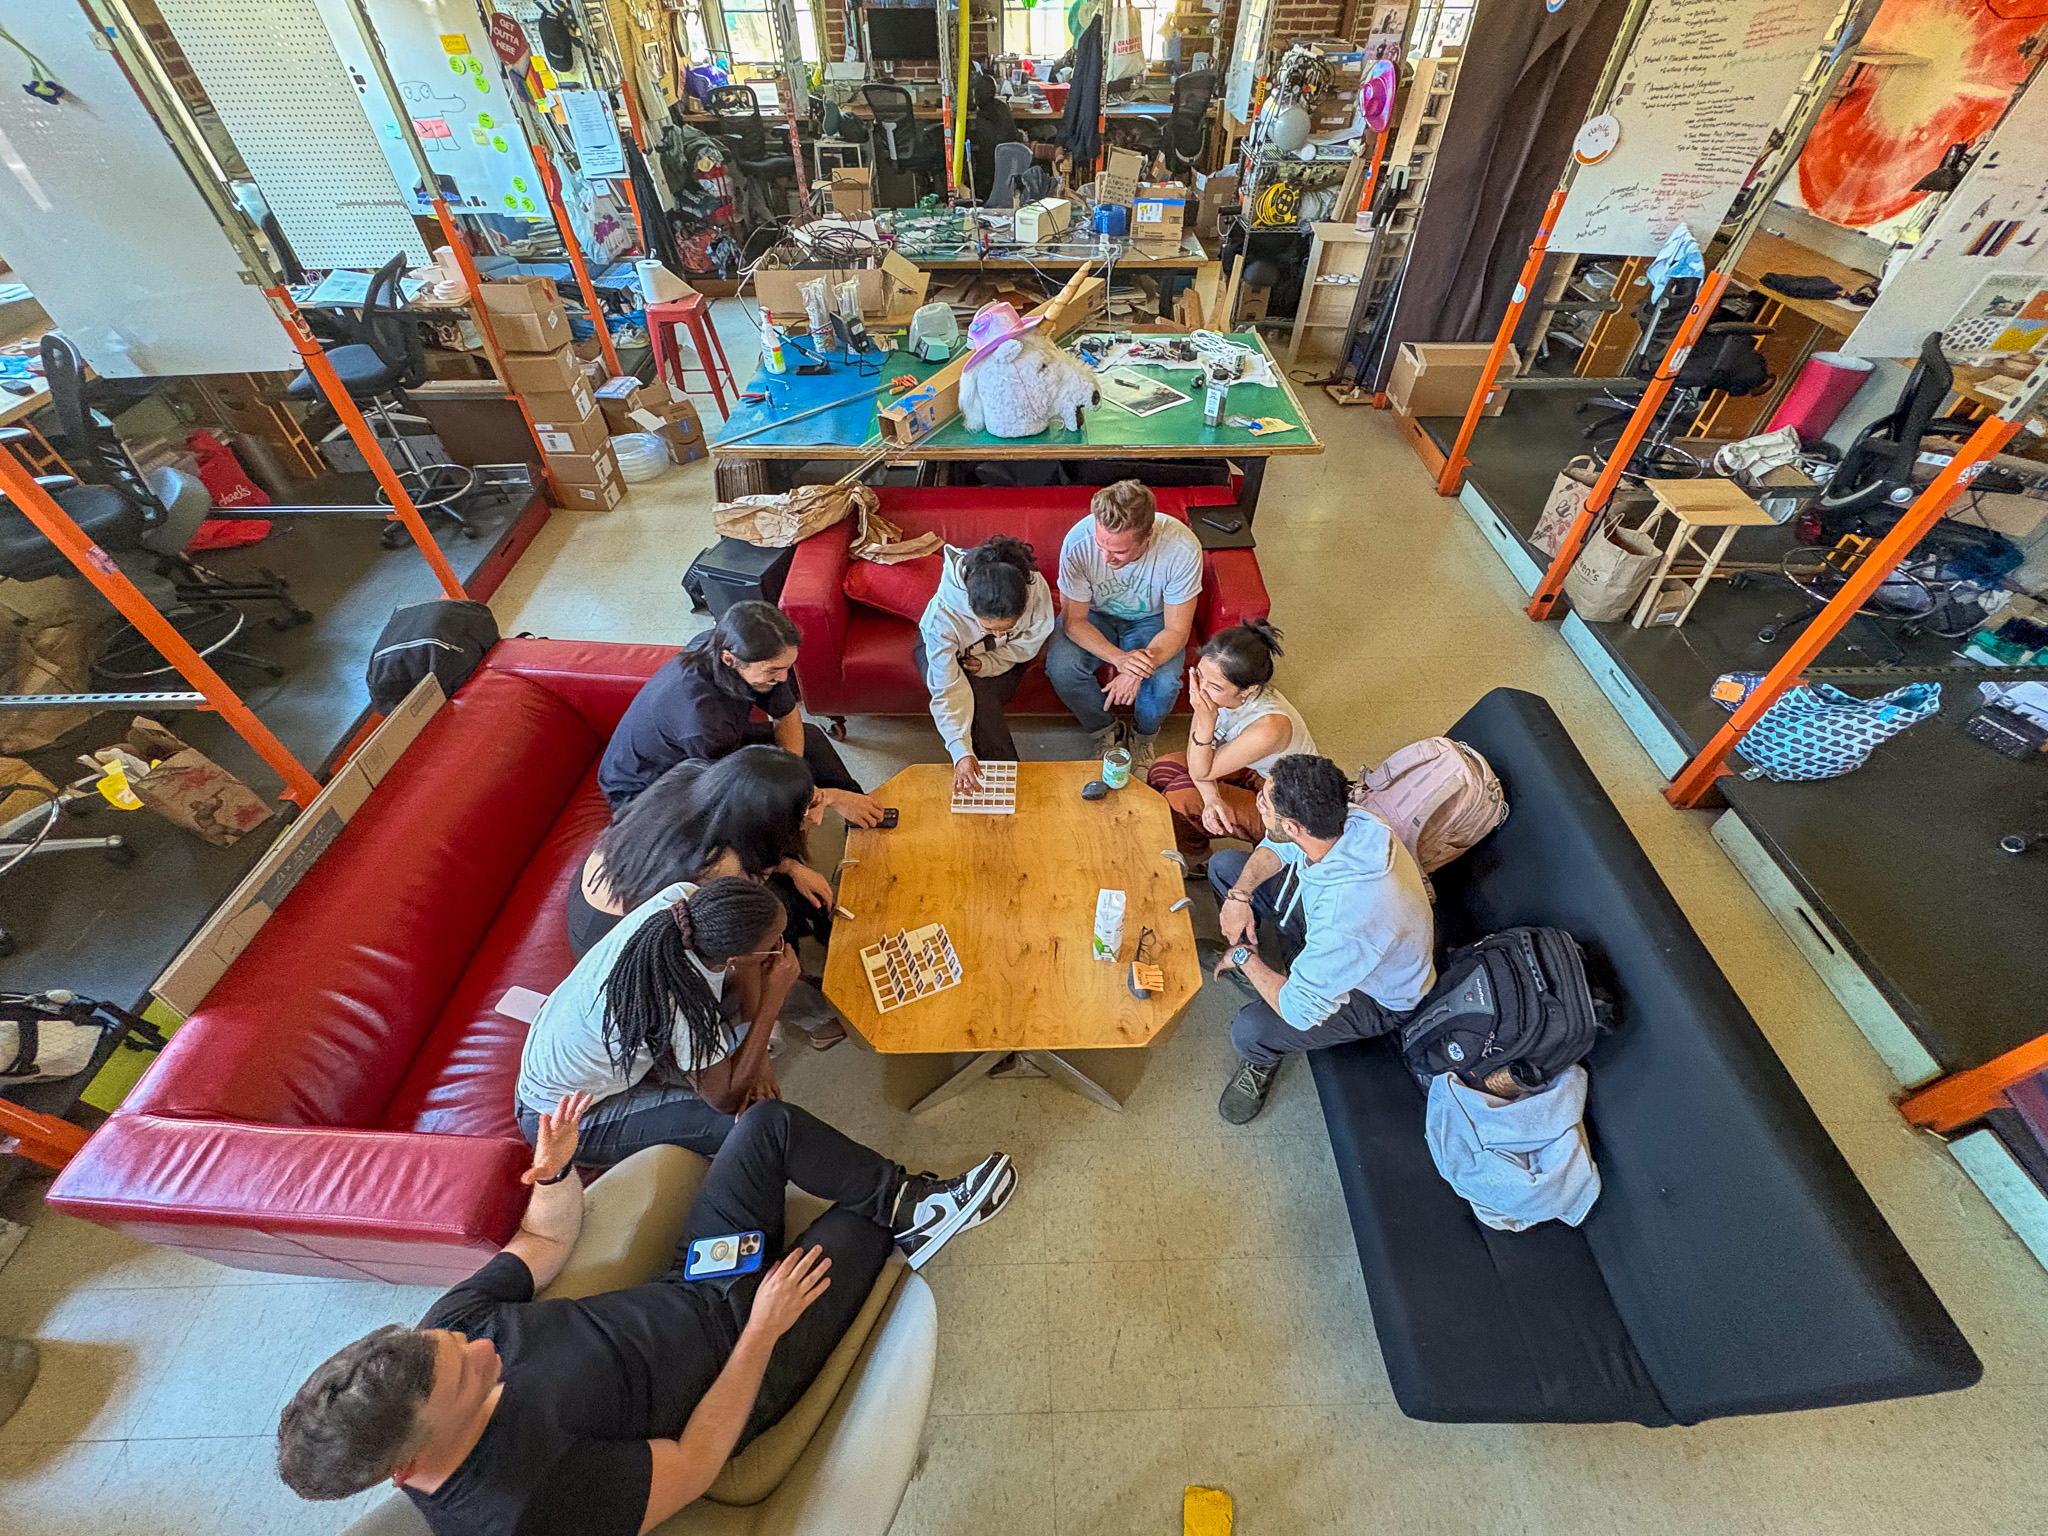
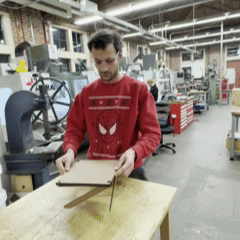
Prototyping
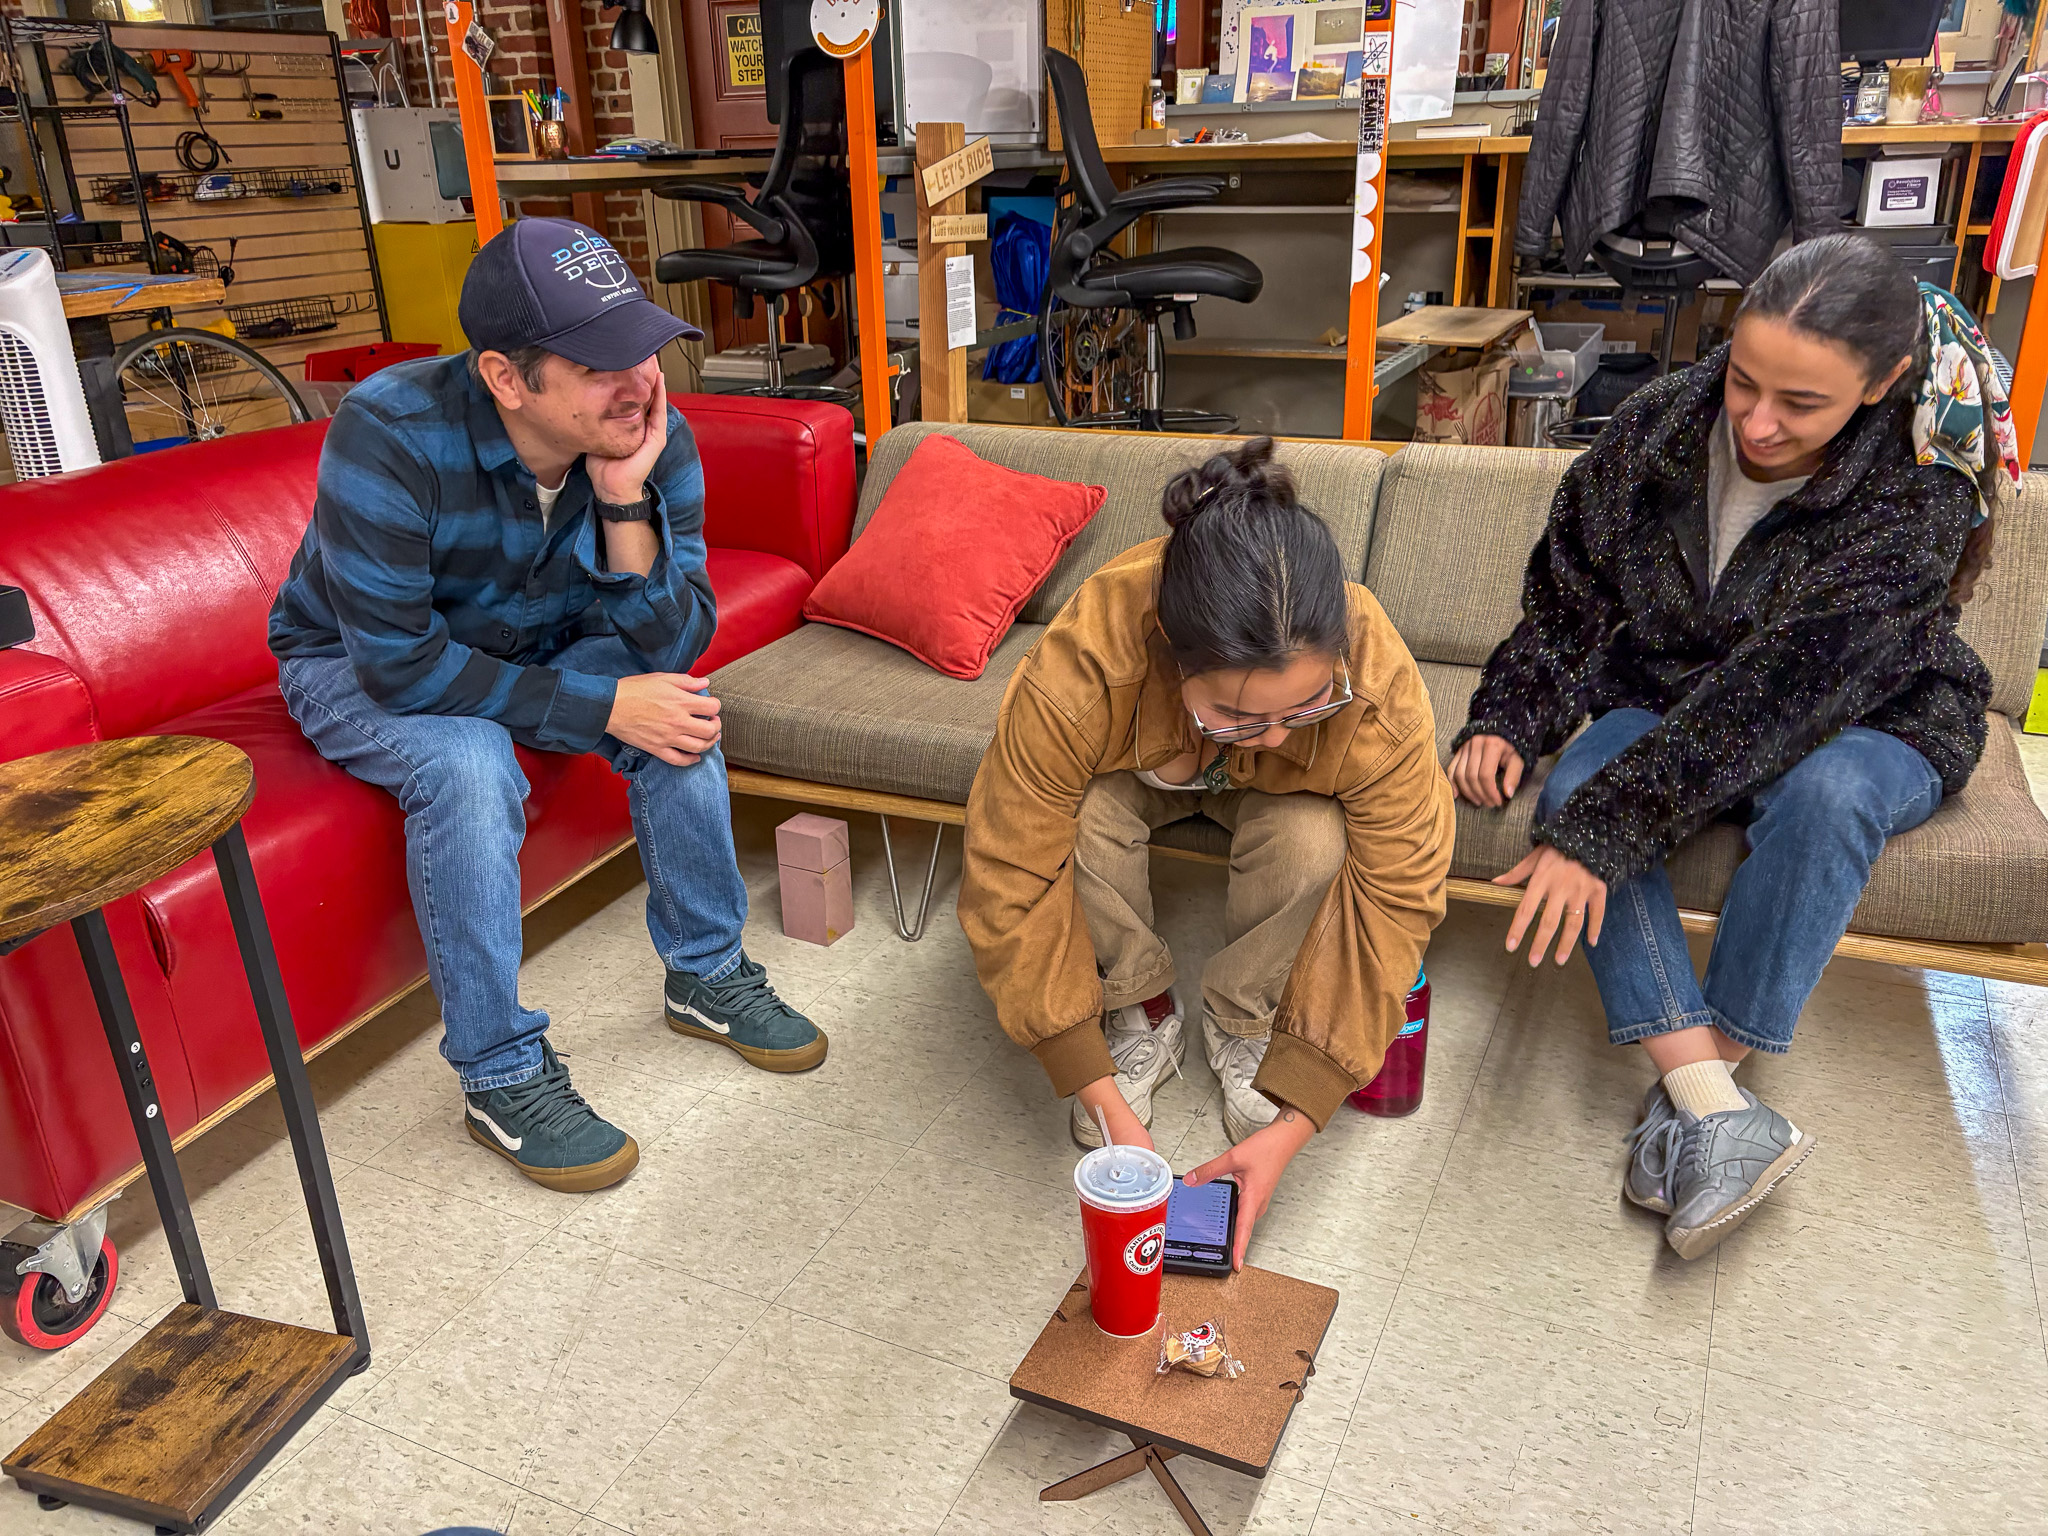
The loft needed a table that is:
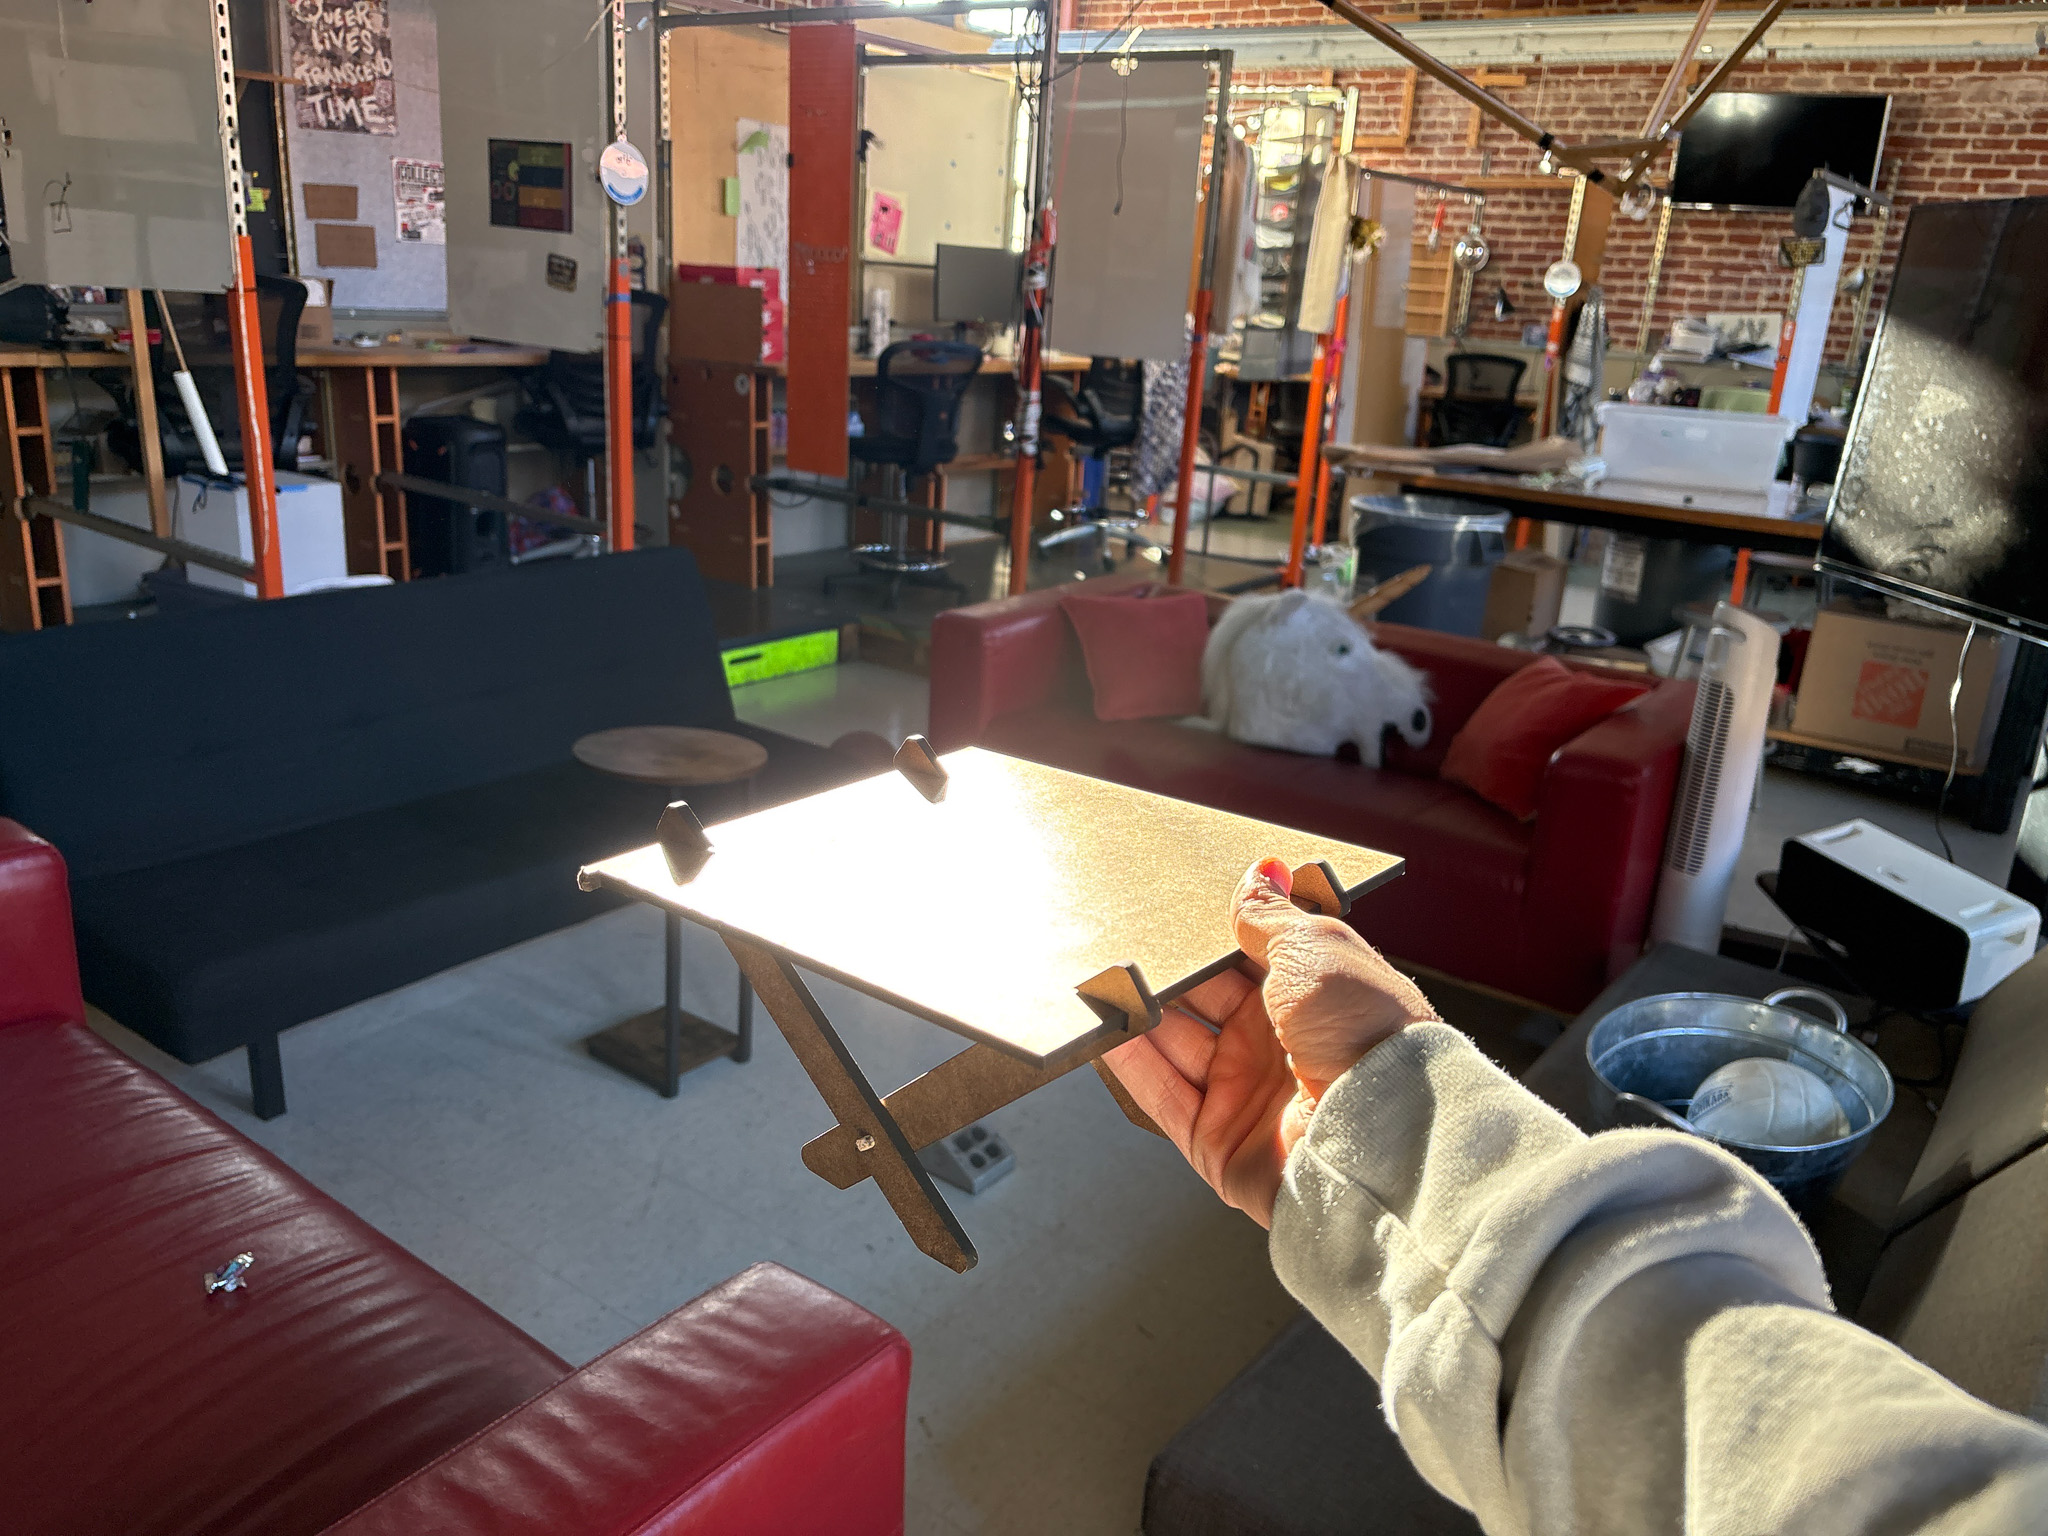
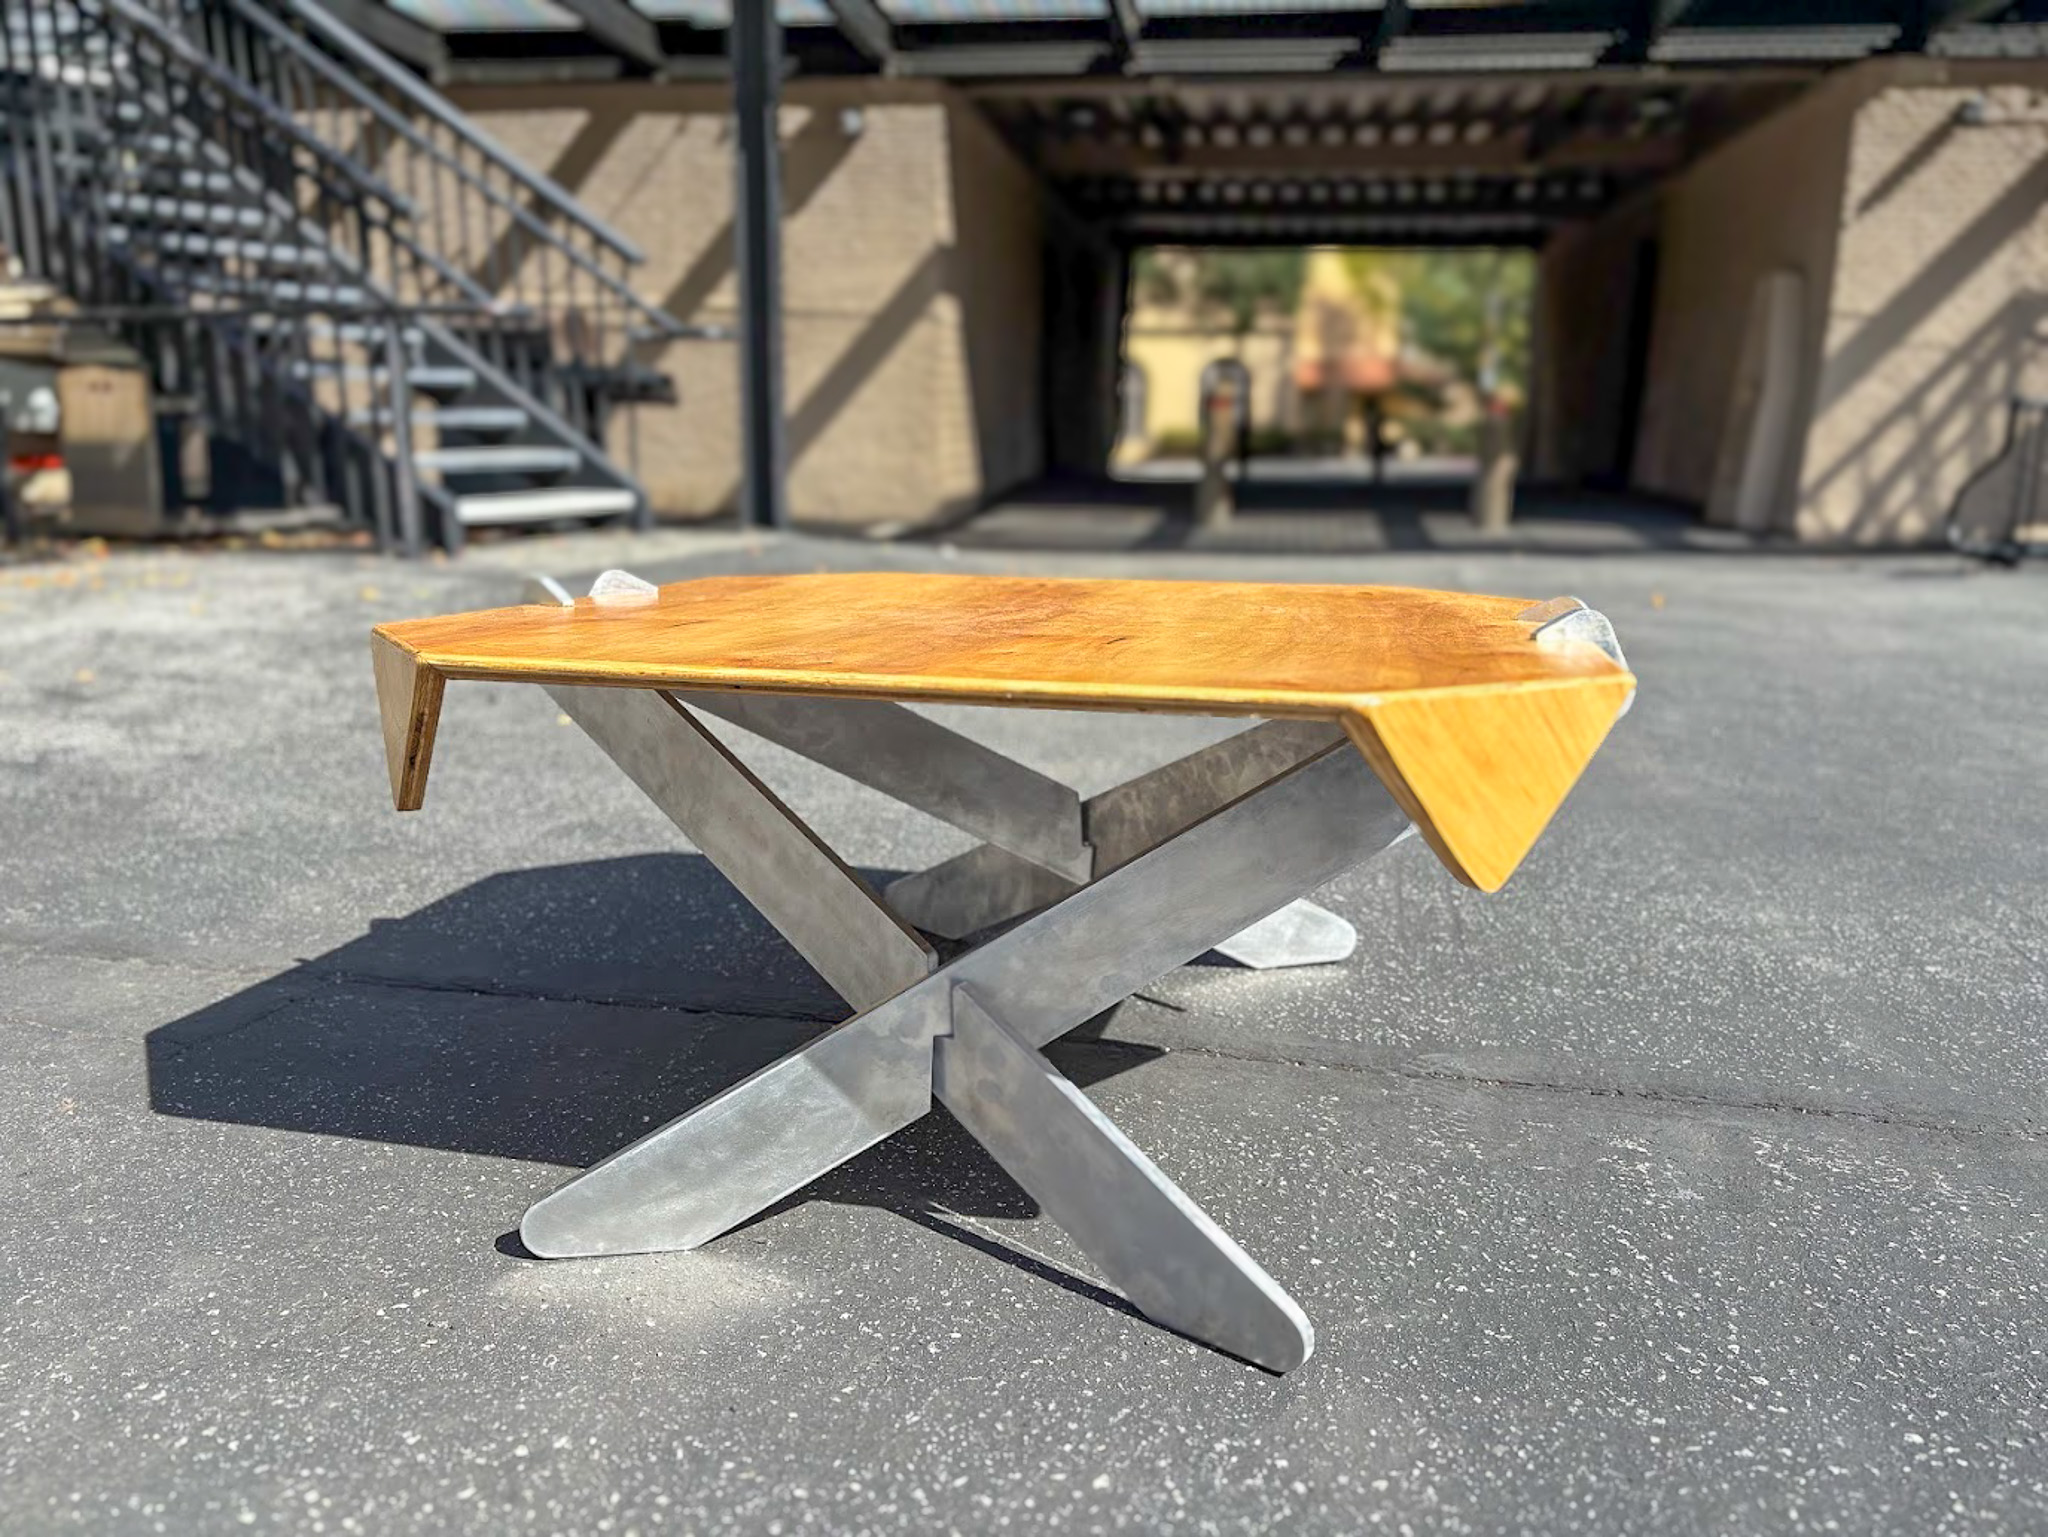
Looking at the space, I figured a square top would work best, so I started experimenting and prototyping with the table legs and the side profile. I also used the prototypes to test how balanced the structure is.
For the materials I wanted to have an interaction of wood and metal. I wanted the legs to also feel solid but also light for practicality. I went with 1/2 inch thick aluminum 6061 and for the wooden top I took an aluminum piece (my Oloid) to the lumber store to see which color work best. I ended up getting maple plywood.
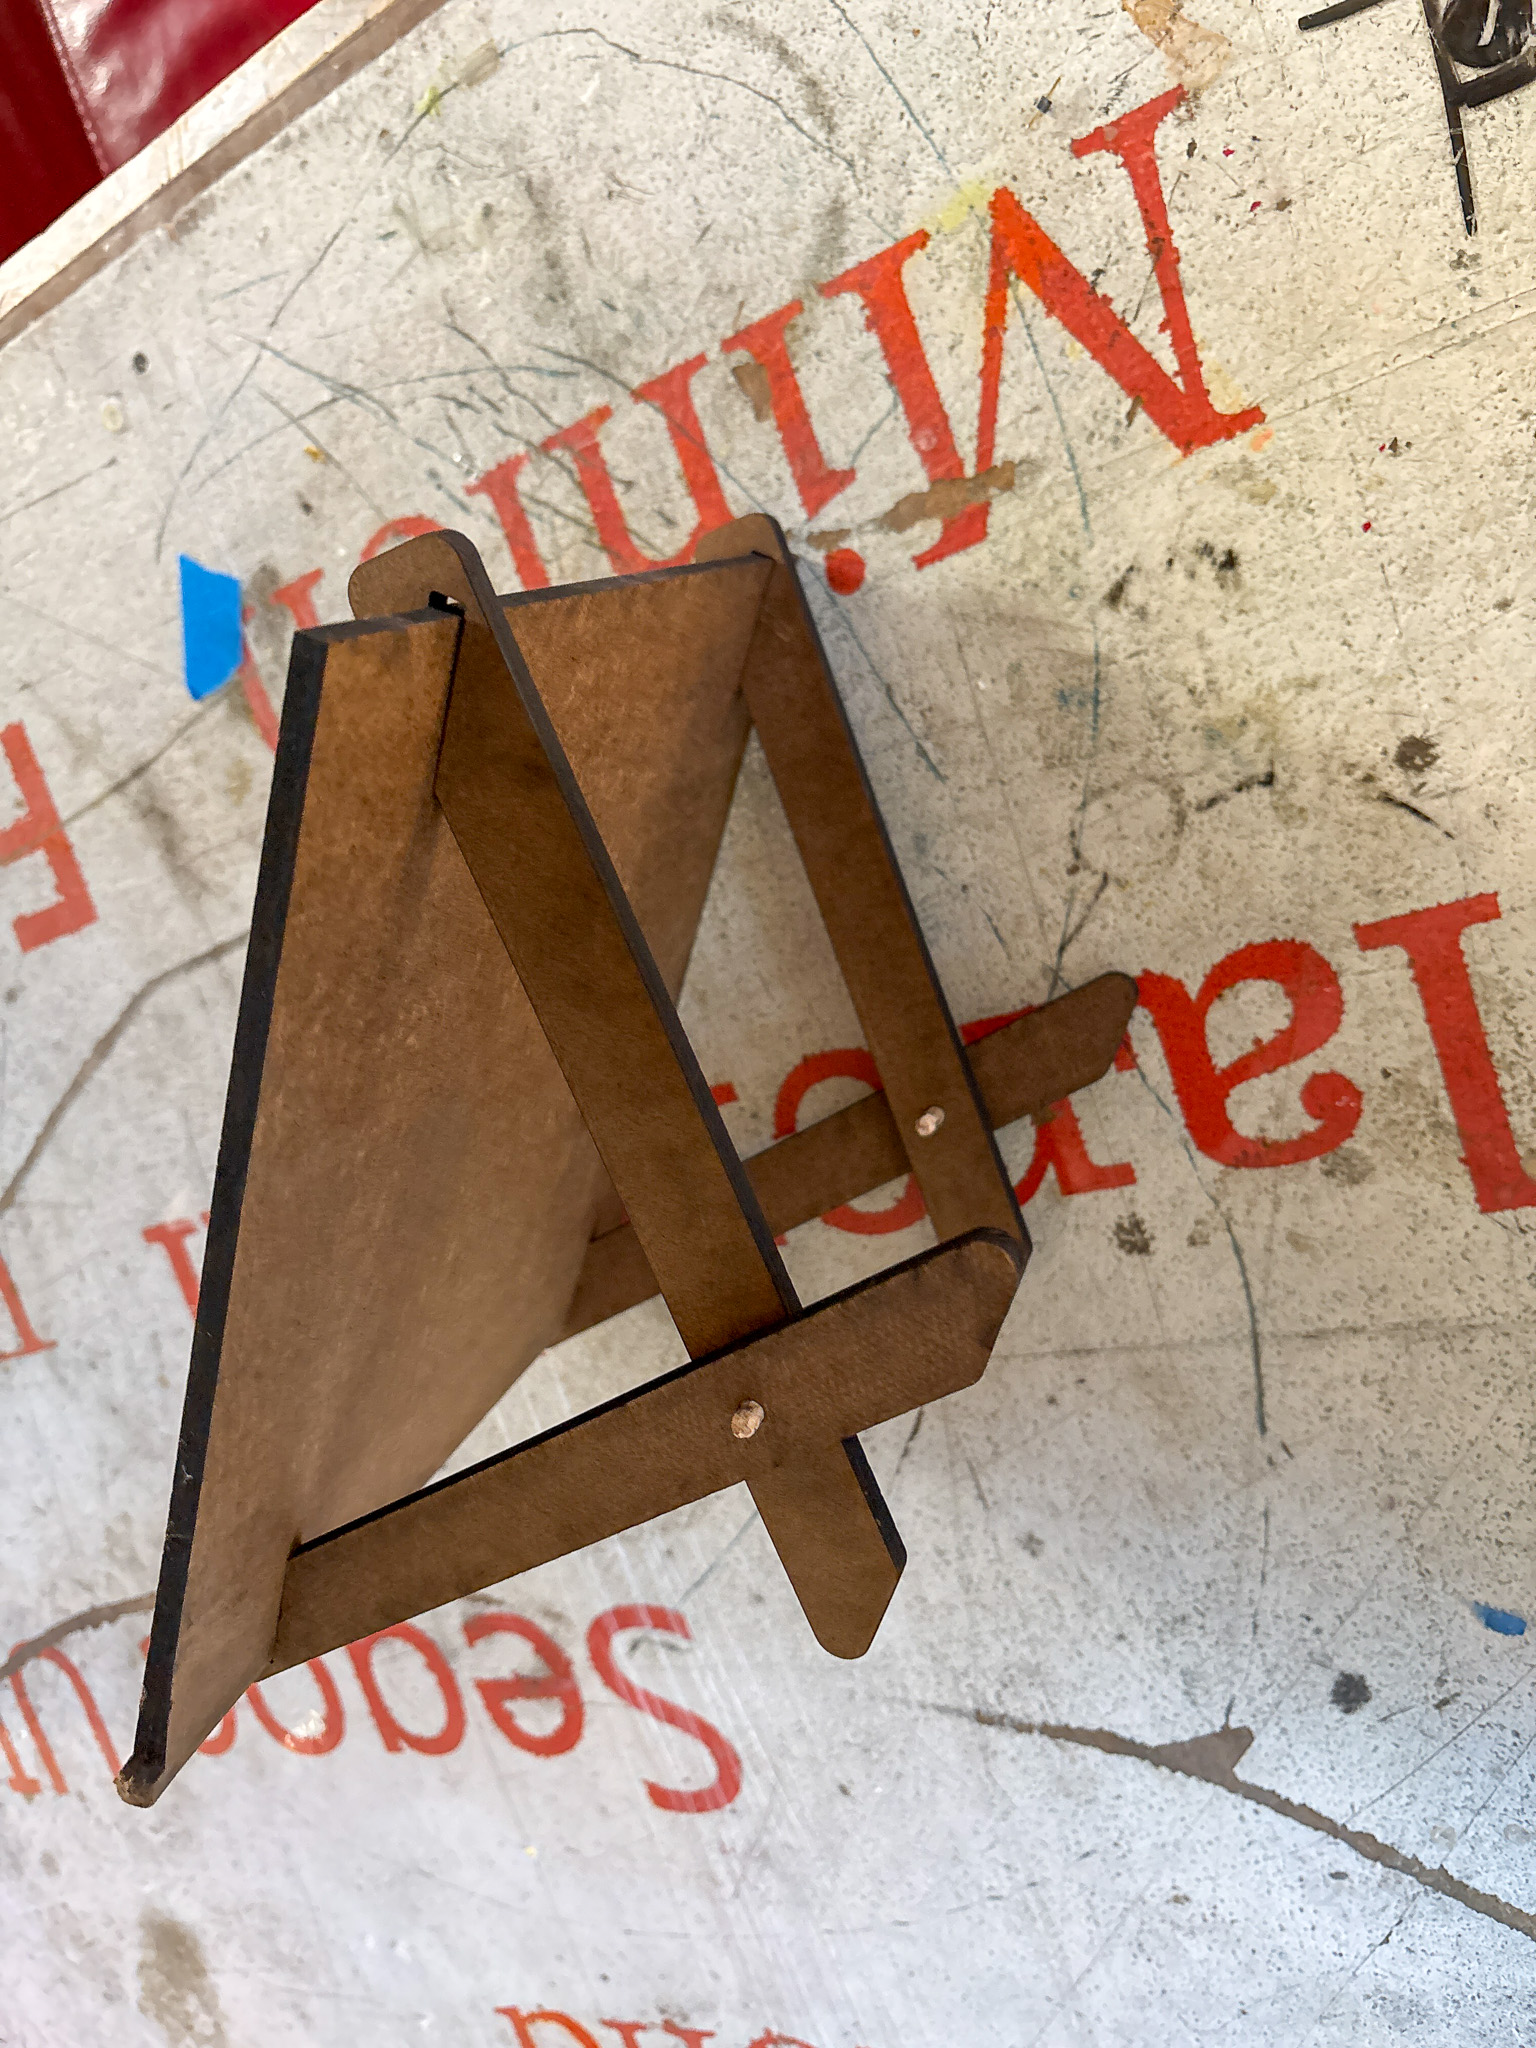
I started with a design where the legs attach to the top of the table in the corners but the prototype had a spring like effect when pressed down and the attachment point would be under a lot of force. I also didn't like that the side profile is the same from all directions.
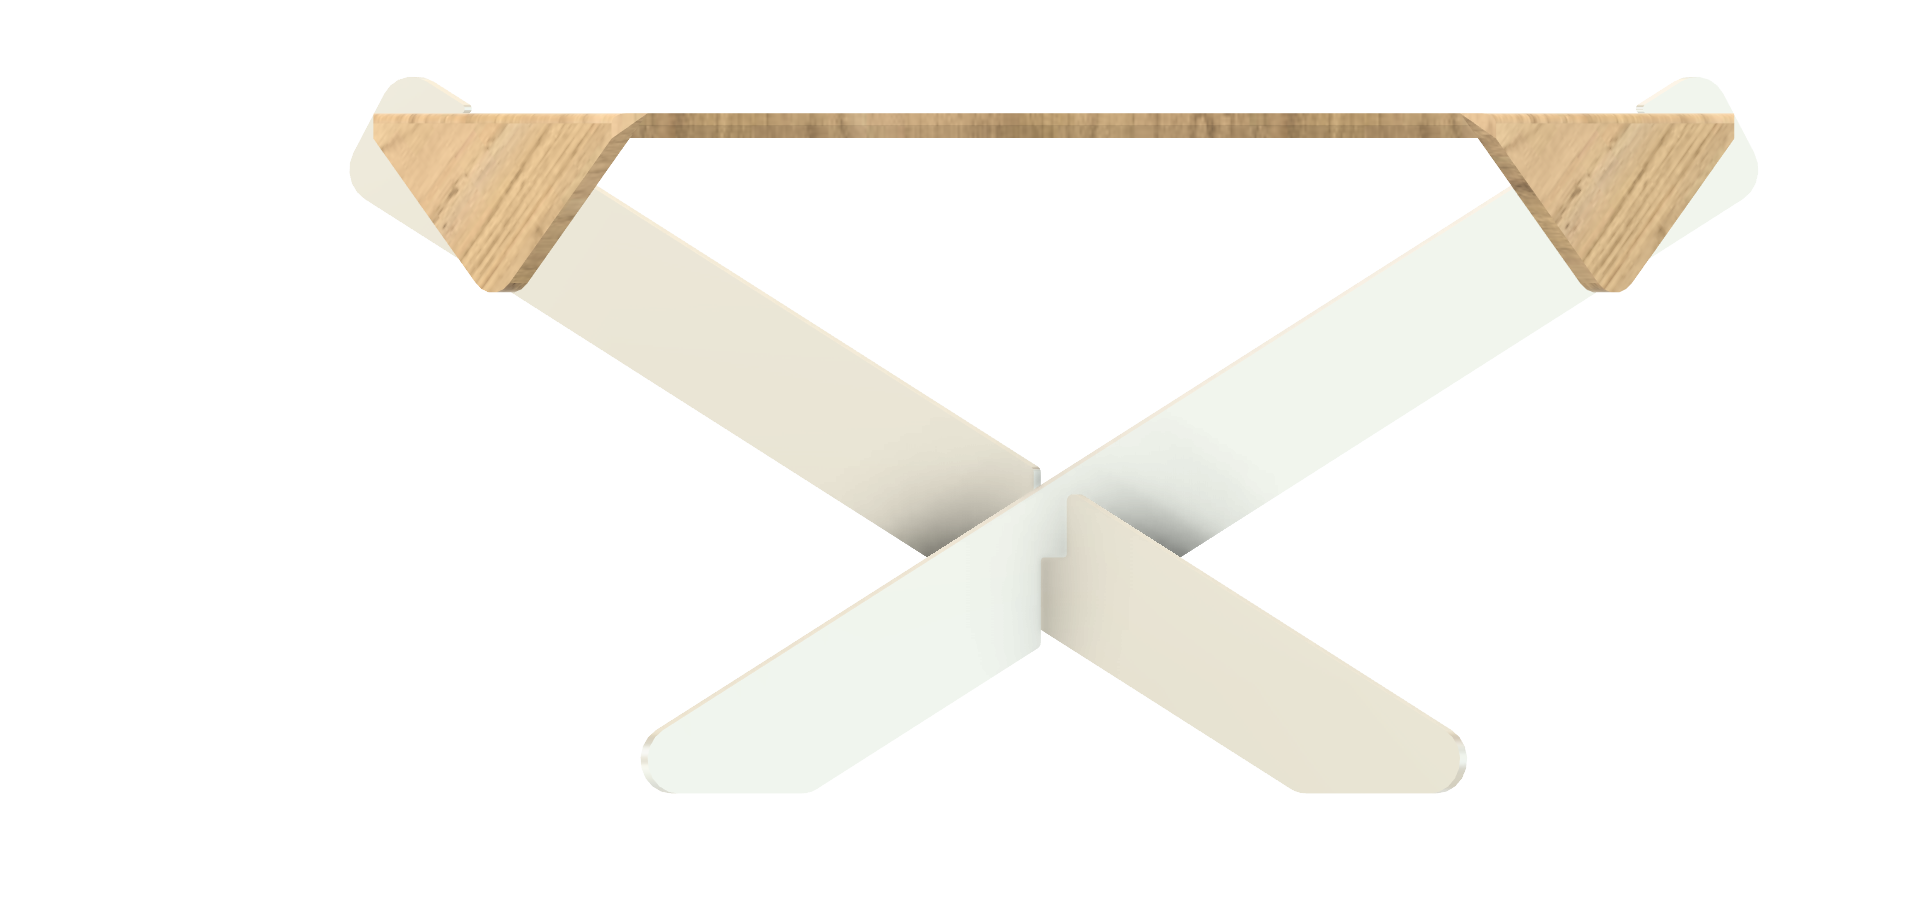
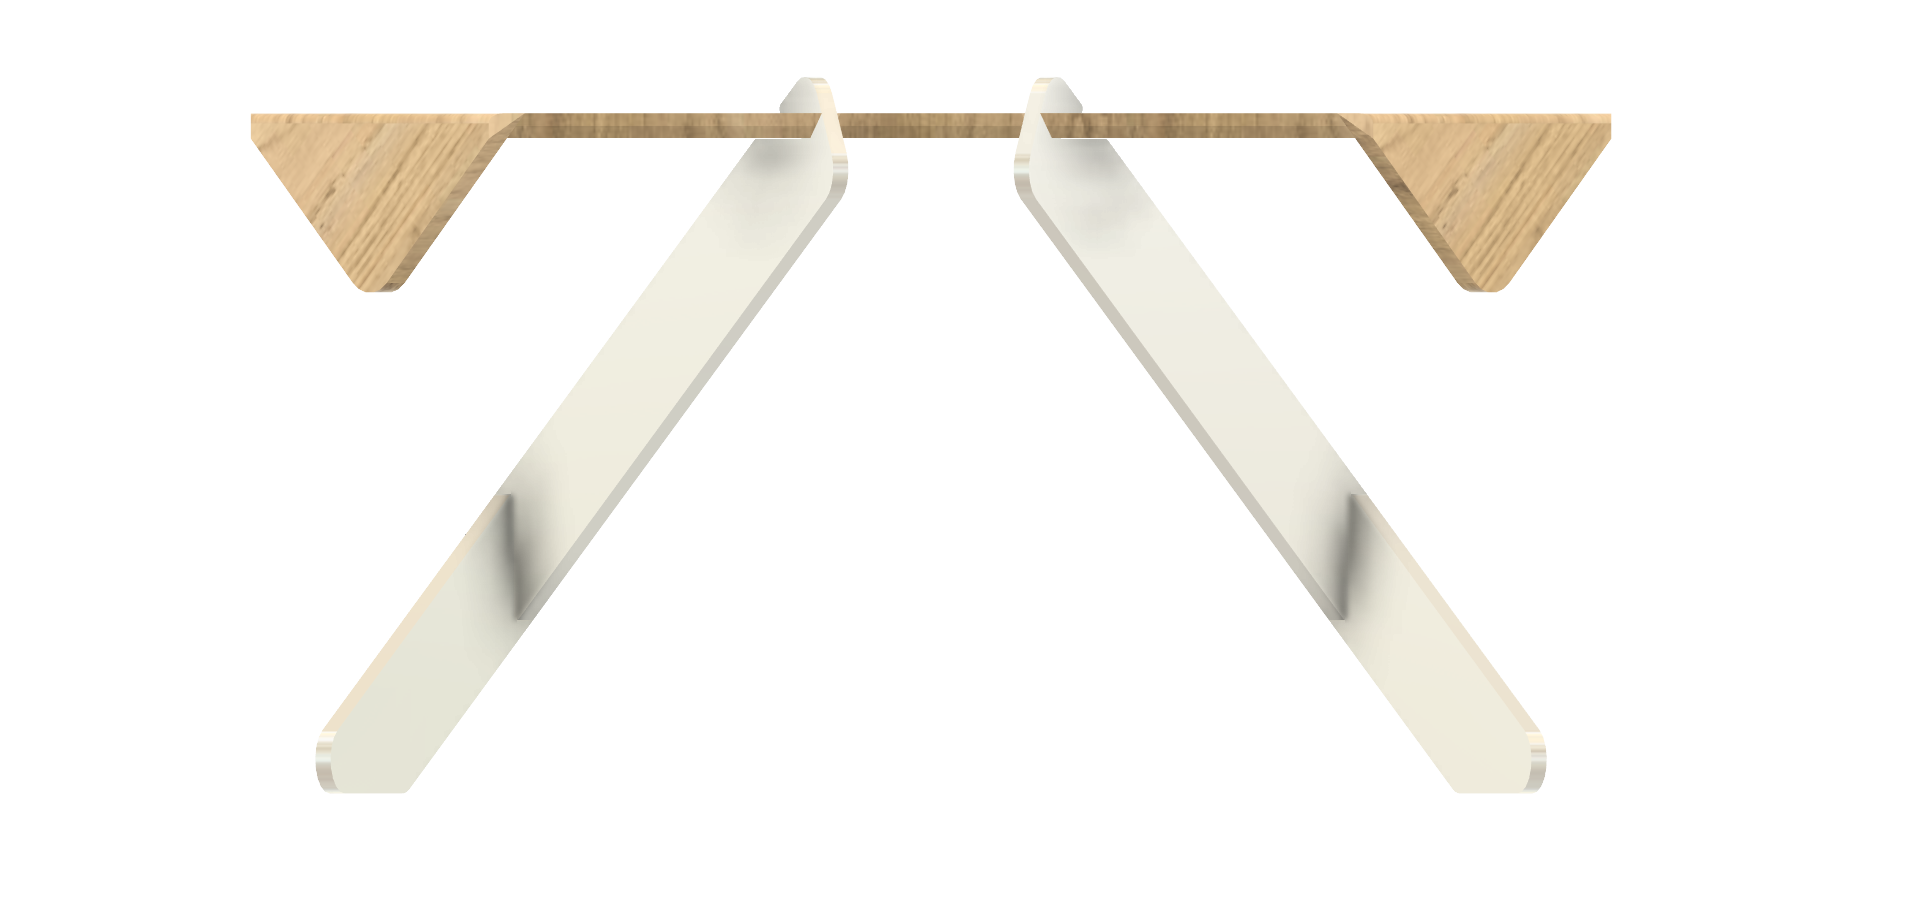
I then moved towards the final design with the legs attach to the top from middle and every two legs cross with each other. this iteration both made the table mode balanced in simulation and prototypes, and also provided a unique side profile that is different from each side.
Final iteration was cutting the corners. Because the legs attach to the center, a force applied to the corner has most leverage. Cutting the corners both make the table more approachable and eliminates the problem.
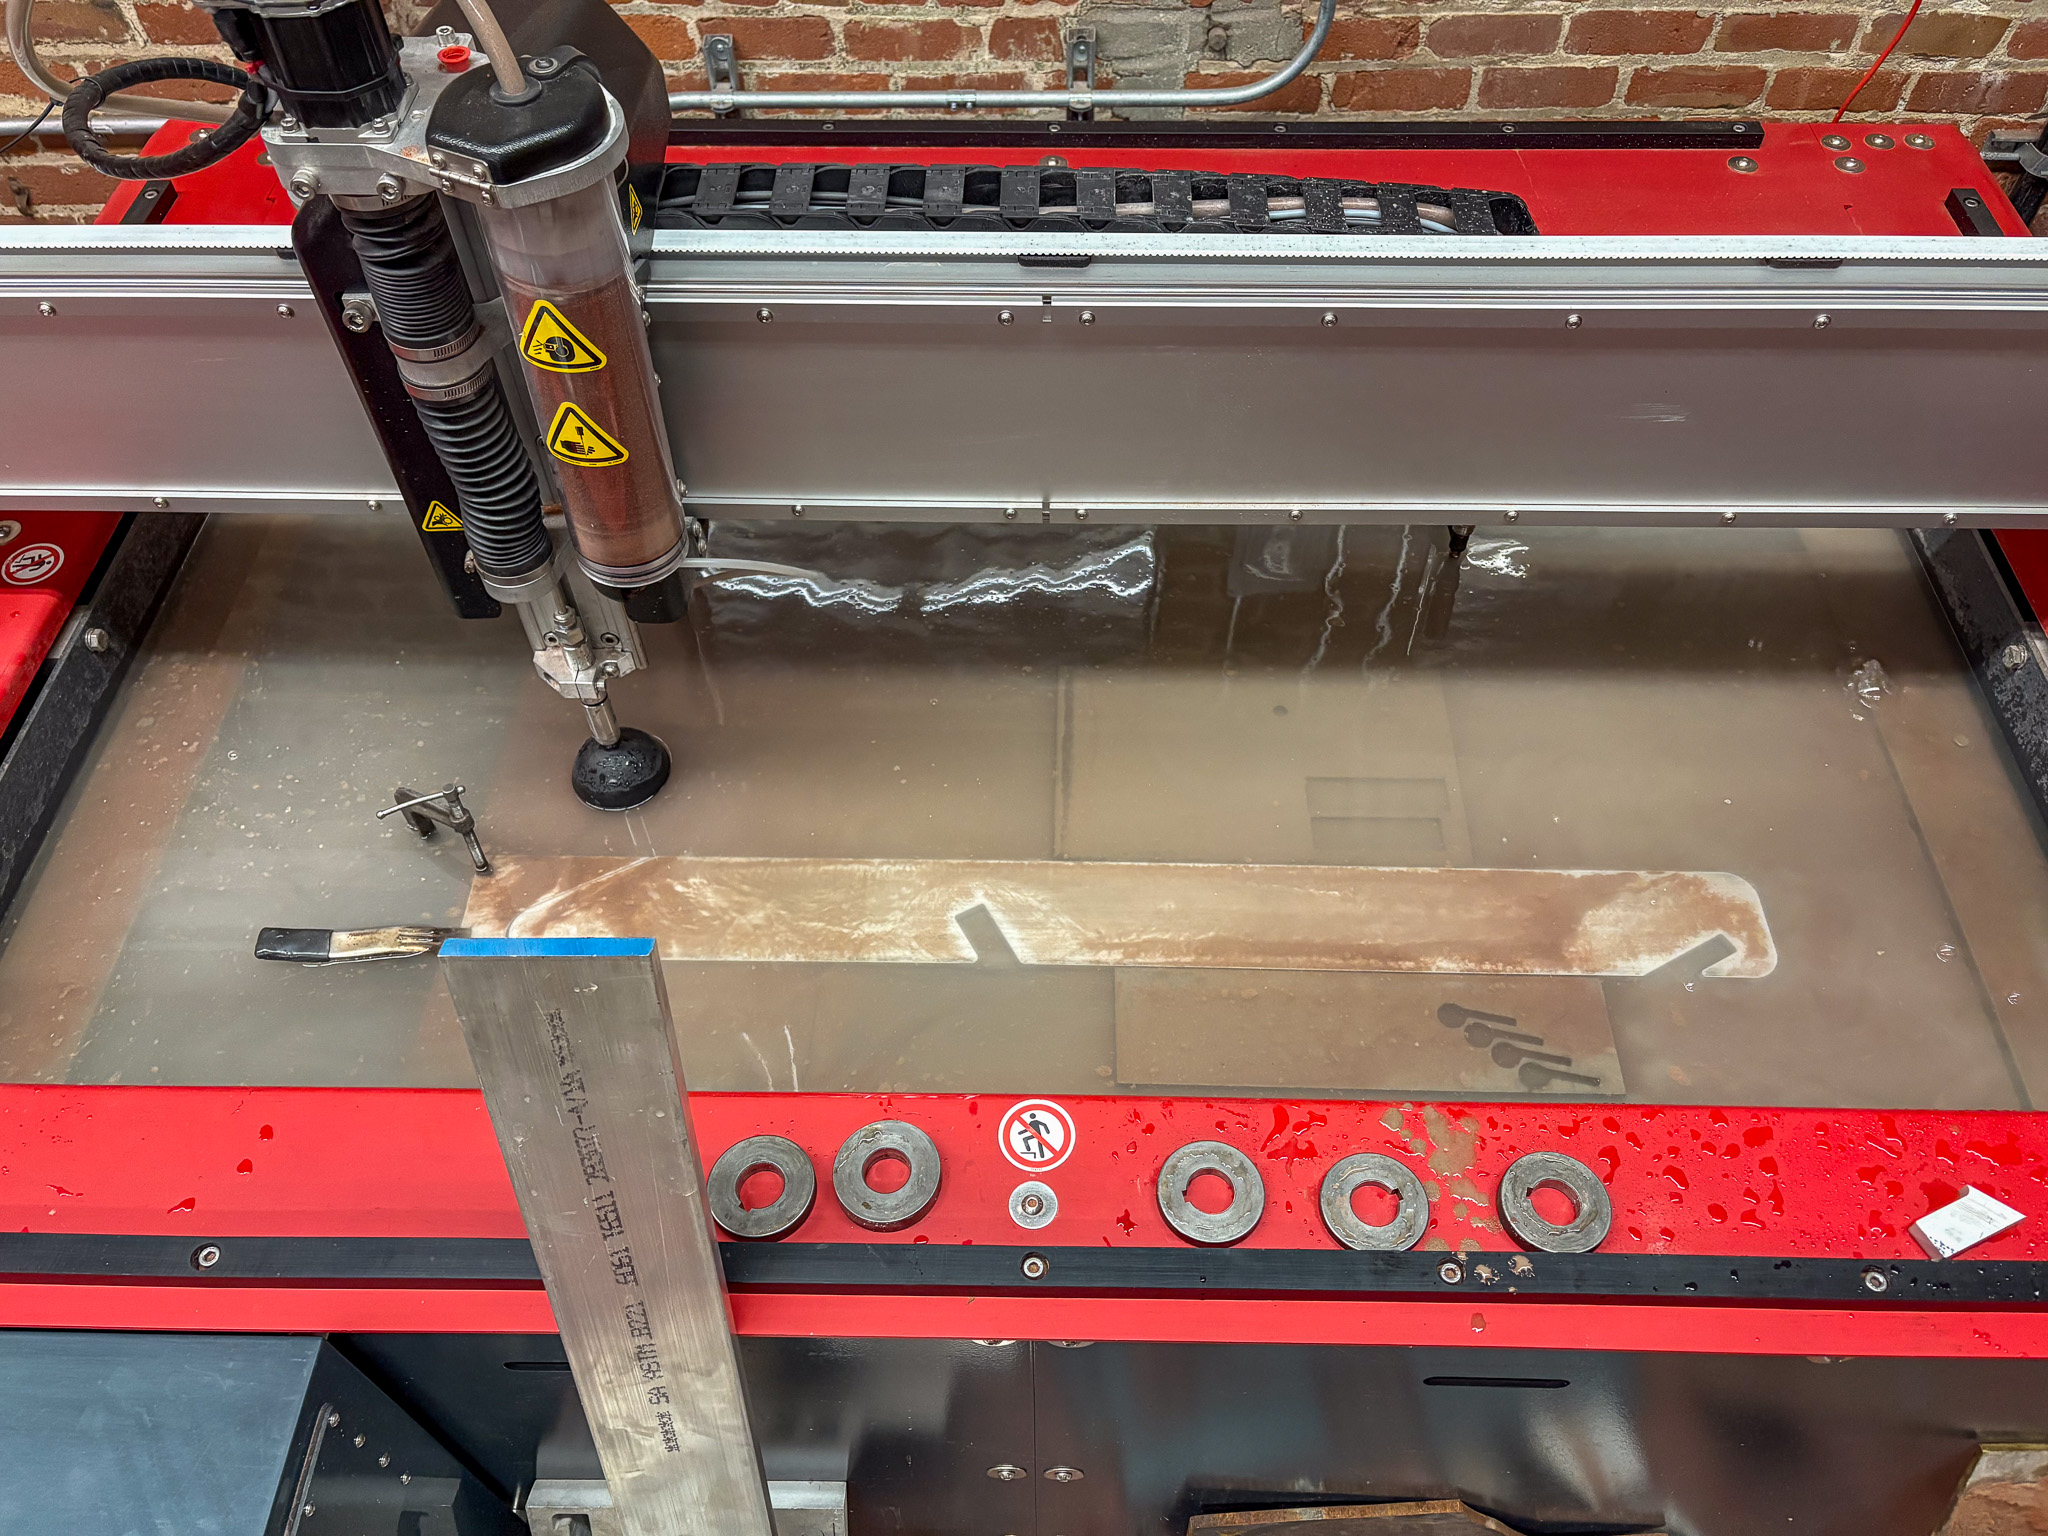
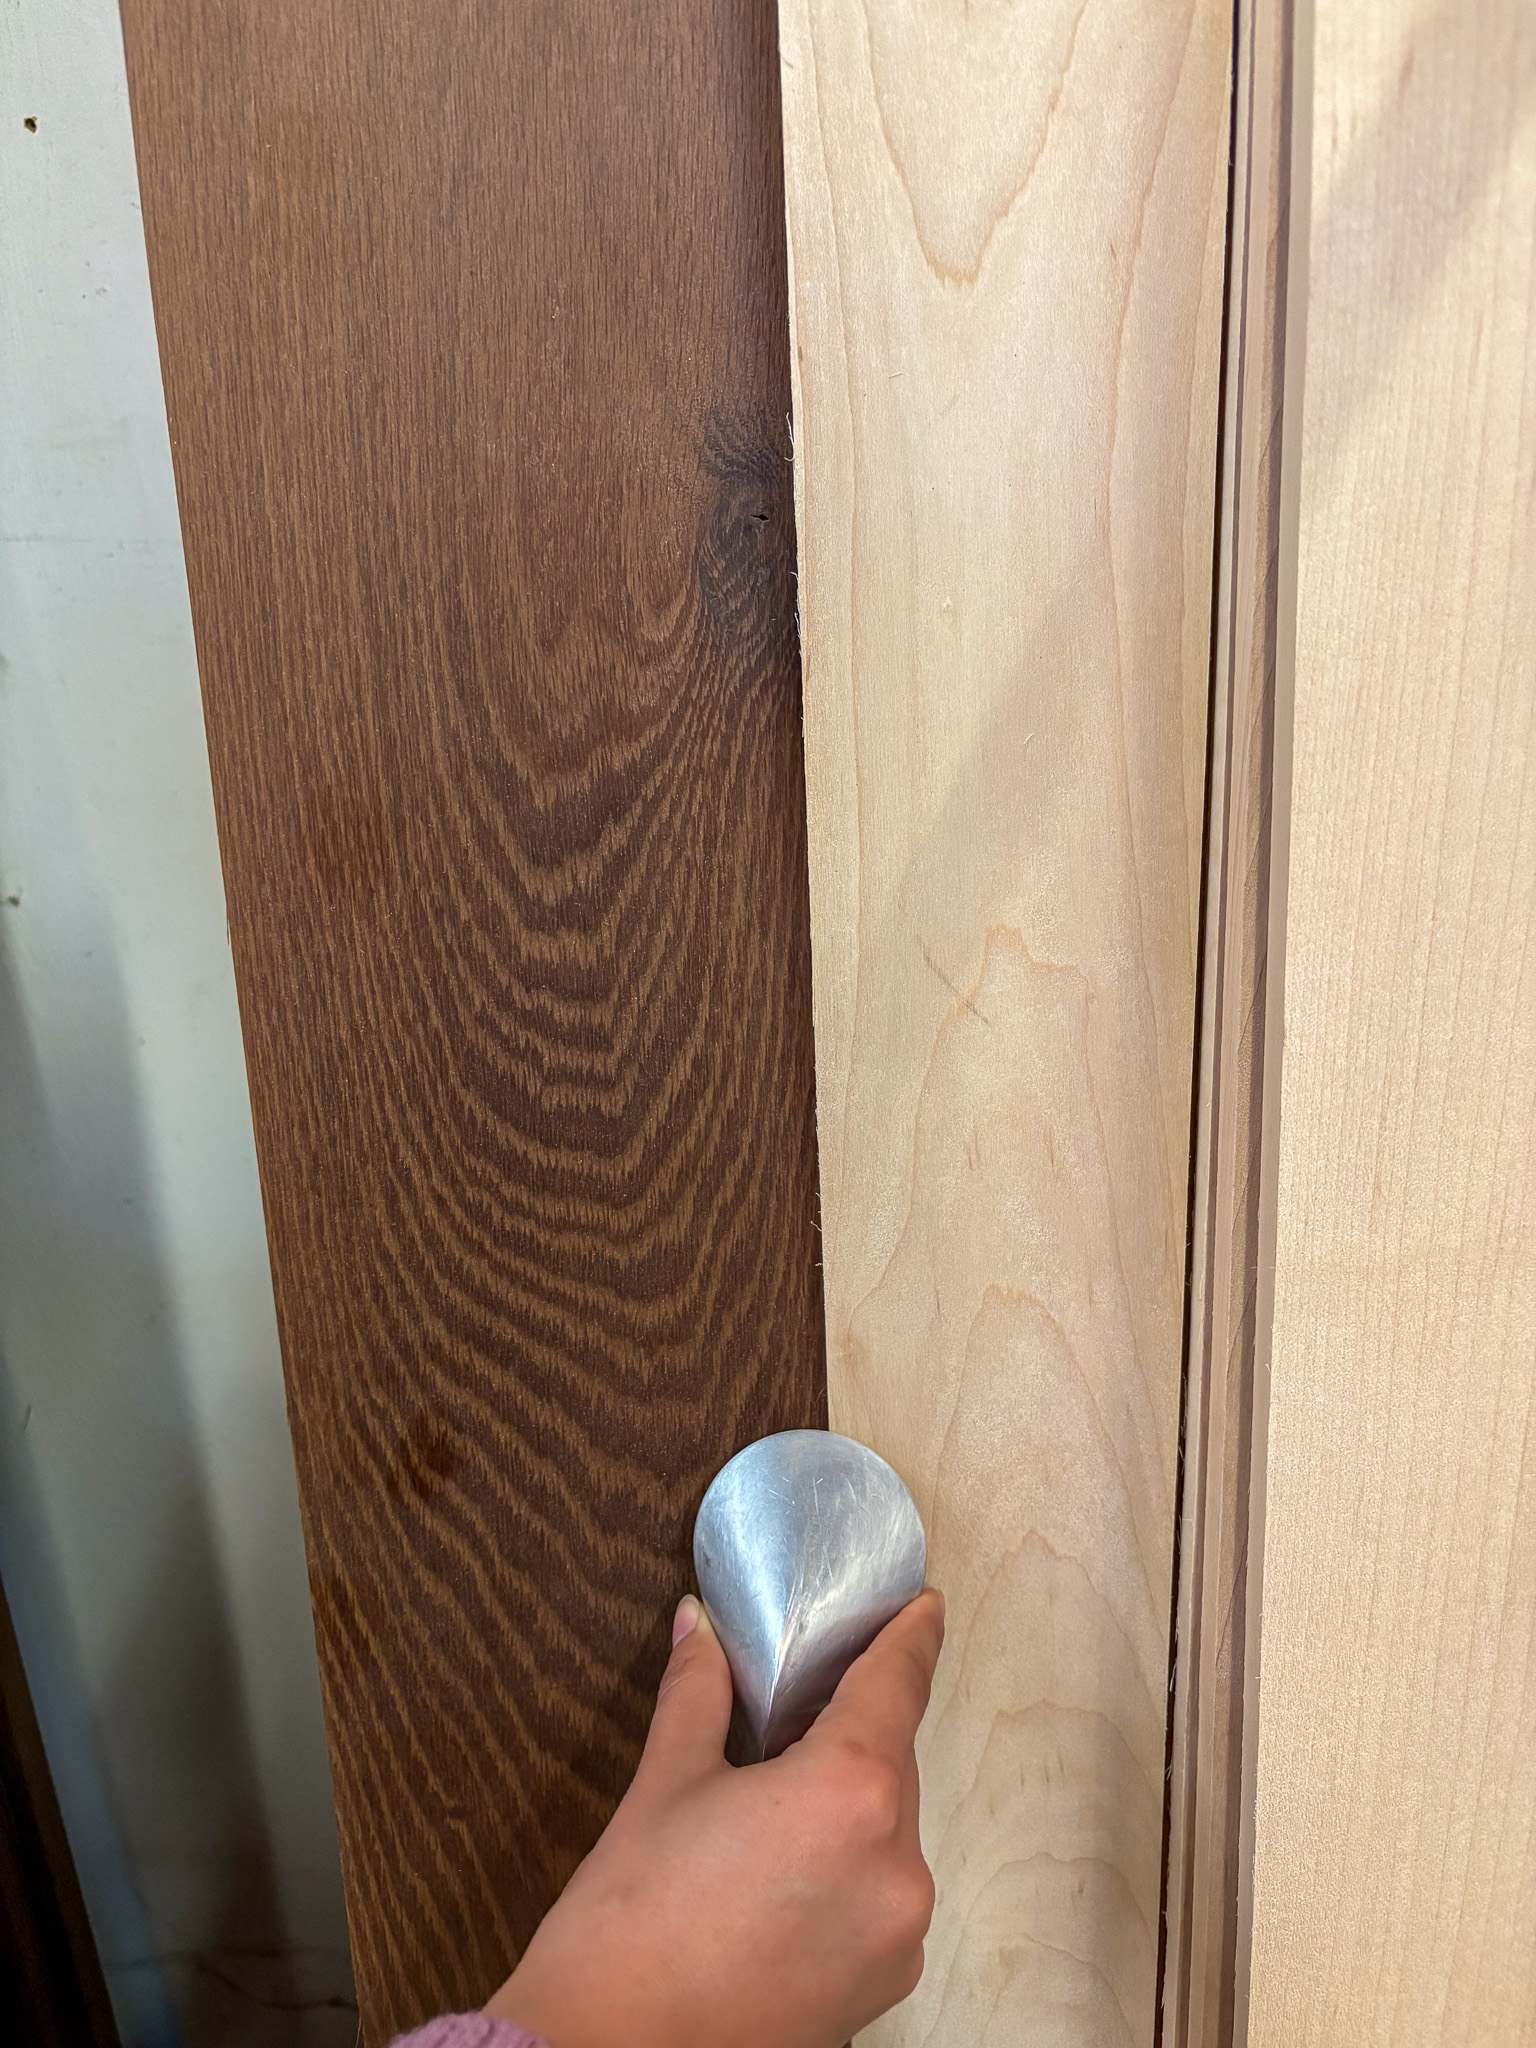
A crucial test to the design was making sure the aluminum would fit perfectly with the wood and the fit would be strong enough. I measure the wood thickness and did multiple test on the waterjet ending with a nice fit at 0.012 inches interference (0.3 mm)

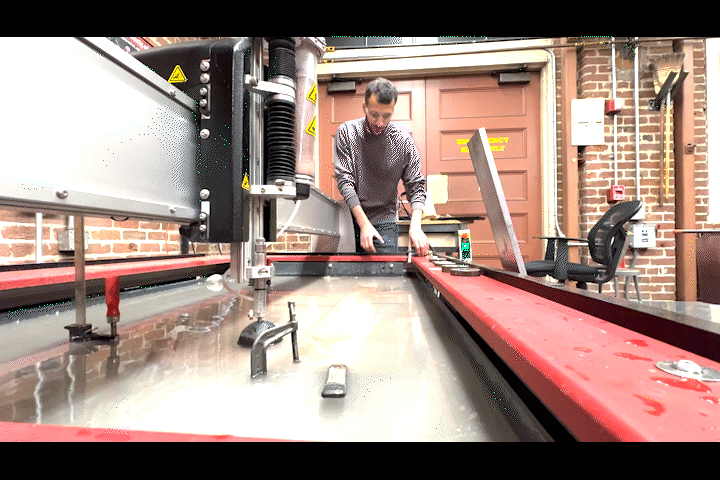
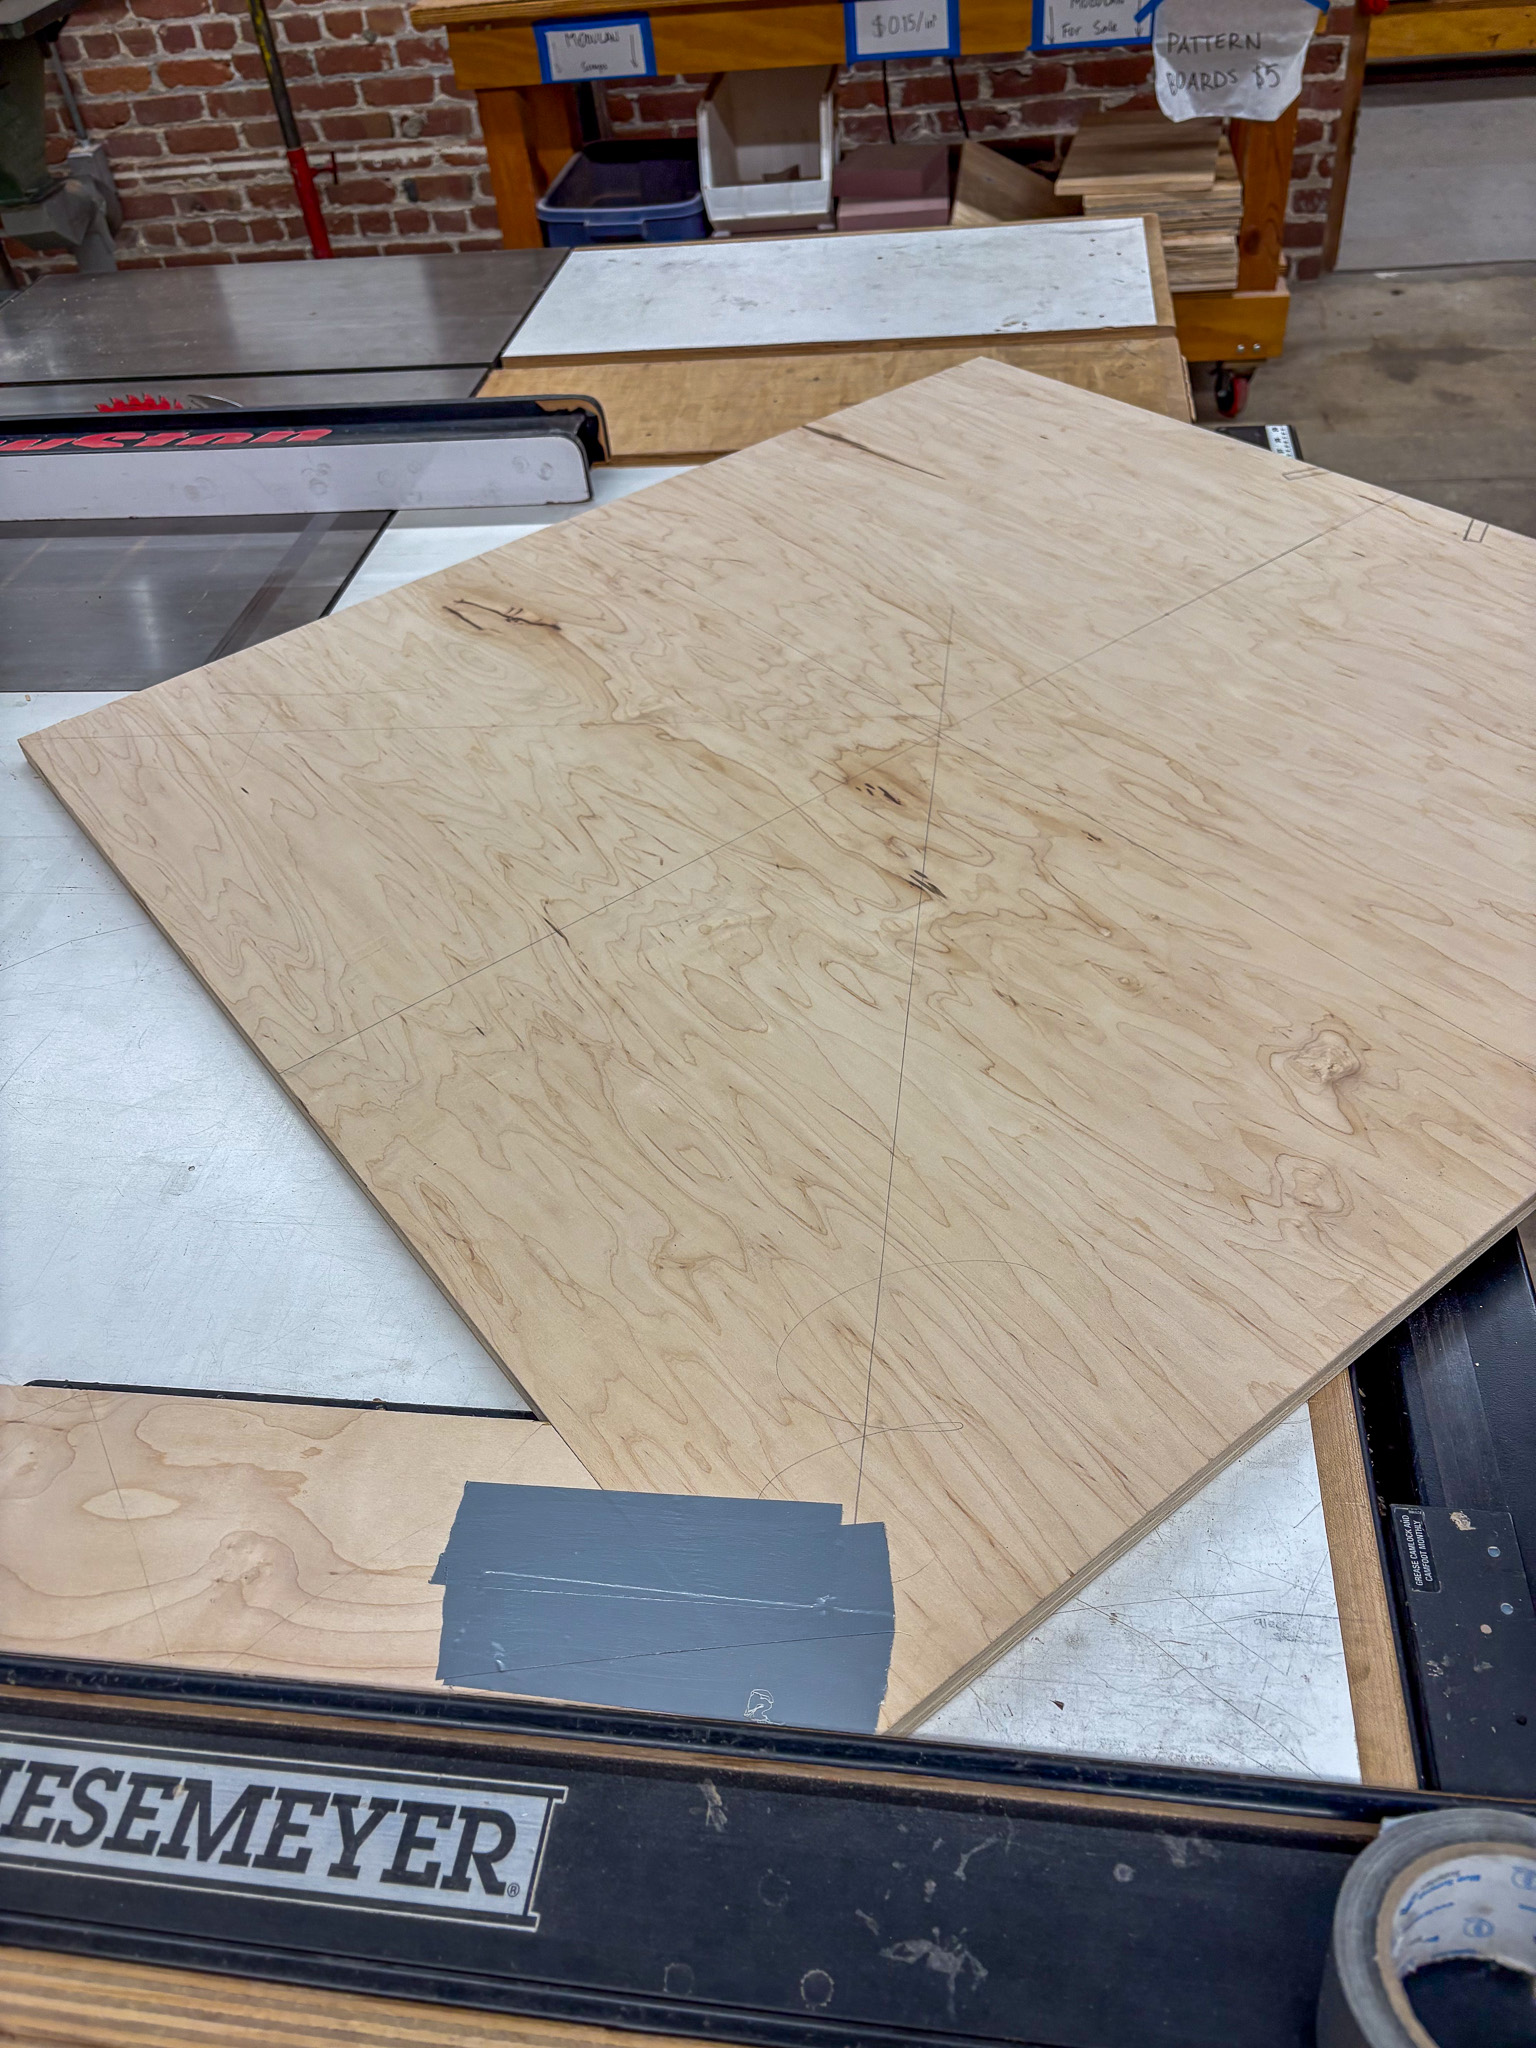
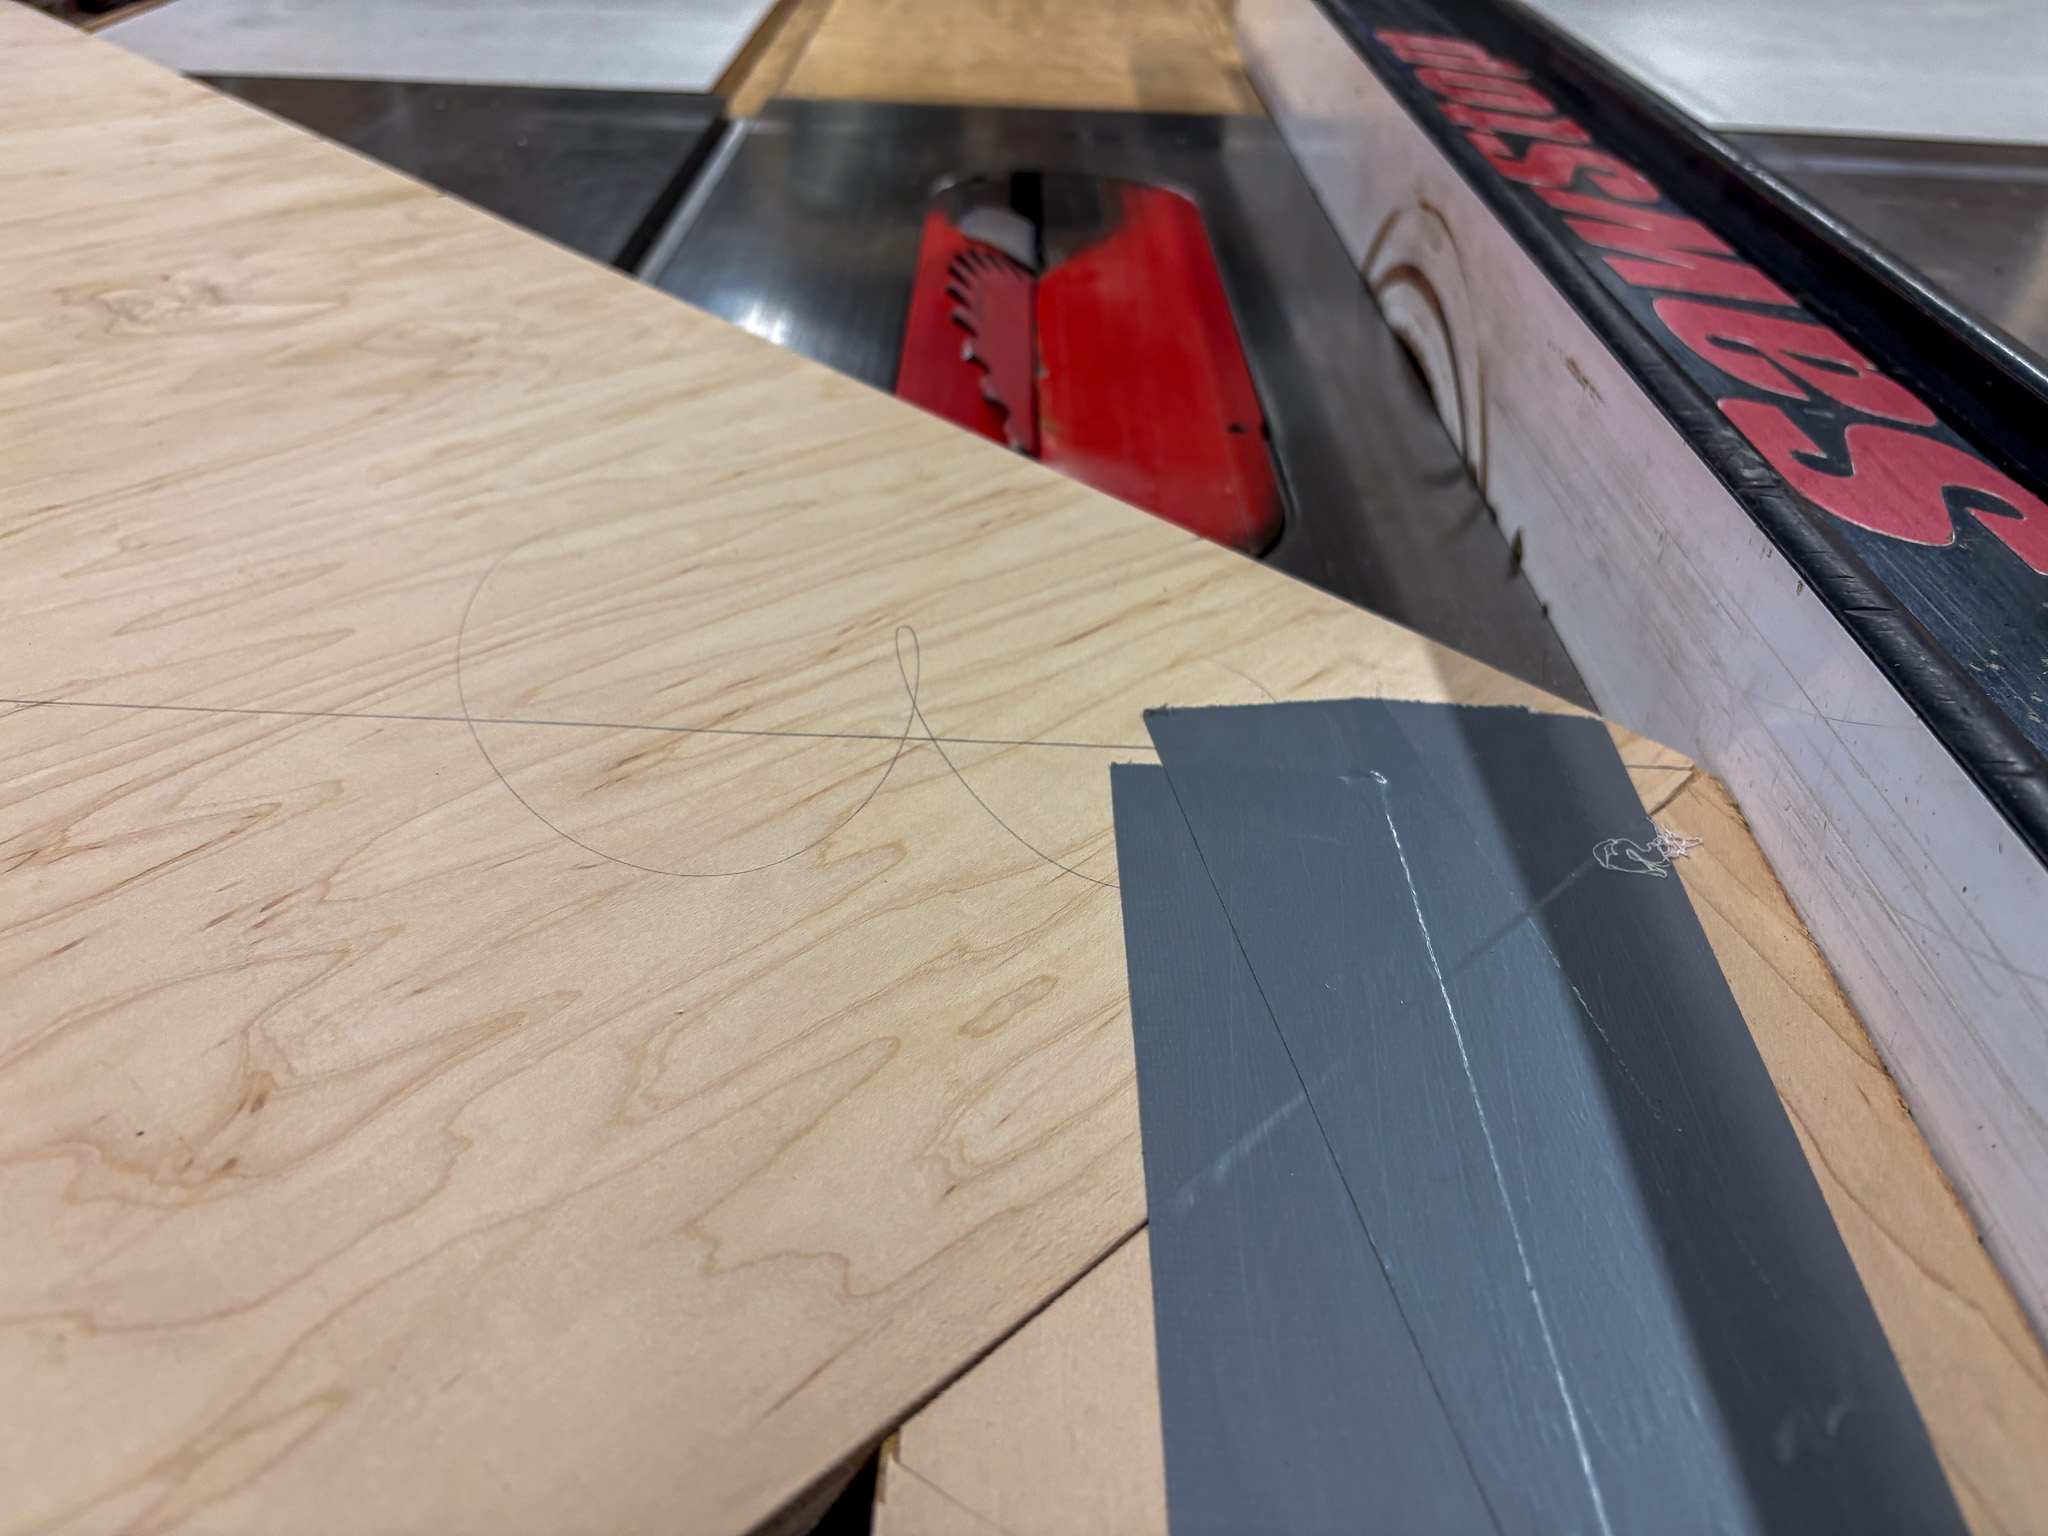
We started with a 4ft square piece of plywood. We cut a scrap piece of wood to 45o and taped it to the side of the square piece to the corners. We also adjusted the blade to 45o to be able to rotate the corner triangle and attach it back seamlessly.
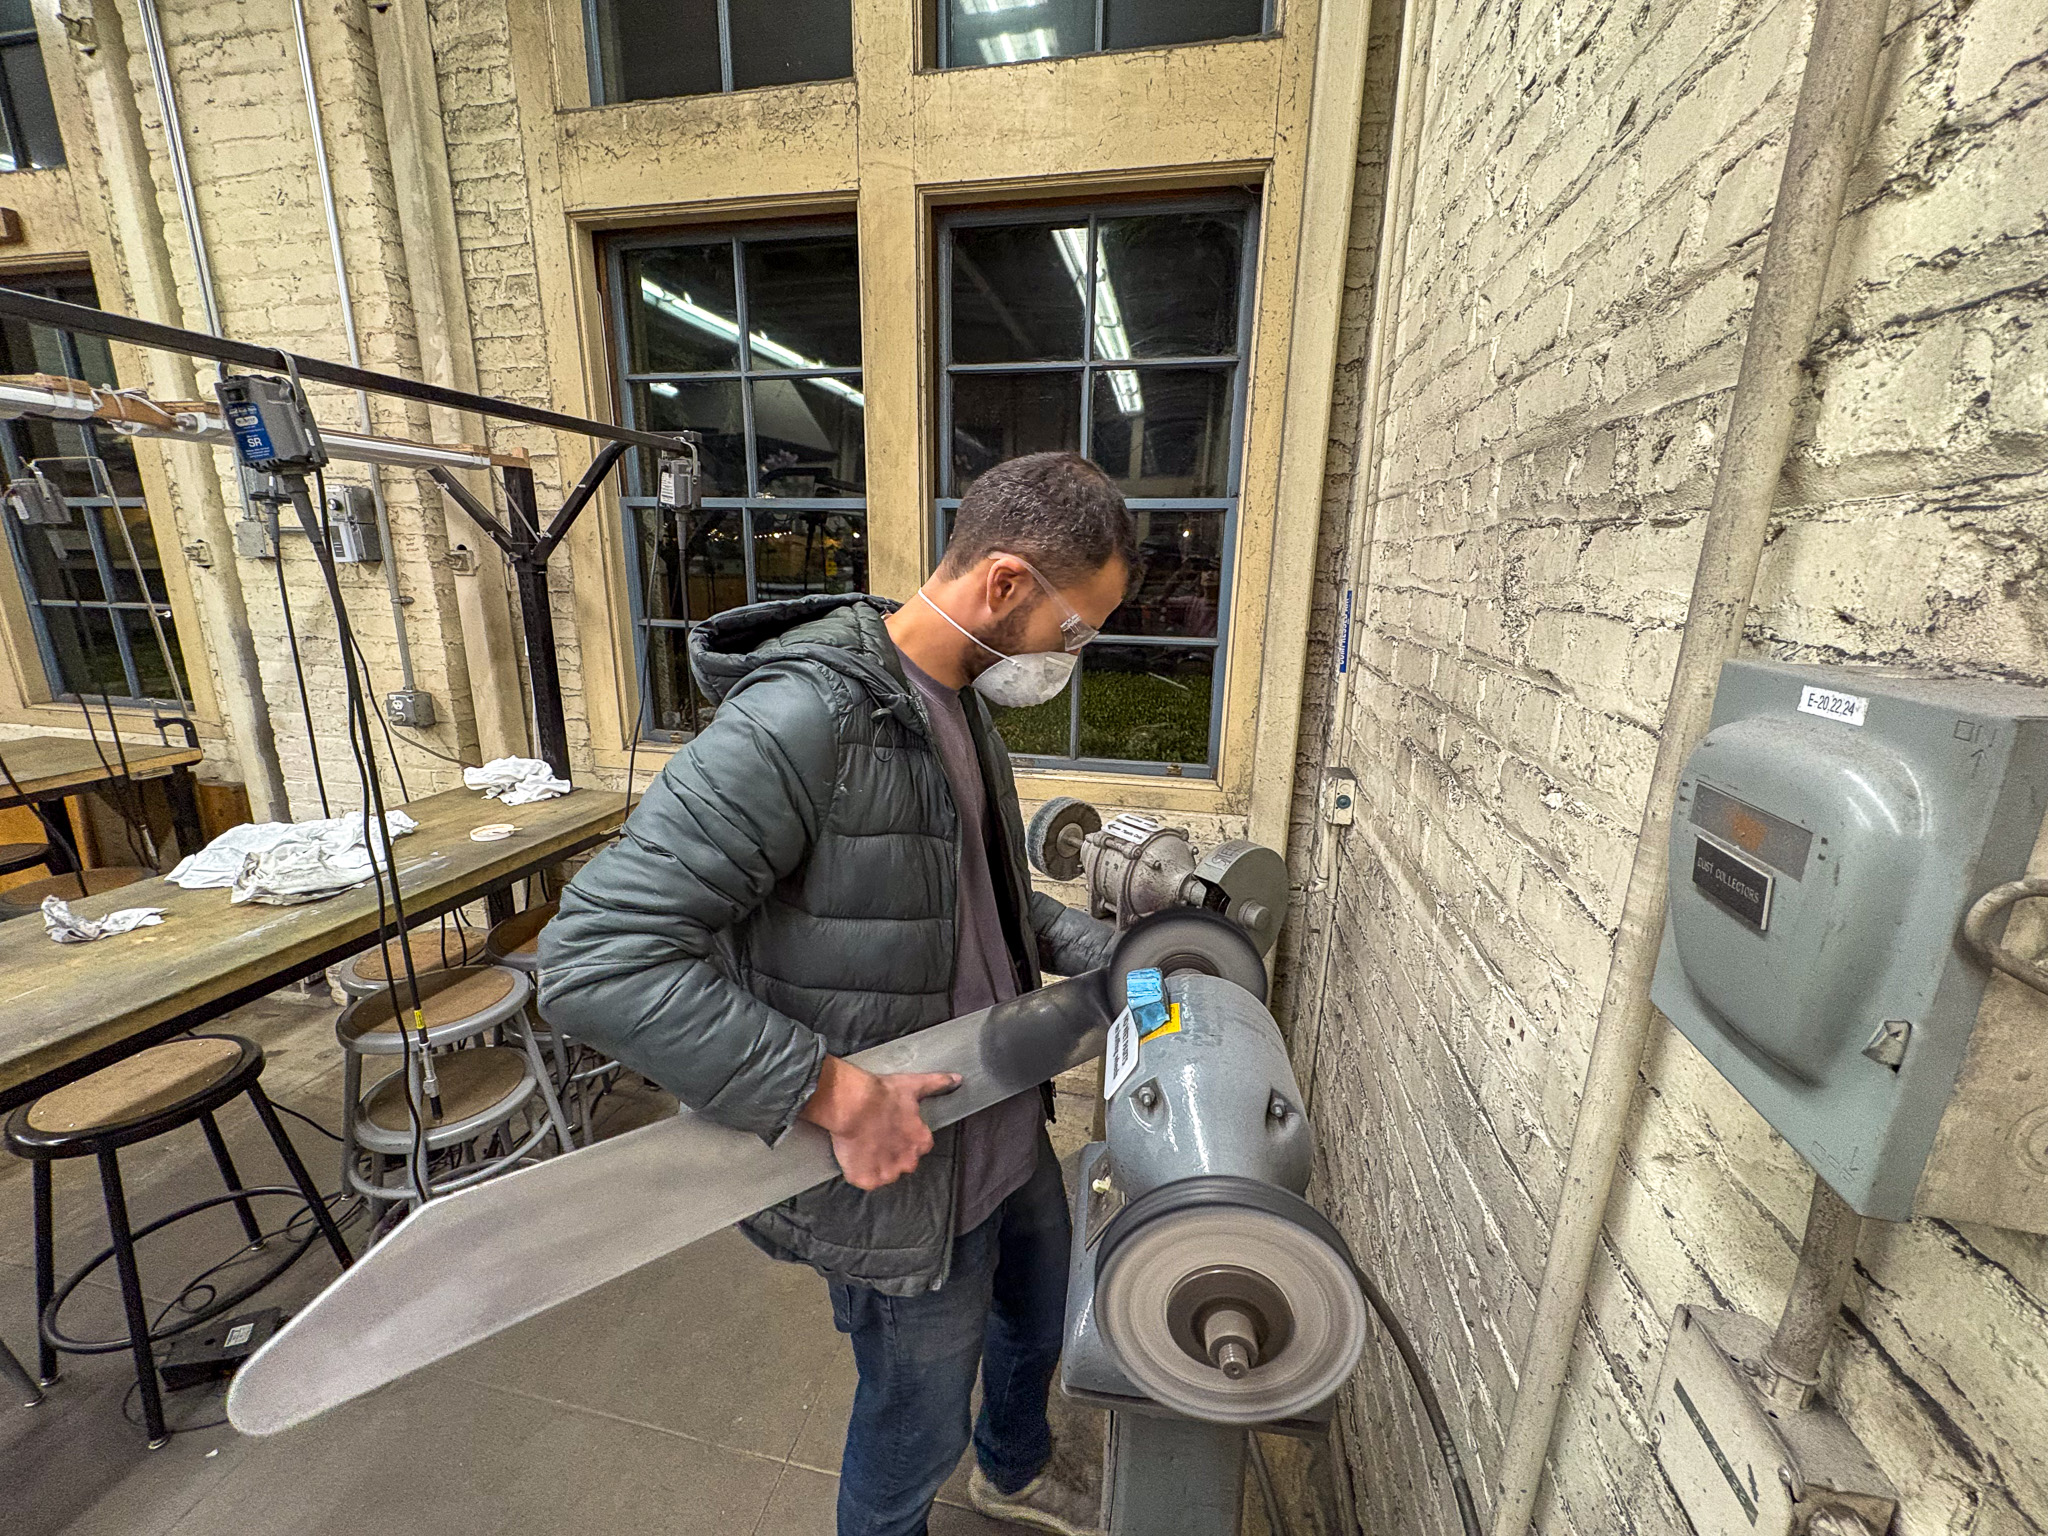
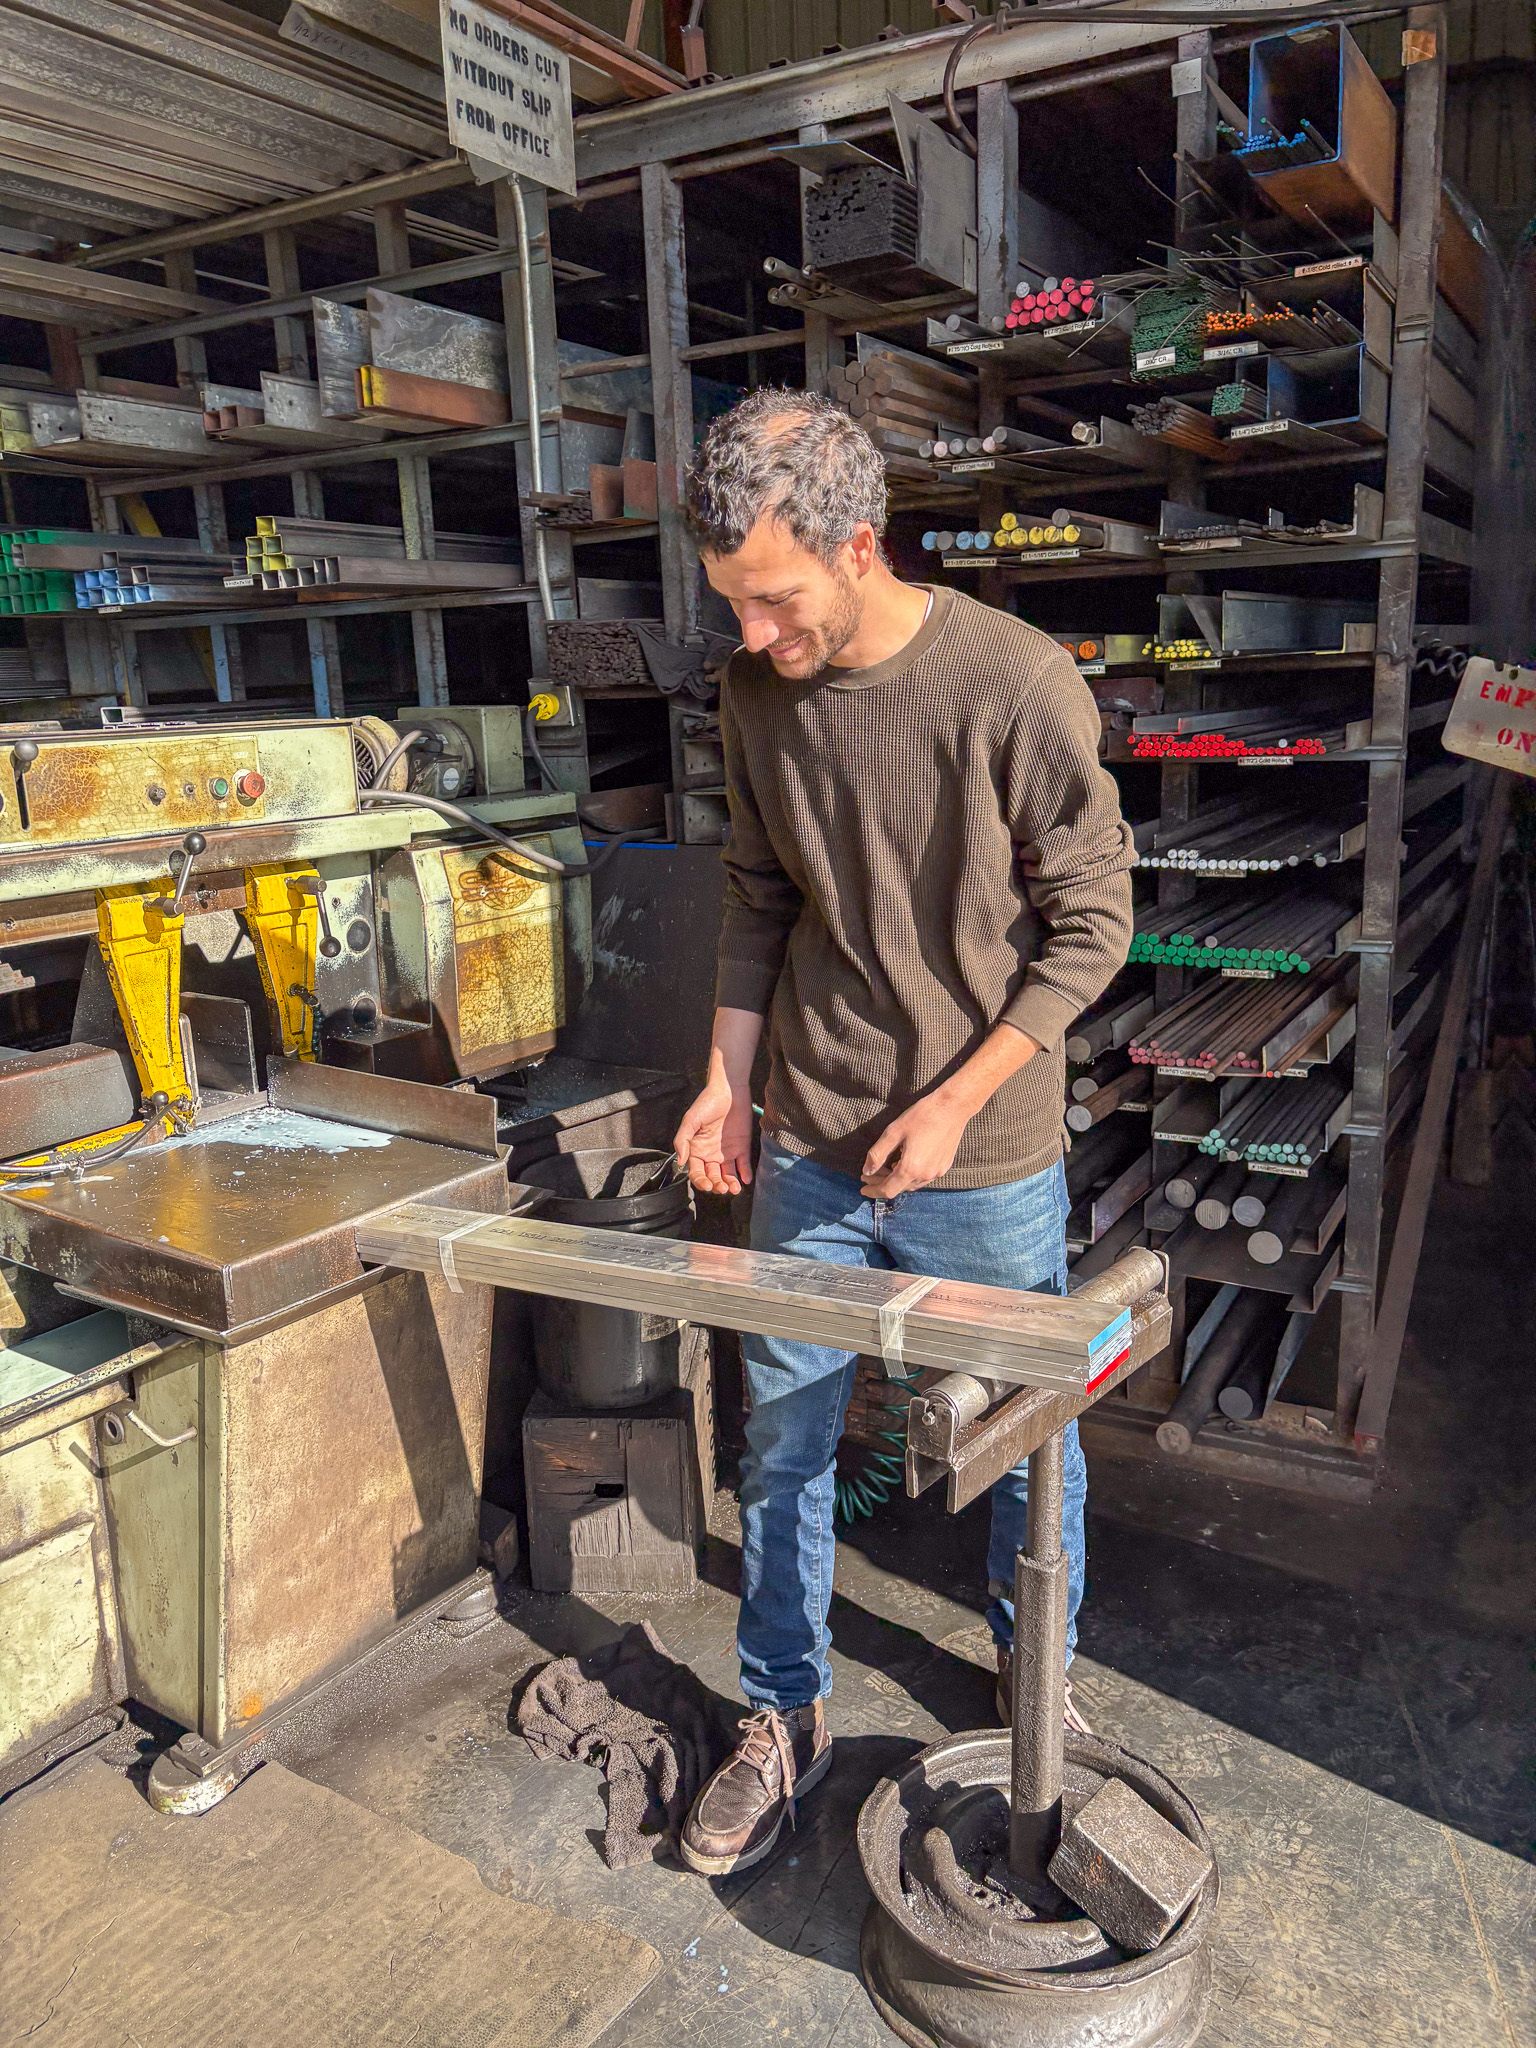
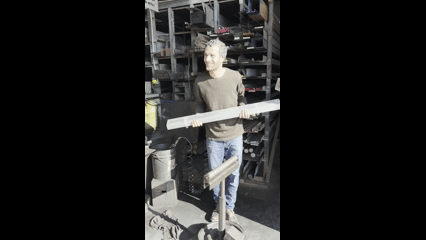
I started with a four 44x4x1/2 aluminum 6061 bars. to save time on cutting the shape and also to save material, I designed the profile of the leg such that I only need to cut the features while using the full width of the aluminum I'm buying. To achieve a repeated accuracy in the 4 legs, I took the following steps: